
Buick Verano Engine Coolant Temperature Sensor: A Guide for 2012-2017 Models
Is your Verano's temperature gauge acting up or is your check engine light on? Your coolant sensor might be the culprit.
- Symptoms include an erratic temperature gauge, Check Engine Light (P0117/P0118), poor fuel economy, and cooling fans running constantly.
- Replacement is an easy DIY project that takes less than an hour with basic tools.
- For best results, use an OEM-grade sensor from ACDelco or Delphi, as they are reliable and affordably priced.
- Do not drive if the engine is actively overheating, as this can cause catastrophic engine damage.
Is Your Verano's Coolant Temp Sensor Failing?
The Engine Coolant Temperature (ECT) sensor on the 2012-2017 Buick Verano is a common failure point that can cause a range of confusing symptoms. Because this sensor tells the engine's computer how hot the engine is, a bad signal can make the car behave as if it's always cold or always overheating, regardless of the actual temperature.
Top 4 Failure Symptoms
- Check Engine Light: This is often the first sign. The computer will log fault codes like P0117 (sensor reading too low) or P0118 (sensor reading too high).
- Erratic Temperature Gauge: The needle on your dashboard might shoot up to hot, drop to cold, or not move at all, even when the engine is warm.
- Poor Fuel Economy: If the sensor incorrectly tells the computer the engine is cold, the system will inject extra fuel, hurting your gas mileage.
- Cooling Fans Run Constantly: A false "hot" signal can cause the radiator fans to run at full speed all the time, even when the engine is cold. In some cases, the fans may not turn on at all, leading to overheating. 🎬 Watch: How a bad sensor triggers high temp warnings.
Choosing the Right Aftermarket Sensor
For a critical sensor like the ECT, brand choice matters. While many options are available, they generally fall into two quality tiers for your Verano.
Tier 1: OEM and OEM-Equivalent Brands
- ACDelco: As General Motors' own parts brand, ACDelco offers both "GM Genuine Parts" (the exact part your car was built with) and "ACDelco Professional" aftermarket parts. For this sensor, the price difference is often minimal, making the genuine part a smart choice.
- Delphi: Delphi was an original parts supplier for GM for many years. Their sensors are widely considered to be of OEM quality and are a reliable alternative to ACDelco.
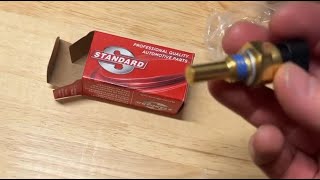
Tier 2: Standard Aftermarket Brands
Brands like Standard Ignition, Four Seasons, Walker Products, and NGK offer a more budget-friendly option. They are established companies that produce reliable parts. However, for a sensor this critical and affordable, most mechanics would recommend sticking with the OEM brands above to avoid any potential issues with fitment or signal accuracy. One owner reported in a video that a generic parts store sensor did not fit their Verano, while a Standard brand part did, highlighting that minor variations can exist.
How Much Should It Cost?
Replacing the ECT sensor on a Verano is not an expensive job. The part itself is affordable, and labor is minimal.
| Part/Service | Estimated Cost |
|---|---|
| New OEM Sensor (ACDelco/Delphi) | $18 - $58 |
| New Aftermarket Sensor | $16 - $42 |
| Shop Labor | $75 - $110 |
| Total DIY Cost (OEM Part) | $18 - $58 |
| Total Professional Replacement | $93 - $168 |
Note: The professional replacement cost estimate from some online tools may be much higher ($376-$441) due to inflated part pricing in their calculators. The costs listed here reflect actual retail part prices and standard labor rates.
Frequently Asked Questions
Where is the coolant temperature sensor located on the 2012-2017 Verano?
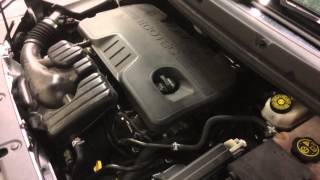
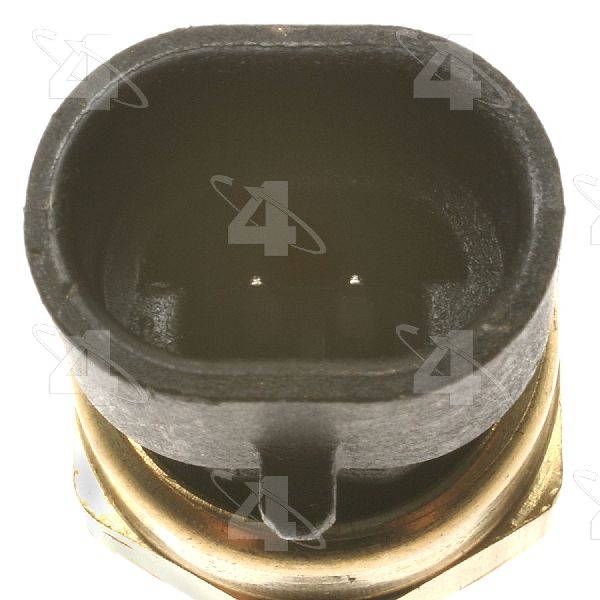
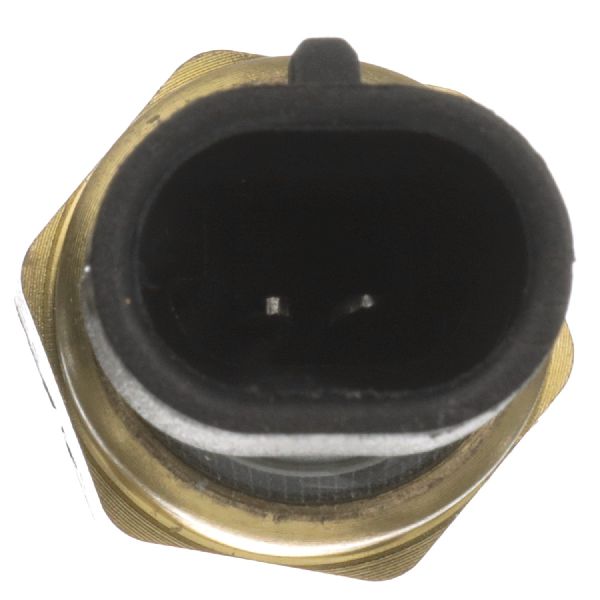
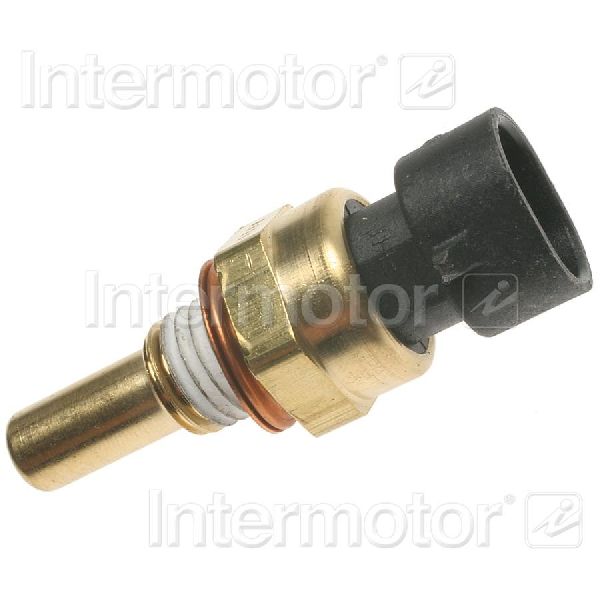
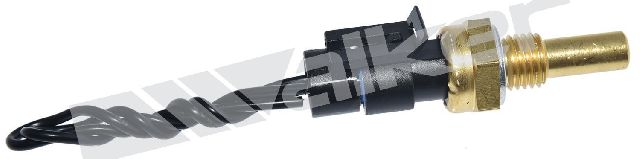
The ECT sensor is typically screwed into the thermostat housing or the cylinder head on the 2.4L engine. It is a small, brass-colored sensor with a plastic electrical connector. You will need to remove the plastic engine cover to see it.
🎬 See exactly where the sensor is located on the engine.Is this a difficult repair to do myself?
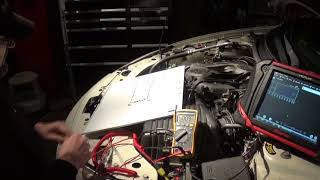
No, this is a good DIY job for a beginner. The process involves letting the engine cool completely, disconnecting the battery, placing a drain pan to catch a small amount of coolant, unplugging the electrical connector, and unscrewing the old sensor with a deep socket. You then screw in the new sensor, reconnect it, and top off any lost coolant. The whole job should take less than an hour.
🎬 Watch this step-by-step guide to replacing the sensor yourself.Do I need to drain all the coolant to replace the sensor?
No, you do not need to drain the entire system. When you unscrew the sensor, only a small amount of coolant will spill out from the top of the engine. Having the new sensor ready to quickly screw into place will minimize the mess. Always use a drain pan.
Are there any recalls for this problem?
No. While there are several safety recalls for the 2012-2017 Buick Verano, none of them are for a faulty engine coolant temperature sensor.
Helpful Videos


Technical Specifications
OEM Part Numbers: 12608814 12611420 15326388 19236568
The sensor is a thermistor, meaning its electrical resistance changes with temperature. The ECM reads this change to determine coolant temperature.
We Have This Part in Stock


The information in this article is provided for general reference and educational purposes only. Vehicle specifications, procedures, and part compatibility can vary by production date, trim level, and region. Always consult your vehicle's factory service manual and verify part numbers before purchasing or performing repairs. Safety-critical components such as airbags, seat belts, and braking systems should be installed by a qualified professional.
- Buick Verano: