
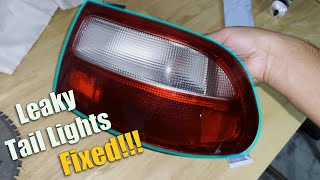
1999-2007 Honda Odyssey Tail Light: Gen 2 Leaks vs. Gen 3 LED Failures
This guide covers the distinct tail light issues for the two Odyssey generations from 1999-2007, focusing on water leaks in 1999-2004 models and LED failures in 2005-2007 models.
- The 1999-2007 range covers two different generations (Gen 2: 99-04, Gen 3: 05-07) whose tail lights are NOT interchangeable.
- 1999-2004 models commonly suffer from failed gaskets that cause water leaks, leading to corroded sockets and bulbs.
- 2005-2007 models use LED brake lights. If they fail, the entire assembly must be replaced as the LEDs are not serviceable.
- Replacement is a very easy DIY job for any owner, requiring only basic hand tools and about 15-20 minutes.
Key Differences: 1999-2004 vs. 2005-2007 Models
The 1999-2007 model years for the Honda Odyssey span two completely different vehicle generations. The tail lights are not interchangeable between them. Understanding which generation you have is the first step in diagnosing issues or buying the correct part.
| Feature | 1999-2004 Odyssey (Gen 2) | 2005-2007 Odyssey (Gen 3) |
|---|---|---|
| Lighting Technology | Conventional halogen bulbs for all functions. | LED for brake lights; conventional bulbs for other functions. |
| Common Failure Point | Failed foam gasket leading to water leaks, condensation, and corroded bulb sockets. | Failure of the internal LED circuit board, causing the brake light to stop working. |
| Repairability | Bulbs and sockets are easily replaceable. Leaks can be fixed with a new gasket. | LEDs are not serviceable; the entire tail light assembly must be replaced if the brake light fails. |
| Part Number Prefix | Typically starts with S0X (e.g., 33501-S0X-A01). | Typically starts with SHJ (e.g., 33551-SHJ-A11). |
Symptoms of a Failing Tail Light
- Dim or Non-Functioning Lights: One or more lights (brake, turn signal, running light) do not illuminate. This is the most obvious sign of a problem.
- Moisture or Condensation: Water droplets or fogging are visible inside the lens. This is a very common issue on 1999-2004 models and indicates a bad seal.
- Dashboard Warning Light: Some vehicles may display a "BRAKE LAMP" or similar warning on the instrument cluster.
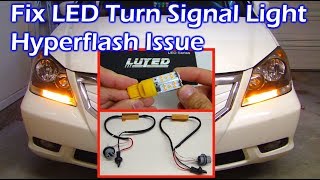
- Rapidly Blinking Turn Signal (Hyperflash): If your turn signal blinks faster than usual, it typically means a turn signal bulb has burned out in the front or rear.
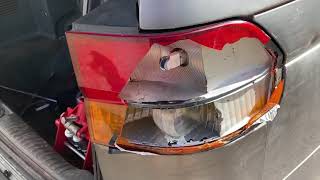
- Visible Cracks or Damage: Physical damage to the lens or housing can allow water to enter and compromises the light's effectiveness.
- Corroded Bulb Sockets: If you remove a bulb and see white or green crusty deposits, the socket has been damaged by moisture.
Known Issues by Generation
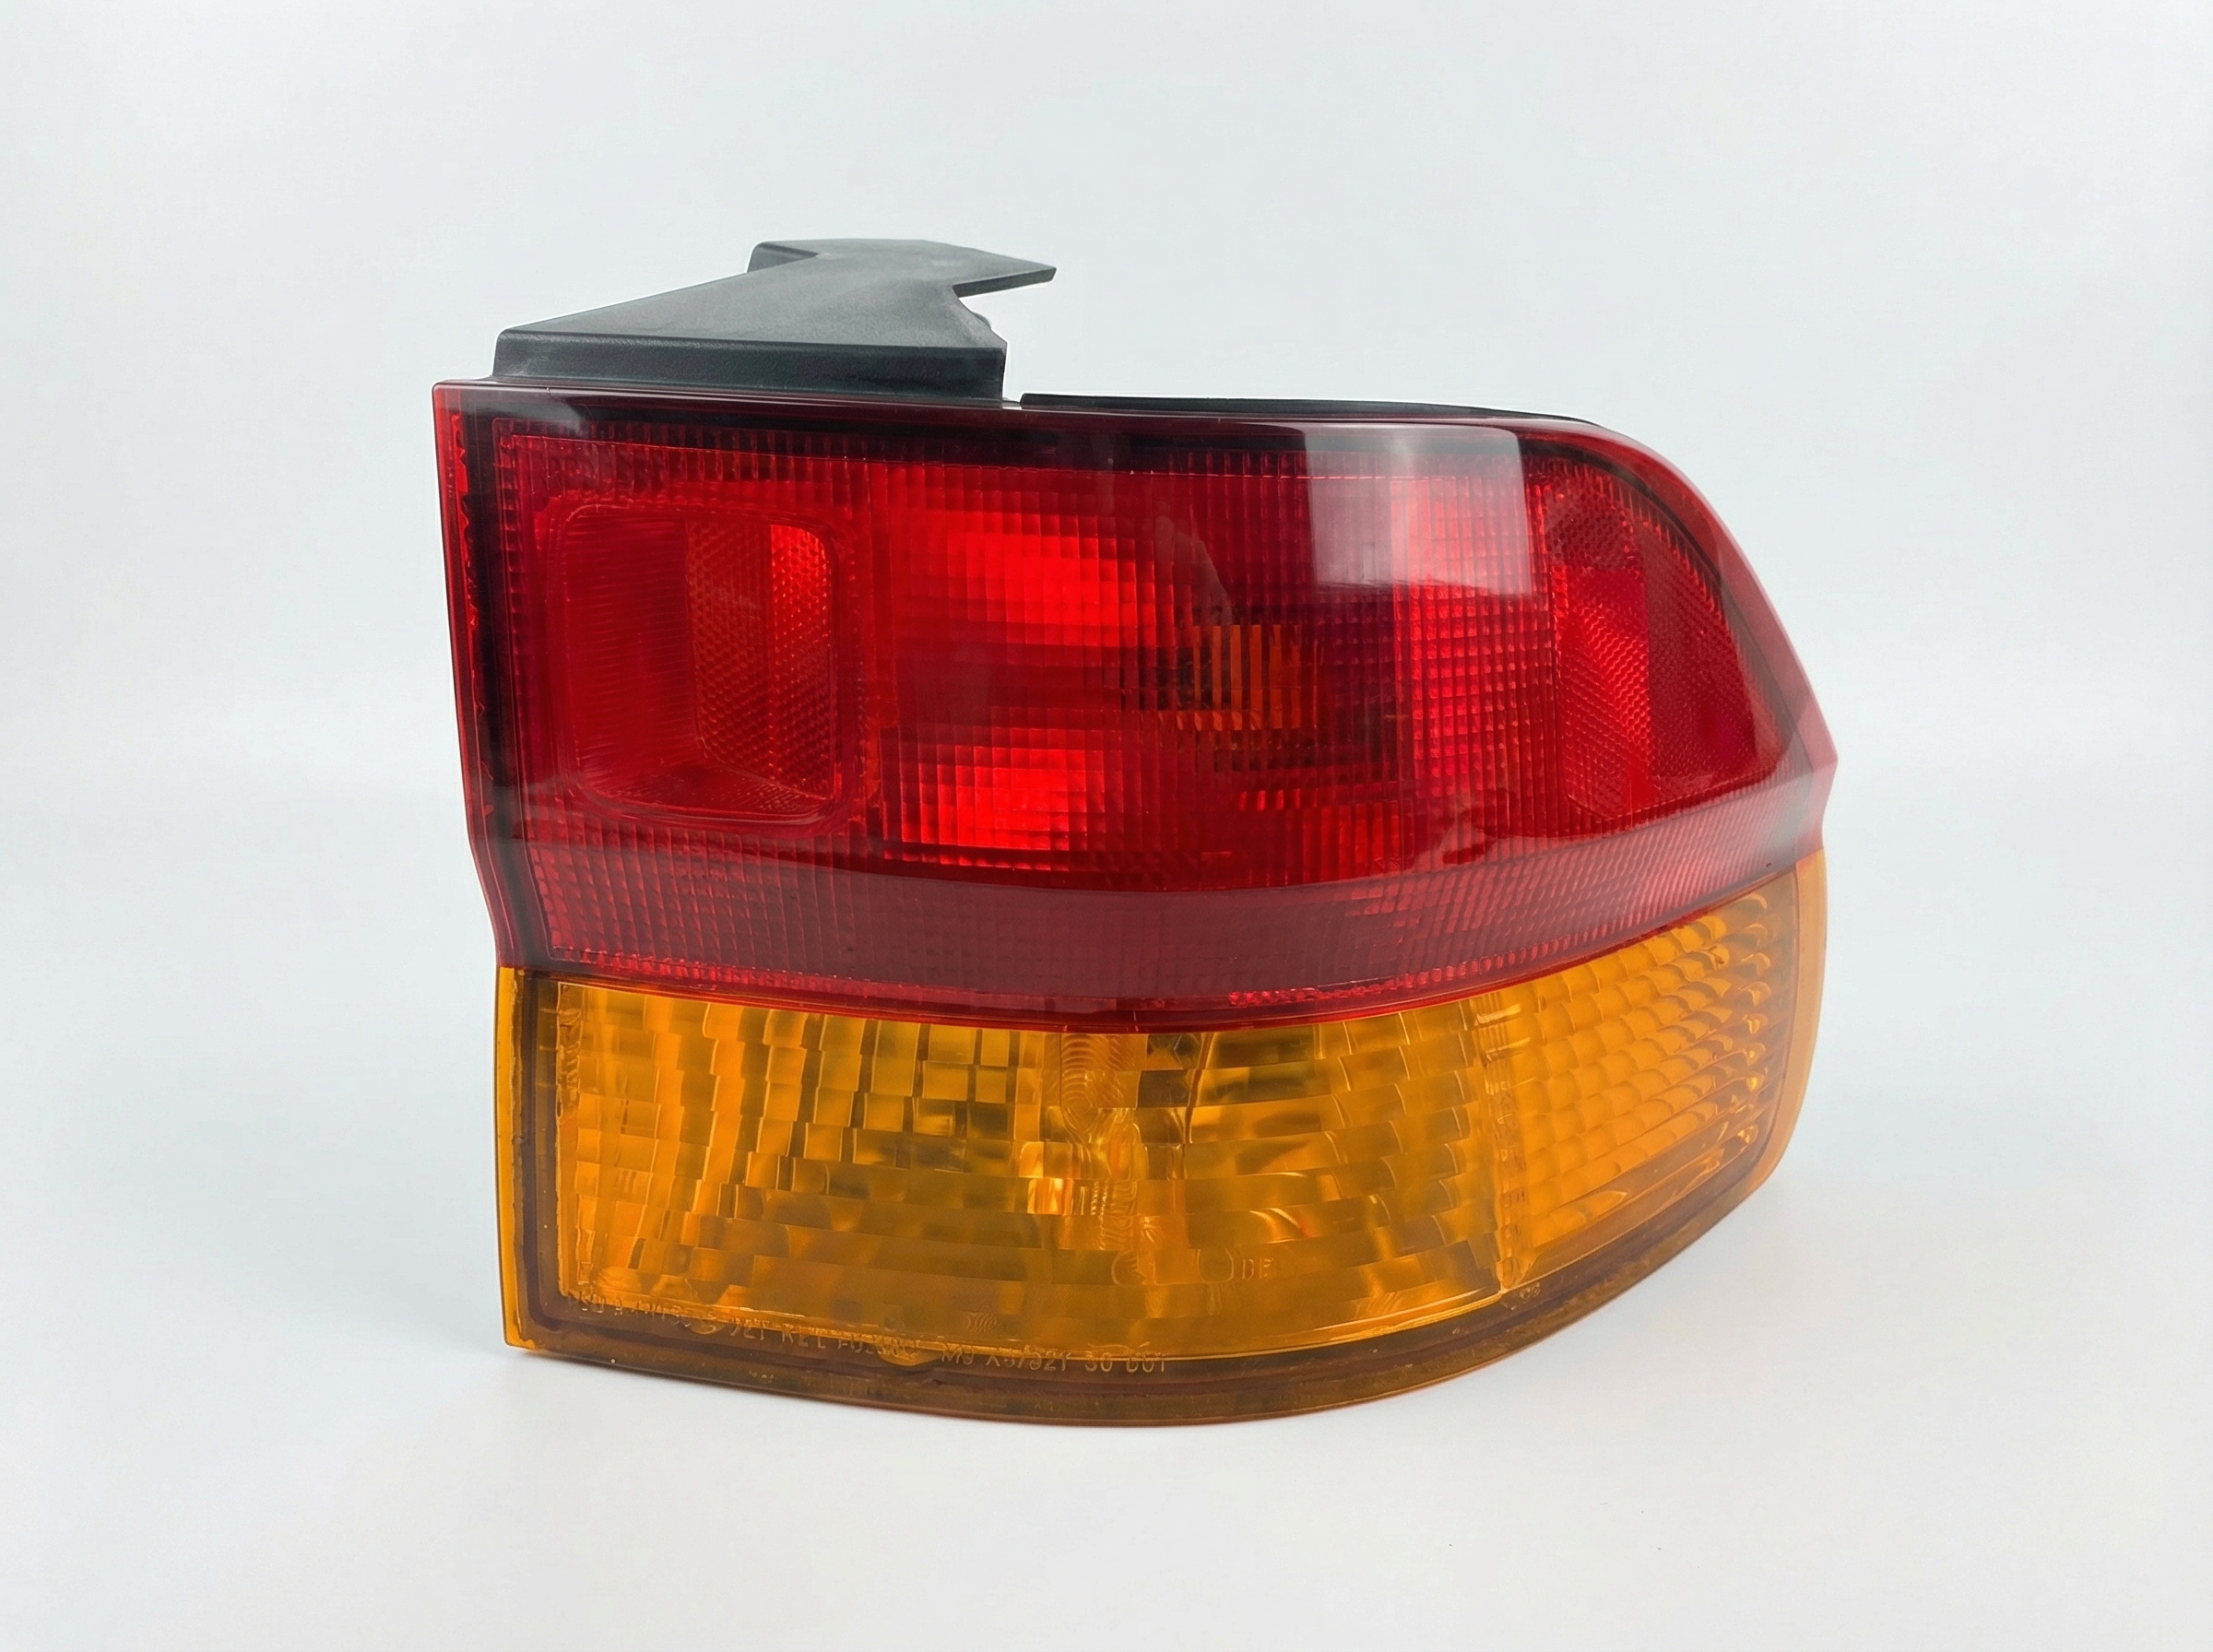
1999-2004 (Second Generation): Gasket Leaks and Water Damage
🎬 Watch: Step-by-step tail light replacement for 2002-2004 models.The most widespread problem for the second-generation Odyssey is the failure of the foam gasket that seals the tail light assembly against the vehicle's body. Over time, this gasket compresses and degrades, allowing water to seep into the tail light housing. This leads to several problems:
- Chronically burnt-out bulbs from moisture.
- Corrosion of the bulb sockets and electrical connectors, causing intermittent or total light failure.
- Water leaking past the assembly and into the vehicle's interior, often pooling in the jack and tool storage compartment in the cargo area.
Pro Tip: When replacing a 1999-2004 tail light, always install a new gasket, even if the old one looks okay. This small step can prevent future leaks and electrical issues.
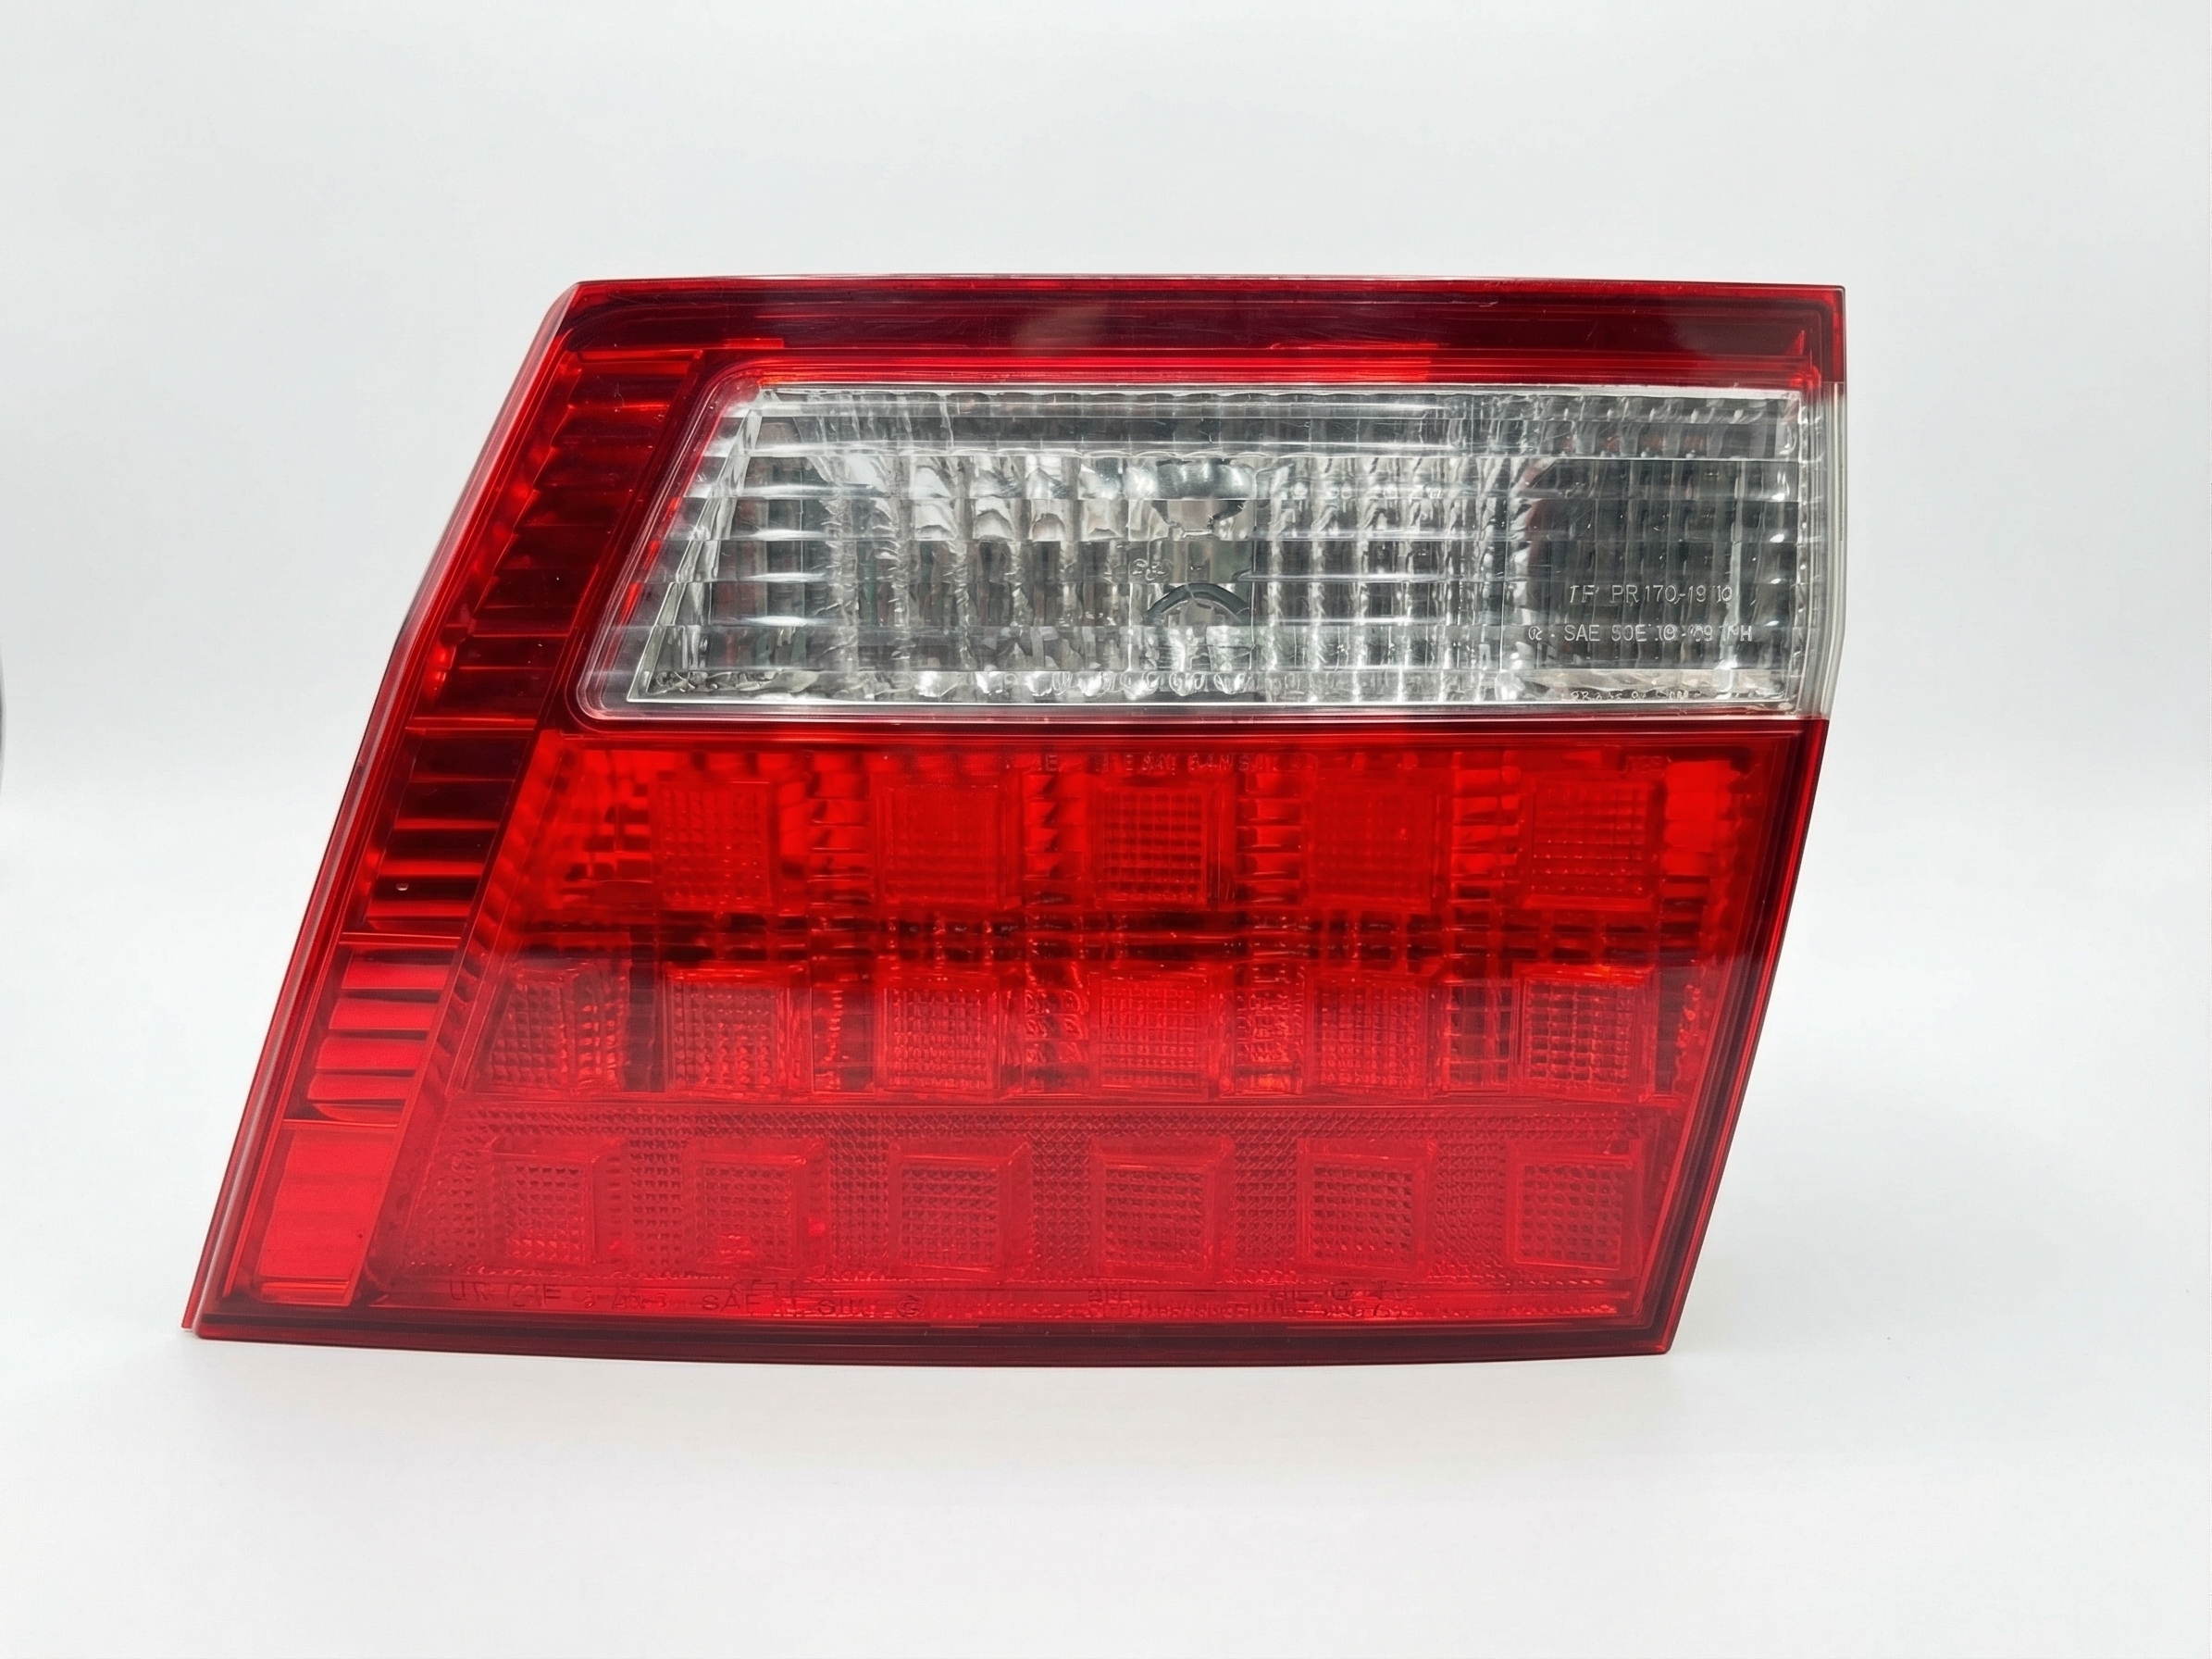
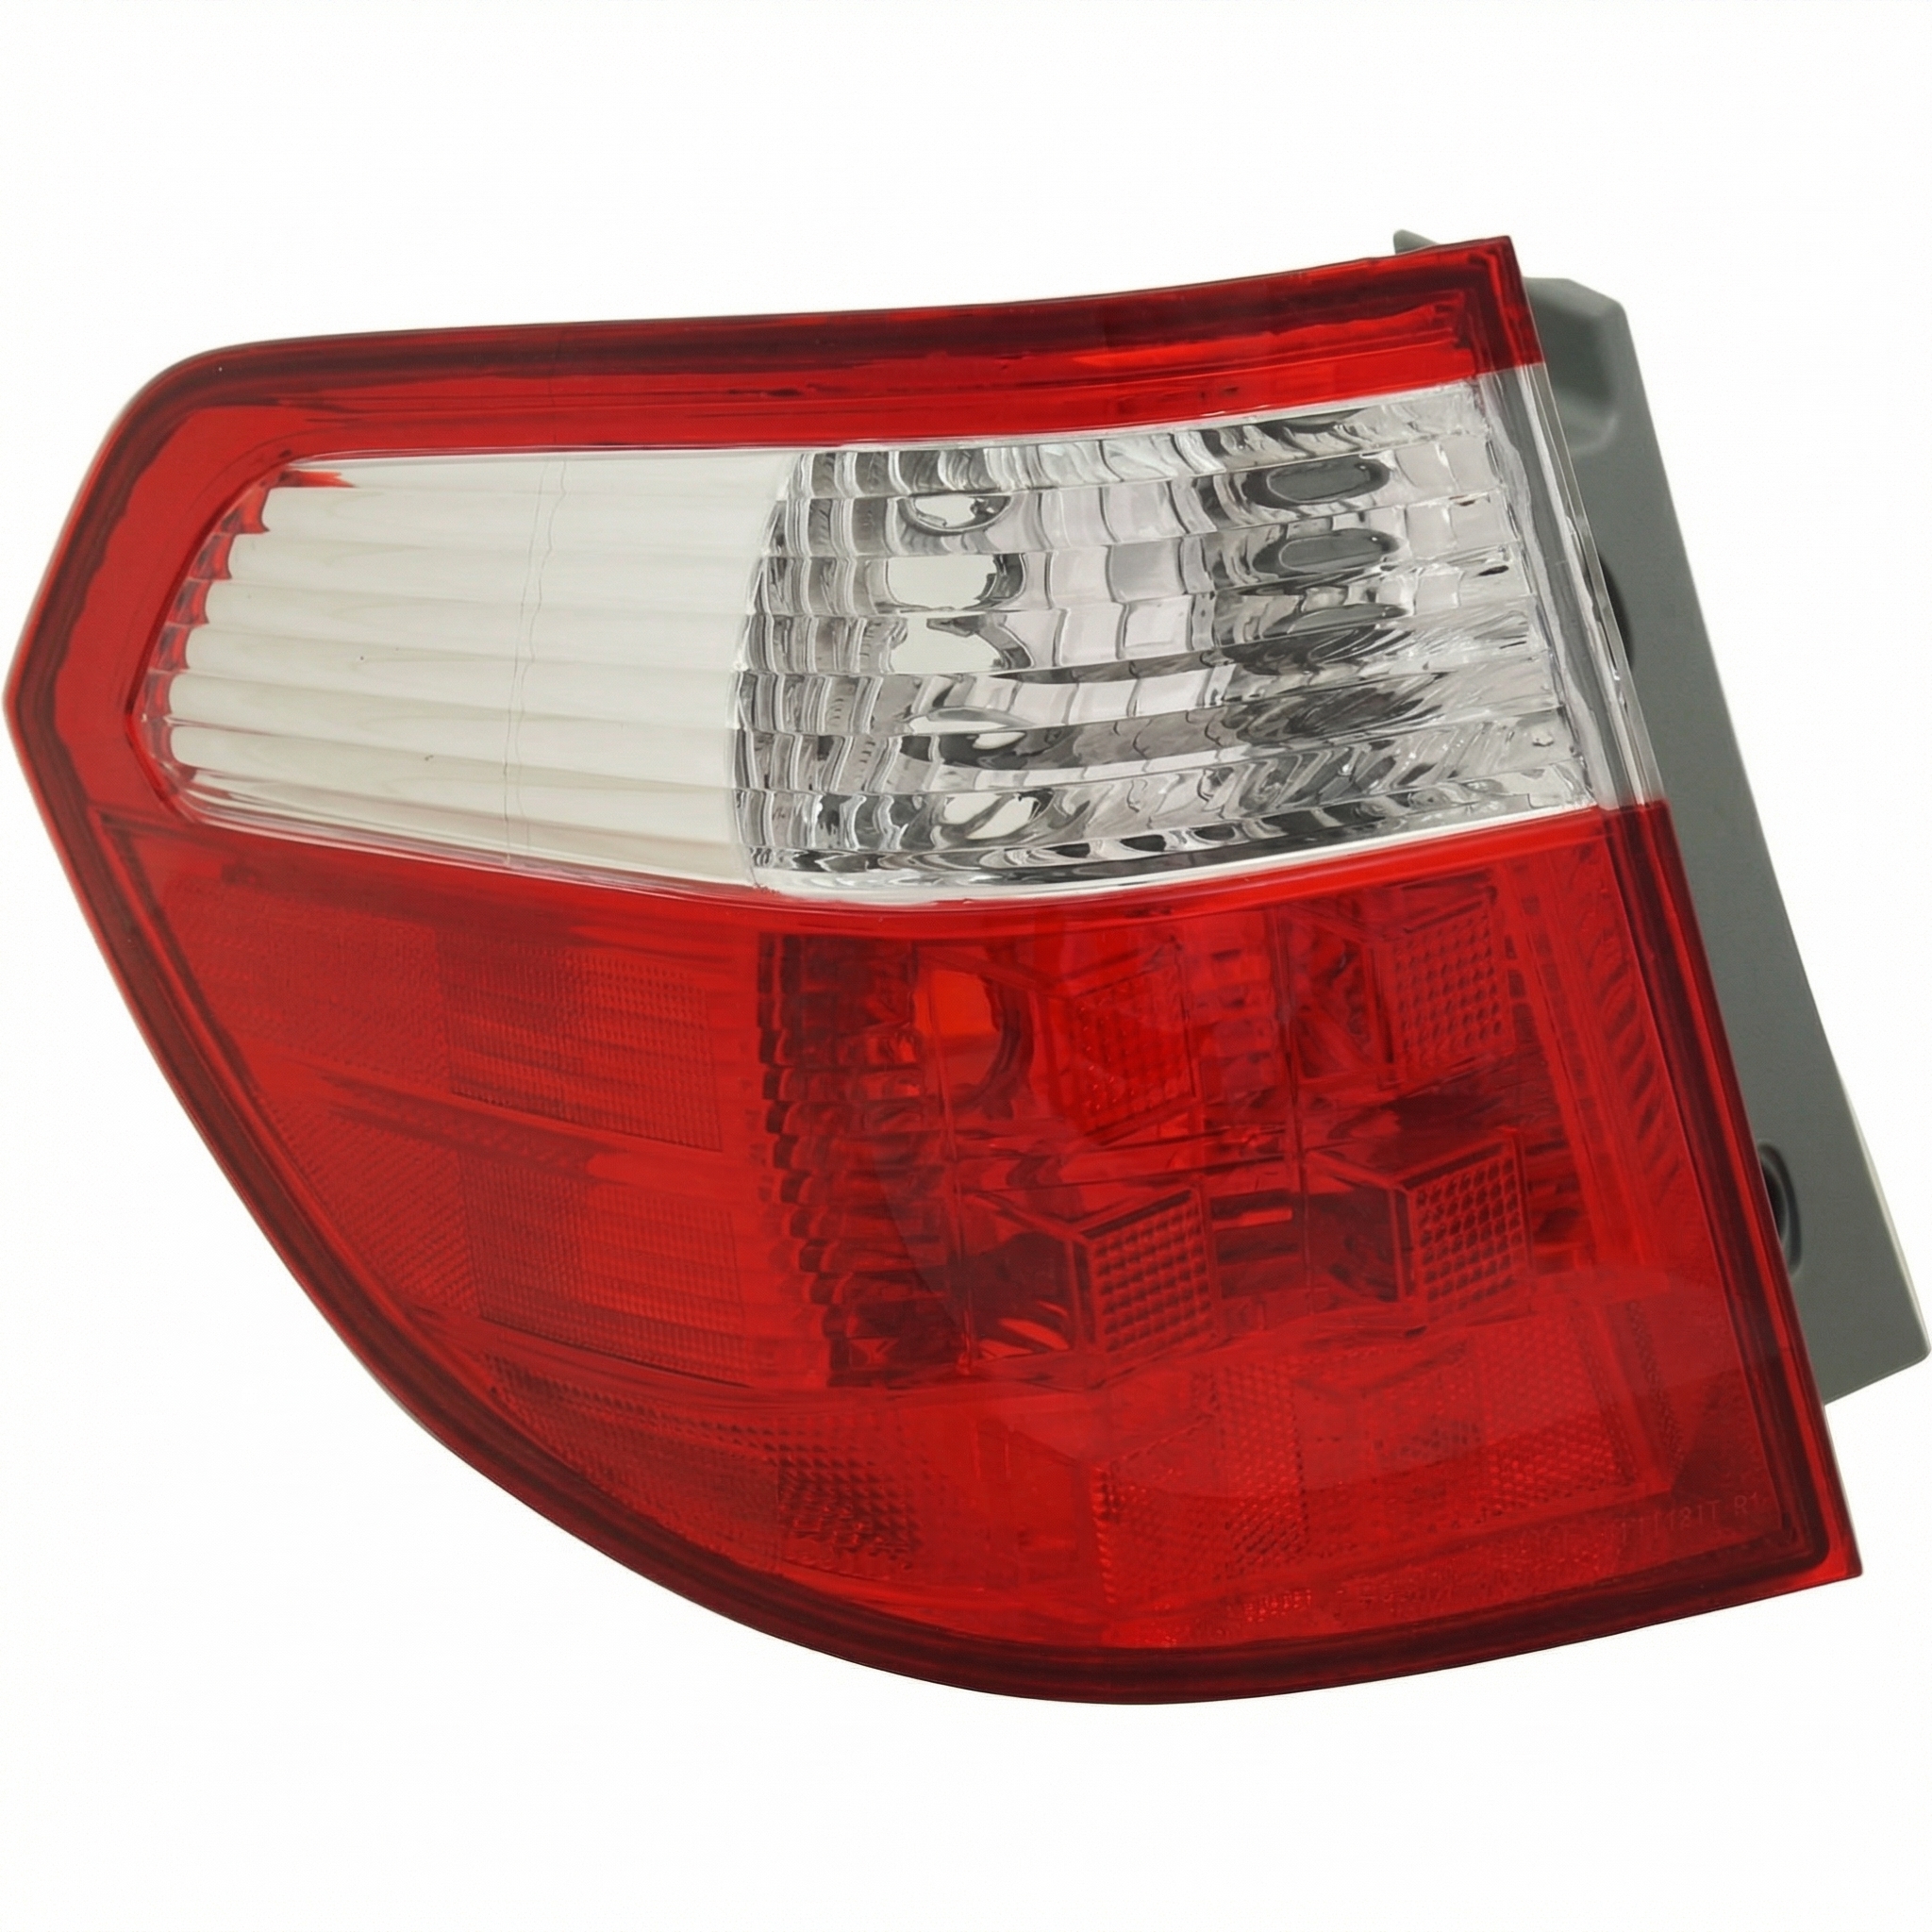
2005-2007 (Third Generation): LED Brake Light Failure
🎬 See how to replace the full assembly on 2005-2007 vans.The third-generation Odyssey was equipped with LED brake lights, which were brighter and longer-lasting than bulbs. However, their primary failure point is not the LEDs themselves, but the electronic circuit board that controls them. If this board fails, a section of the brake light or the entire light will stop working. Since the LEDs and board are integrated into the assembly, they cannot be replaced separately. The only solution is to replace the entire tail light unit.
Warning: For 2005-2007 models, a non-working brake light is not a simple bulb change. The entire assembly needs to be replaced.
Buying a Used 1999-2007 Odyssey Tail Light: What to Check
A used OEM tail light is often a great value, but a careful inspection is essential to avoid buying a part that will fail prematurely.
- Confirm the Correct Generation: This is the most important step. A light from a 2004 will not fit a 2005. Check the part number (S0X for 99-04, SHJ for 05-07) and compare the shape to your existing light.
- Inspect the Lens Thoroughly: Look for cracks, especially around the mounting points and edges. Also check for "crazing," which is a fine web of cracks in the plastic, and any haziness that could reduce light output.
- Check for Signs of Water Intrusion: Hold the light up and look for a faint "water line" or mineral deposits on the inside of the lens or on the chrome reflectors. Any sign of past moisture is a major red flag.
- Examine the Gasket (1999-2004 models): Check the condition of the foam gasket. If it's flat, torn, or brittle, it's no good. Plan on replacing it with a new one regardless of its condition for peace of mind.
- Inspect Electrical Connectors and Sockets: Look inside the bulb sockets and at the main electrical connector pins. There should be no green or white corrosion. Corroded contacts will cause flickering or dead lights.
- Verify All Mounting Points are Intact: Check that all plastic tabs and threaded studs are present and free of cracks. Broken mounting points will result in a loose fit, which can lead to new leaks.
- For 2005-2007 LED Models: Ask the seller for a guarantee that the LED portion is fully functional. If possible, ask them to test it before you buy. A used LED light that doesn't work is worthless.
Replacement Difficulty: 1 out of 5
Replacing the tail light assembly on either generation of the Honda Odyssey is a very simple job suitable for any DIYer. The process takes about 15-20 minutes.
- Difficulty Rating: 1/5 (Beginner)
- Estimated Time: 0.25 hours
- Tools Needed: Phillips screwdriver, 8mm or 10mm socket wrench, flathead screwdriver or trim removal tool.
General Replacement Steps:
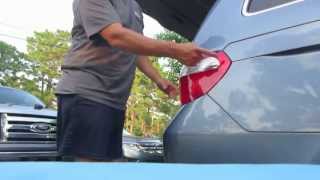
- Open the rear liftgate to access the side of the tail light.
- Use a screwdriver to pop open the small plastic covers on the interior trim panel next to the light.
- Remove the two screws or nuts (typically 8mm or Phillips head) holding the assembly in place.
- Carefully pull the tail light assembly straight back, away from the vehicle. It may be held by a small plastic locating pin, so a gentle wiggle may be needed.
- Disconnect the main electrical harness. For 1999-2004 models, you will also twist and remove the individual bulb sockets to transfer them to the new assembly.
- Install the new assembly by reversing these steps.
Cost Comparison
| Part | 1999-2004 (Gen 2) | 2005-2007 (Gen 3) |
|---|---|---|
| New OEM | $100 - $200 | $150 - $250 |
| New Aftermarket | $40 - $70 | $70 - $120 |
| Used OEM | $35 - $75 | $60 - $130 |
| Shop Labor | $30 - $60 | $30 - $60 |
Frequently Asked Questions (FAQ)
Will a tail light from a 2004 Odyssey fit my 2005 Odyssey?
No. The 2004 and 2005 models are from two different generations with completely different body styles. The parts are not interchangeable.
Why is there water inside my 2002 Odyssey's tail light? 🎬 Watch: How to seal leaking tail lights with silicone sealant.
This is almost always caused by a failed foam gasket between the light assembly and the van's body. The gasket gets old and compressed, allowing rain and car wash water to leak inside. Replacing the gasket is the best fix.
The brake light on my 2006 Odyssey is out. Can I just replace the bulb?
No. The brake light on the 2005-2007 Odyssey uses LEDs that are built into the assembly. If they fail, the entire tail light unit must be replaced. The other lights, like the turn signal and reverse light, are standard replaceable bulbs.
Why is my turn signal blinking really fast?
This is called "hyperflashing" and it's the car's way of telling you that a turn signal bulb has burned out. Check both the front and rear turn signal bulbs on the affected side.
Do I need special tools to replace the tail light?
No, you only need basic hand tools. A Phillips screwdriver and an 8mm or 10mm socket and ratchet are typically all that is required.
Helpful Videos


Technical Specifications
OEM Part Numbers: 33501-S0X-A01 33551-S0X-A01 33501-S0X-A51 33551-S0X-A51 33501-SHJ-A01 33551-SHJ-A01 33501-SHJ-A11 33551-SHJ-A11 33501-SHJ-A51 33551-SHJ-A51
Lighting Type (1999-2004): Halogen bulbs. Lighting Type (2005-2007): LED (brake light), Halogen (turn signal, reverse).
We Have This Part in Stock

The information in this article is provided for general reference and educational purposes only. Vehicle specifications, procedures, and part compatibility can vary by production date, trim level, and region. Always consult your vehicle's factory service manual and verify part numbers before purchasing or performing repairs. Safety-critical components such as airbags, seat belts, and braking systems should be installed by a qualified professional.
- Honda Odyssey:
- 🎬 Helpful Videos
- 🛍️ Shop This Part
- Key Differences: 1999-2004 vs. 2005-2007 Models
- Symptoms of a Failing Tail Light
- Known Issues by Generation
- 1999-2004 (Second Generation): Gasket Leaks and Water Damage
- 2005-2007 (Third Generation): LED Brake Light Failure
- Buying a Used 1999-2007 Odyssey Tail Light: What to Check
- Replacement Difficulty: 1 out of 5
- General Replacement Steps:
- Cost Comparison
- Frequently Asked Questions (FAQ)
- 🎟️ Get 5% Off