
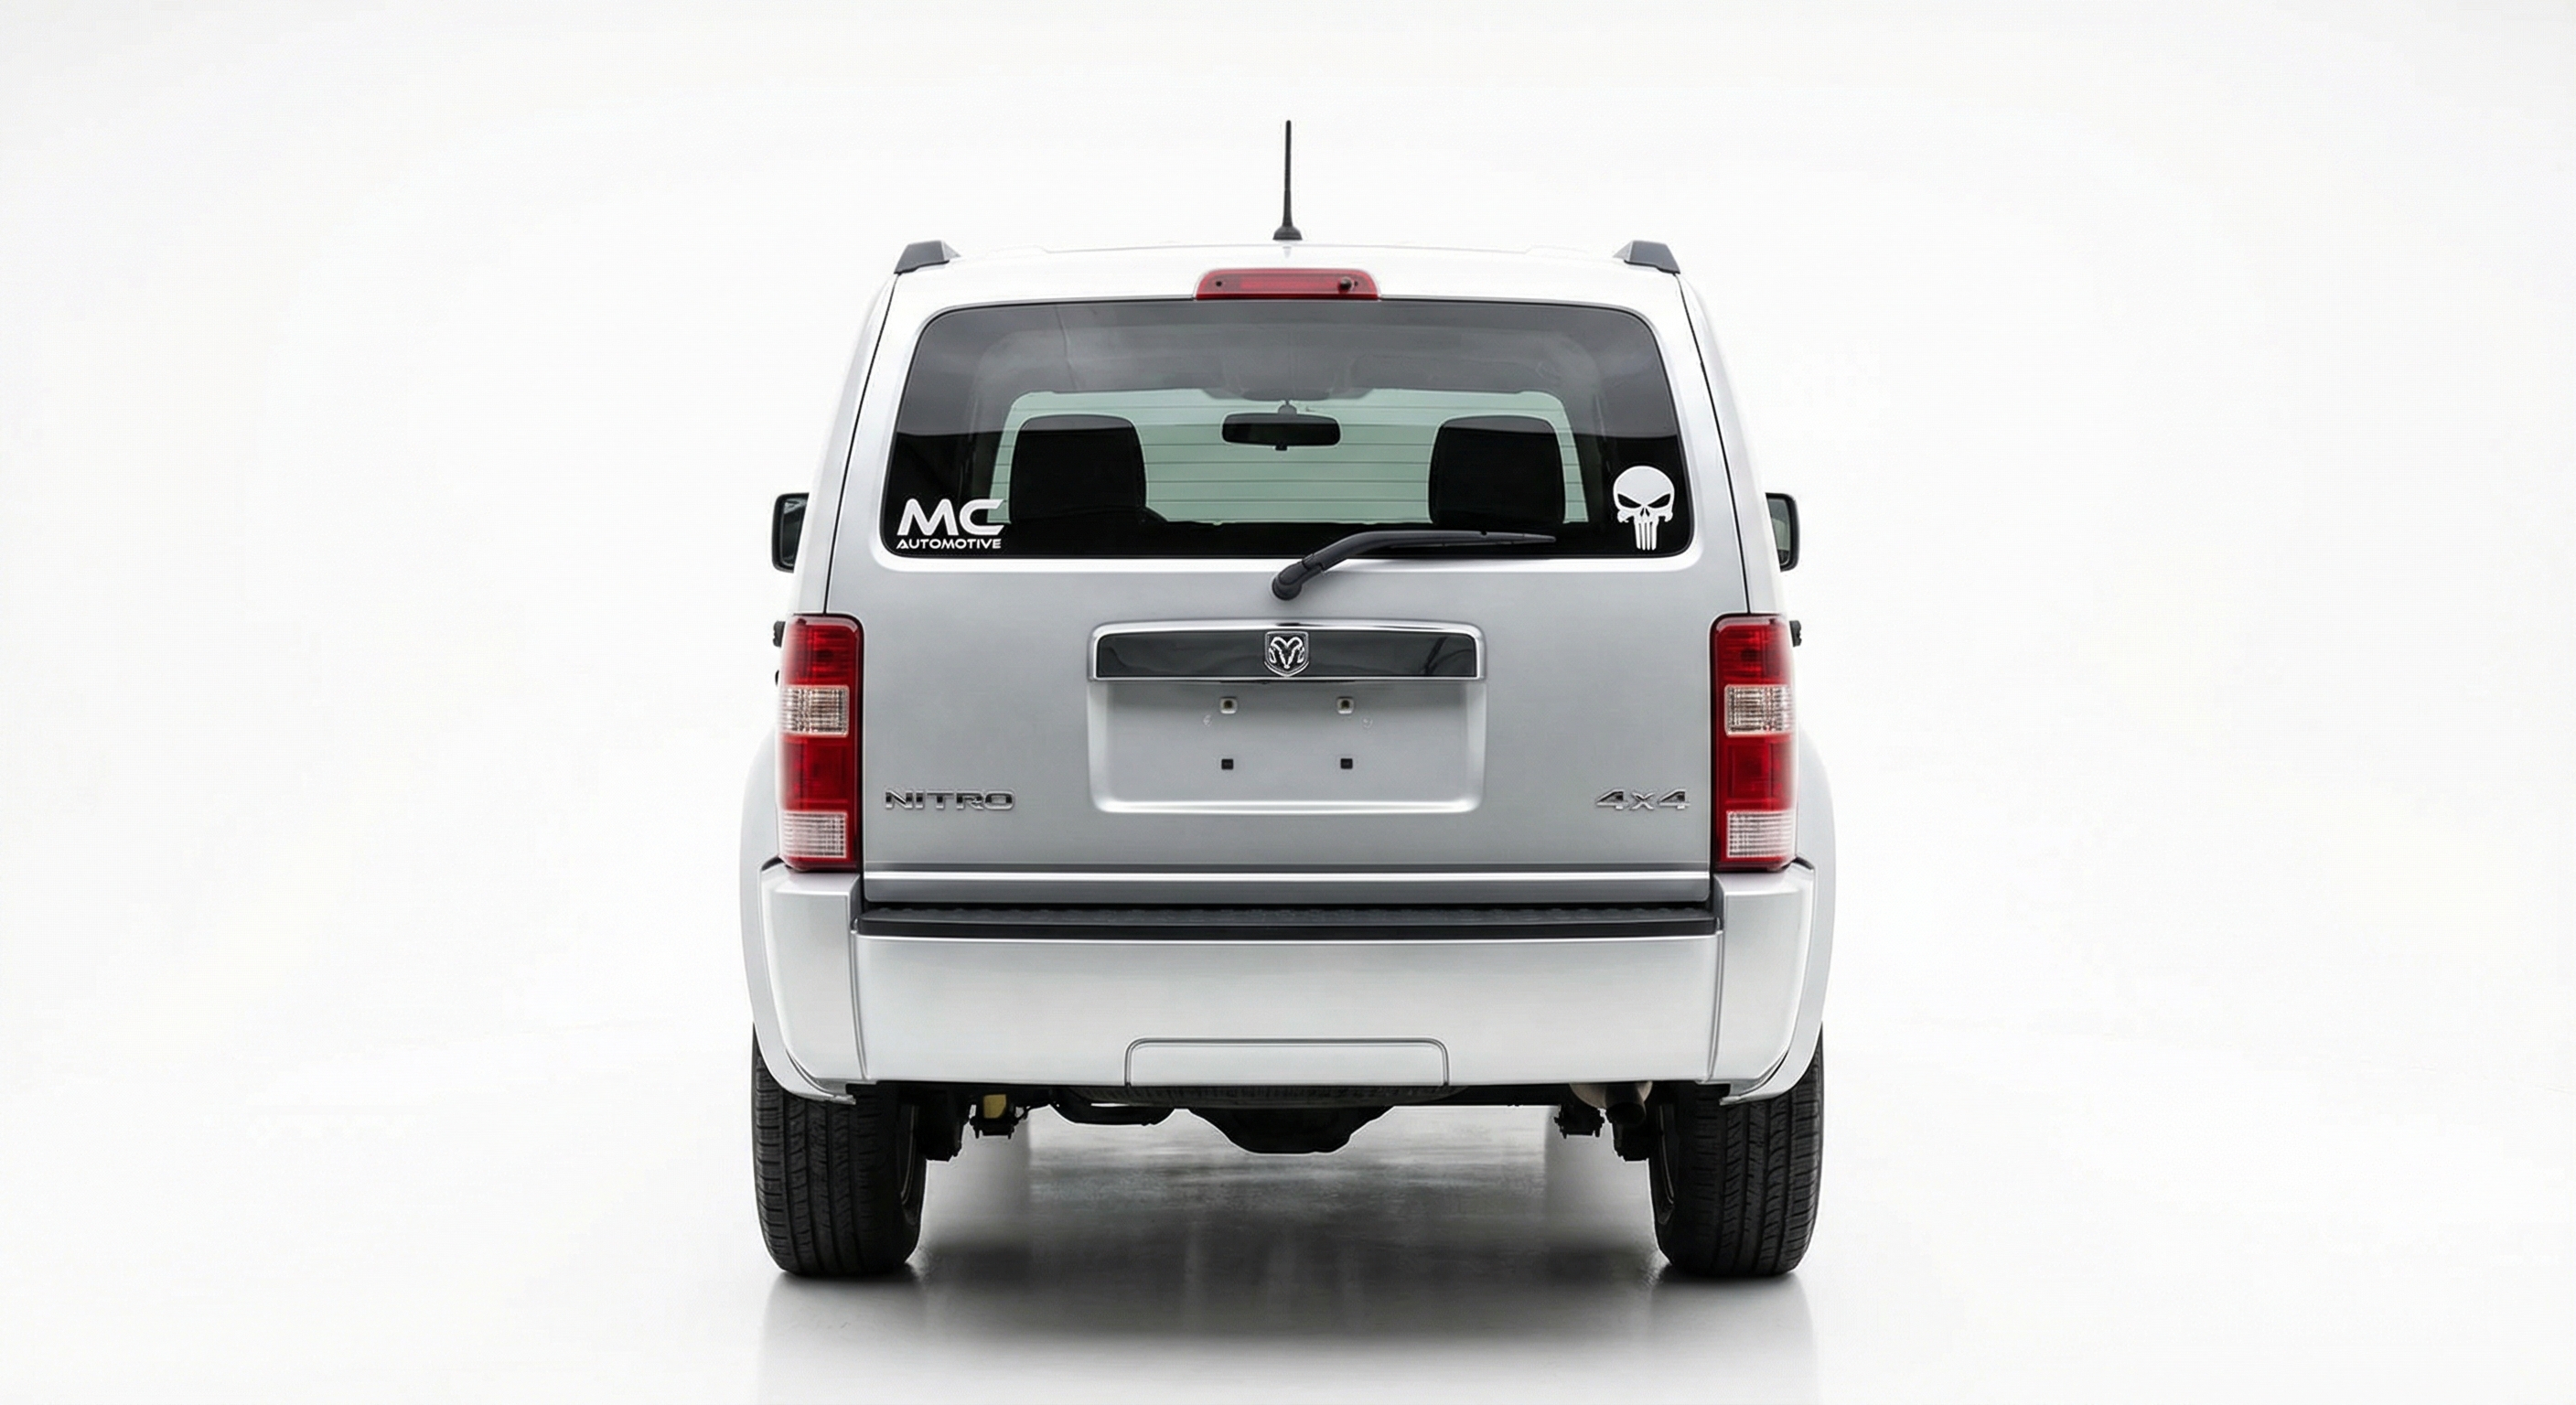
2007-12 Nitro & 2008-12 Liberty Trailer Hitch: Choosing Your Class & Recall Explained
These SUVs share a platform and a hitch, but knowing the difference between Class II and III—and understanding a major safety recall—is critical before you buy.
- You must choose between a Class II (1-1/4" receiver) for light duty and a Class III (2" receiver) for heavier use. Verify the size before buying.
- A Mopar hitch was the official fix for a major safety recall on earlier Jeeps to protect the fuel tank, highlighting the structural benefit of a quality hitch.
- Installation is an easy DIY job, but you MUST thoroughly clean the six threaded mounting holes in the vehicle's frame before starting.
- When buying used, check for cracks, bends, and deep rust. A sound, used OEM hitch is often a better value than a new, cheap aftermarket one.
Urgent Buyer's Note: Class II vs. Class III Receivers
The most important detail when buying a trailer hitch for a 2007-2012 Dodge Nitro or 2008-2012 Jeep Liberty is the receiver opening size. These vehicles were offered with two factory options, and the aftermarket supports both:
- Class II Hitches: These have a 1-1/4 inch square opening. They are intended for light-duty use, such as small utility trailers or bike racks.
- Class III Hitches: These have a 2 inch square opening. This is the more common and versatile size, suitable for towing larger trailers, campers, and using a wider variety of heavy-duty accessories.
Warning: Before purchasing, confirm which size you need. Accessories for a 1-1/4 inch receiver will not fit a 2 inch receiver without a clumsy adapter, and heavy-duty 2 inch accessories will not fit a 1-1/4 inch hitch at all. Examine product photos and descriptions carefully to ensure you are buying the correct class of hitch for your needs.
Safety Recall Context: The Mopar Hitch as a Safety Device
While the 2007-2012 Nitro and 2008-2012 Liberty were not the primary subjects, it's crucial to understand NHTSA Safety Recall 13V-252 (also known as Chrysler campaign N46). This recall affected the previous generation 2002-2007 Jeep Liberty due to the risk of the rear-mounted fuel tank leaking after certain types of rear-end collisions.
Chrysler's official remedy was to install a factory Mopar trailer hitch assembly, free of charge. The hitch acts as a structural reinforcement, helping to manage crash forces and protect the fuel tank area. If a vehicle already had an aftermarket hitch, dealers were instructed to inspect it for sharp edges that could pose a puncture risk and replace it with an OEM hitch if necessary.
Though your later-model Nitro or Liberty is not part of this specific recall, the engineering principle is the same. This history highlights the structural importance of a well-designed hitch and is a strong argument for choosing a high-quality used OEM or reputable aftermarket hitch over a cheap, poorly made alternative.
Symptoms of a Damaged or Unsafe Trailer Hitch
Unlike mechanical parts, a trailer hitch doesn't typically have symptoms like noises or warning lights when it fails. Failure is almost always structural and must be identified by visual inspection. 🎬 Watch: A pro shows you how to inspect a receiver hitch. Key things to look for include:
- Heavy Rust and Flaking: Surface rust is normal, but deep, flaking rust—especially around welds and mounting points—compromises the steel's strength.
- Cracks in Welds or Metal: Check every weld that connects the receiver tube to the cross-bar and the mounting plates to the cross-bar. Any crack, no matter how small, means the hitch is unsafe and should be replaced.
- Bent or Deformed Components: The cross-bar and mounting plates should be perfectly straight. Any bending or twisting indicates the hitch has been overloaded or damaged in an impact.
- Elongated Bolt Holes: The mounting holes should be round. If they are oval-shaped or elongated, it means the hitch has been moving under load due to loose bolts, and it may no longer be possible to secure it safely.
Pro Tip: When inspecting a vehicle, pay close attention to the hitch. If it shows signs of being bent downwards, it may be an indicator that the vehicle was used to tow loads far exceeding its capacity, potentially straining the vehicle's frame, transmission, and suspension.
Buying a Used Trailer Hitch: What to Inspect
A used OEM hitch is an excellent value, often built with thicker steel than entry-level aftermarket parts. When inspecting a used hitch for your Nitro or Liberty, here’s what to check:
- Check for Cracks and Bends: Lay the hitch on a flat concrete floor. It should sit flat without rocking. Look for any signs of bending or stress cracks in the paint and metal, especially at the welds.
- Inspect for Rust: Tap all the welds and mounting plates with a small hammer. If you hear a dull thud instead of a sharp metallic ring, or if rust flakes off in chunks, the metal is compromised. Pay special attention to the inside of the receiver tube.
- Verify the Receiver Size: Use a tape measure. Don't just eyeball it. Confirm whether it is a 1-1/4" or 2" opening.
- Check the Included Hardware: Used hitches rarely come with the correct mounting bolts. Plan on buying a new set of Grade 8 or stronger M12 bolts and conical washers for installation.
- Look at the Wiring (If Included): If the hitch includes a wiring harness, inspect it for cut wires, corroded plugs, or shoddy electrical tape splices. It's often safer and easier to buy a new, vehicle-specific "T-Connector" wiring harness.
Installation: A Simple DIY Job If You Prep
Installing a hitch on the Nitro and Liberty is a straightforward bolt-on process with no drilling required. The entire job can be done in under an hour once the vehicle is safely raised.
🎬 See this step-by-step installation walkthrough on a Jeep Liberty.- Difficulty: 2 out of 5
- Estimated Time: 1 hour
- Tools Needed: Socket set (18mm, 19mm), torque wrench, wire brush or M12x1.75 thread tap.
Key Installation Steps:
- Clean the Frame Weld Nuts: This is the most critical step. The vehicle frame has six threaded holes (three on each side) that get clogged with rust and road grime. Thoroughly clean these threads with a wire brush and penetrating oil. If they are heavily corroded, you must use an M12x1.75 tap to chase the threads. Failure to do this will prevent you from properly seating and torquing the bolts.
- Remove Existing Bolt (Driver's Side): On the driver's side, one of the forward mounting holes is used by a small bolt for the gas tank filler neck bracket. Remove this bolt; the bracket will be sandwiched between the new hitch and the frame.
- Lift the Hitch: With the help of a friend or a floor jack, lift the hitch into position, aligning the holes on the hitch with the weld nuts in the frame. The hitch weighs around 40 lbs.
- Install Bolts: Hand-thread all six new M12 bolts with conical washers (teeth facing the hitch) to ensure they don't cross-thread. Once all are started, tighten them evenly.
- Torque to Spec: Use a torque wrench to tighten all bolts to the specification listed in the hitch's installation manual, typically around 70-80 lb-ft.
| Item | Estimated Cost |
|---|---|
| New OEM (Mopar) | $350 - $500+ (Often discontinued) |
| New Aftermarket (e.g., CURT, Draw-Tite) | $170 - $300 |
| Used OEM (Salvage) | $75 - $150 |
| Shop Labor for Installation | $100 - $250 |
OEM Part Numbers & Specifications
These are known OEM Mopar part numbers. Always verify fitment with a dealer using your VIN before purchasing.
- 52109829AB
- 52109829AC
- 52125247AC
- 82210988AB (Class III, 2" Receiver, 5,000 lb rating)
Frequently Asked Questions (FAQ)
Do I need a special wiring harness for trailer lights?
Yes. The hitch itself does not include wiring. You will need a vehicle-specific wiring kit, often called a T-connector. This kit plugs directly into your vehicle's taillight harness without any cutting or splicing, providing a standard 4-pin flat connector for trailer lights.
🎬 Watch: How to install a vehicle-specific T-connector wiring harness.Will installing a hitch block my spare tire?
No. The trailer hitch is designed to fit below the rear-mounted spare tire. You will still be able to access and lower your spare tire as normal after the hitch is installed.
Can I still get the free recall hitch from a Jeep dealer?
No. The recall (N46) applied specifically to 2002-2007 Jeep Liberty models. The 2008-2012 Liberty and Dodge Nitro are not eligible for this recall campaign.
Can I really install this myself?
Yes, this is considered a very DIY-friendly project. The only common challenge is cleaning the rusty weld nuts in the frame. As long as you have a torque wrench and are willing to spend time on preparation, it is a simple bolt-on job.
Helpful Videos


Technical Specifications
OEM Part Numbers: 52109829AB 52109829AC 52125247AC 82210988AB
Receiver Sizes: 1-1/4 inch (Class II) or 2 inch (Class III). Mounting: 6-bolt pattern, direct fit to frame weld nuts. Bolt Size: M12 x 1.75.
We Have This Part in Stock

The information in this article is provided for general reference and educational purposes only. Vehicle specifications, procedures, and part compatibility can vary by production date, trim level, and region. Always consult your vehicle's factory service manual and verify part numbers before purchasing or performing repairs. Safety-critical components such as airbags, seat belts, and braking systems should be installed by a qualified professional.
- Dodge Nitro:
- Jeep Liberty:
- 🎬 Helpful Videos
- 🛍️ Shop This Part
- Urgent Buyer's Note: Class II vs. Class III Receivers
- Safety Recall Context: The Mopar Hitch as a Safety Device
- Symptoms of a Damaged or Unsafe Trailer Hitch
- Buying a Used Trailer Hitch: What to Inspect
- Installation: A Simple DIY Job If You Prep
- Key Installation Steps:
- OEM Part Numbers & Specifications
- Frequently Asked Questions (FAQ)
- 🎟️ Get 5% Off