
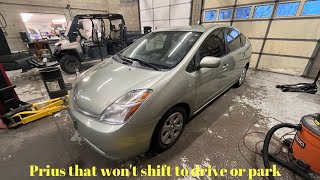
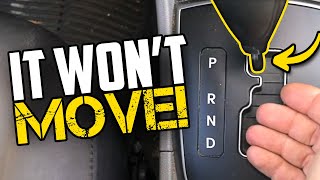
2010-2015 Prius & Prius Plug-In Shifter Problems: Won't Shift Out of Park or Stuck in Neutral
This guide diagnoses common failures of the electronic shift lever, helps distinguish a bad shifter from other hybrid system faults, and details the simple replacement process.
- A 'won't shift' symptom with a 'Check Hybrid System' light is often caused by a weak 12V battery or a failing hybrid inverter (Code P0A94), not the shifter itself. Diagnose these first.
- Replacement is a very simple DIY job, typically taking less than an hour with only a trim tool and a 12mm socket.
- This part is exclusive to the 2010-2015 Prius and 2012-2015 Prius Plug-In; it does NOT fit the Prius C or Prius V models.
- Given the high cost of a new OEM part (over $570), a warrantied used OEM part (under $100) is a very practical and reliable alternative.
Symptoms of a Failing Prius Shift Lever
A faulty shifter in a Gen 3 Prius can cause several confusing and intermittent symptoms. Because the issue is often electronic, it may appear suddenly and sometimes be temporarily fixed by turning the car off and on again.
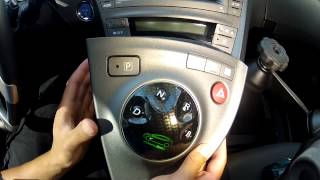
- Won't Shift Out of Park: With the car in 'Ready' mode and your foot on the brake, moving the shifter has no effect. The gear indicator on the dashboard remains on 'P'.
- Shifts to Neutral by Itself: You select Drive or Reverse, and the car may engage for a moment before popping back into Neutral on its own. In some cases, a foreign object like a mask strap can physically block the shifter from fully engaging, causing it to return to neutral. 🎬 See how a simple obstruction can solve your shifting issues.
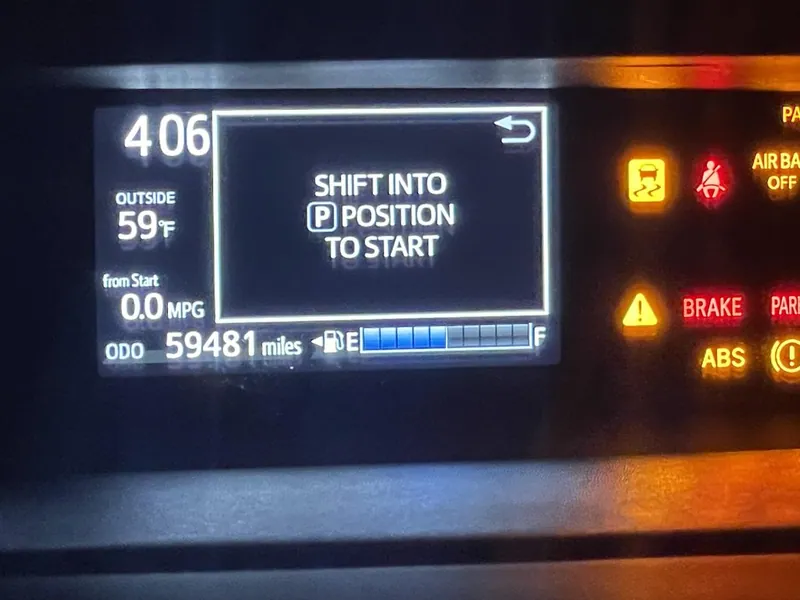
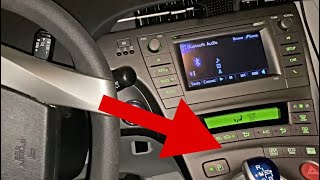
- Car Won't Start or Enter 'Ready' Mode: The computer may not receive a valid 'Park' signal from the shifter, preventing the hybrid system from starting. 🎬 Watch: Troubleshooting a Prius that won't start or enter gear. You might see a "SHIFT TO P POSITION TO START" message on the dash, even though the lever is in Park.
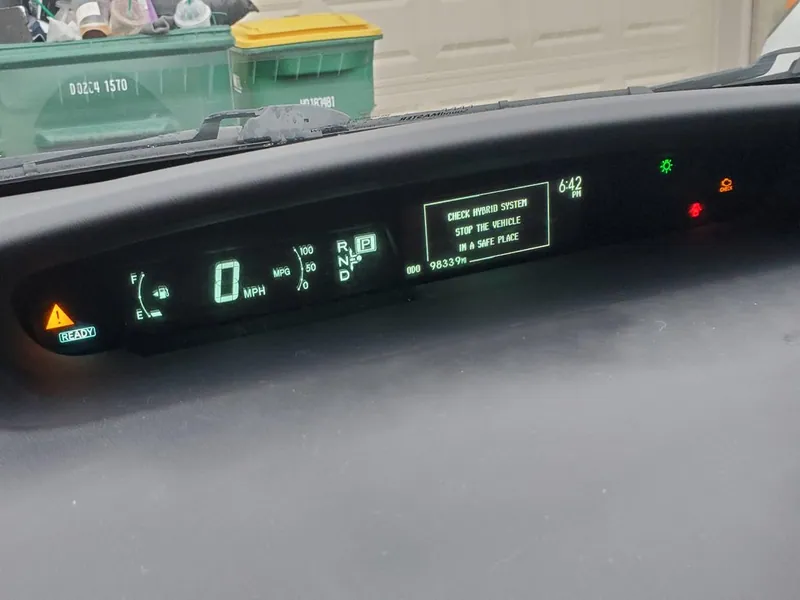
- 'Check Hybrid System' Warning Light: A fault within the shifter assembly can trigger this general warning light, which may also put the car into a low-power 'limp-home' mode.
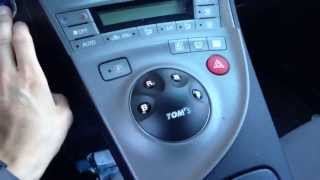
- Shifter Feels Loose or Stuck: The joystick mechanism should be smooth and spring back to its central position. If it feels limp, sticky, or gets stuck in a gear position, it points to an internal mechanical failure. 🎬 Watch this guide if your shifter feels loose or stuck.
Important: Many of these symptoms, especially being unable to shift accompanied by a 'Check Hybrid System' light, are also classic signs of a weak 12V auxiliary battery or a failing hybrid inverter (often associated with Diagnostic Trouble Code P0A94). Always test the 12V battery and have the vehicle scanned for hybrid system codes before assuming the shifter is the problem.
Known Issues, Recalls, and Technical Service Bulletins (TSBs)
While there are no major recalls specifically for the transmission shifter assembly on these models, its failure is a well-documented issue in owner forums. However, there are related service campaigns for other components that can cause similar symptoms:
- Inverter Overheating (2010-2014 Prius): Toyota issued a recall because transistors within the hybrid inverter could fail, causing warning lights and a loss of power, which could be mistaken for a shifter issue.
- EV Mode Fuse (2012-2015 Prius Plug-In): A recall was issued for a fuse related to the EV drive mode that could fail, also leading to warning lights and reduced power.
Buying a Used Transmission Shift Lever: What to Check
Given the high cost of a new OEM shifter, a used part from a reputable recycler is an excellent, cost-effective option. Since the failures are often electronic and not visible, here’s what to focus on.
1. Verify the Part Number
This is the most critical step. The assembly must be from a 2010-2015 Prius or 2012-2015 Prius Plug-In. It will NOT fit a Prius C or Prius V. Check the part number on the housing. The latest part number is 33550-47053-B1, which supersedes earlier versions like 33550-47051, 33550-47051-B0, and 33550-47052-B0. Any of these numbers will work, but the latest revision is always preferable.
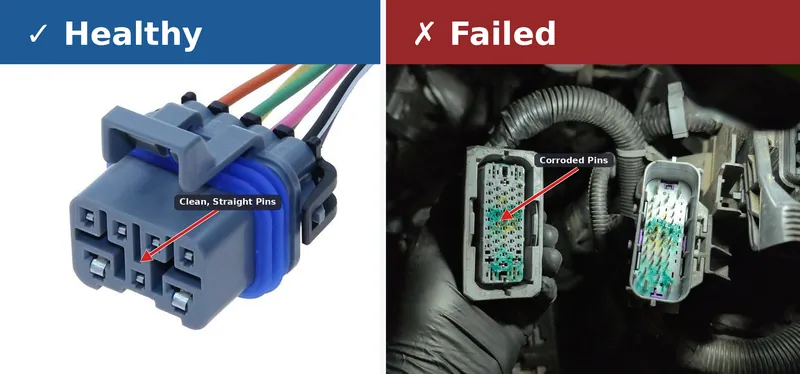
2. Inspect the Connector
Carefully inspect the electrical connector and its pins. Look for any signs of corrosion, bent pins, or damage to the plastic housing. This is the part's only communication link to the car, so it must be in perfect condition.
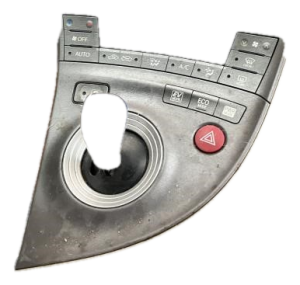
3. Check Physical Condition
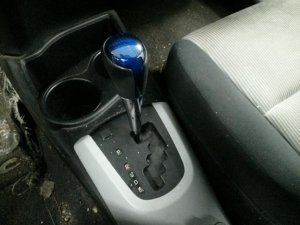
While less critical than the electronics, check the plastic housing for cracks or damage from the donor vehicle. Ensure the blue shift knob is present and not damaged, though it can be unscrewed and swapped from your old unit if needed.
4. Prioritize Seller Reputation and Warranty
Because the most common failure modes are internal and electronic, you cannot verify the part's full functionality by looking at it. Buy from an established auto recycler that offers a warranty and a clear return policy. This protects you in case the used part has the same intermittent electronic fault.
Replacement Guide
Replacing the shifter assembly is a straightforward DIY job that can be completed in under an hour with basic tools.
- Difficulty: 2/5
- Estimated Time: 0.5 - 1.0 Hours
- Tools Needed: Plastic trim removal tool, 12mm socket with extension.
Step-by-Step Overview
- Disconnect the 12V Battery: Before starting, disconnect the negative terminal of the 12V battery in the trunk as a safety precaution.
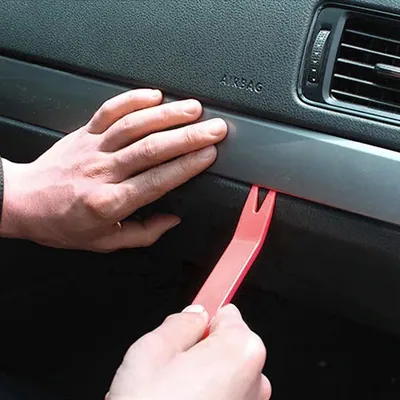
- Remove Console Trim: Carefully pry up the large plastic trim piece that surrounds the shifter and climate controls. It is held in by clips.
- Unbolt the Shifter: Use a 12mm socket to remove the three nuts that secure the shifter assembly to the console base.
- Disconnect and Remove: Lift the old shifter assembly up, disconnect the single electrical plug on the side, and remove it from the vehicle.
- Install the New Shifter: Installation is the reverse of removal. Connect the electrical plug to the new assembly, position it over the studs, and tighten the three 12mm nuts. Snap the console trim back into place and reconnect the battery.
Pro Tip: After installation, turn the car to 'Ready' mode and cycle through all the gears (R, N, D, B) and press the Park button to ensure everything is functioning correctly before you start driving. No special programming is required.
Cost to Replace a Prius Shifter Assembly
The cost can vary dramatically depending on the source of the part.
| Part / Service | Estimated Cost |
|---|---|
| New OEM Assembly | $570 - $855 |
| New Aftermarket Assembly | Not commonly available |
| Used OEM Assembly | $40 - $100 |
| Shop Labor | $75 - $150 |
Frequently Asked Questions (FAQ)
Can I still drive my Prius if the shifter is failing?
No. If the vehicle will not reliably stay in gear or engage Park, it is a safety hazard and should not be driven. If you are unable to shift out of Park, the vehicle is not drivable.
Will this shifter fit my 2014 Prius V or Prius C?
No, absolutely not. This shifter assembly is only compatible with the standard 2010-2015 Toyota Prius and the 2012-2015 Toyota Prius Plug-In. The Prius V (wagon) and Prius C (compact) are built on different platforms and use completely different parts.
Do I need to program the shifter after installing it?
No, there is no special programming or calibration required. It is a plug-and-play component. Disconnecting the 12V battery during the swap is recommended to allow the car's systems to reset and recognize the new part upon reconnection.
My car won't shift, but there are no warning lights. Could it still be the shifter?
Yes. An internal mechanical failure (like a broken spring) or an electrical fault that doesn't trigger a specific diagnostic code can still prevent the shifter from working. However, it's always wise to first check for simple things, like an object obstructing the shifter's movement, and to test the 12V battery.
Compatible Part Numbers and Vehicle Fitment
| Description | Details |
|---|---|
| Vehicles | 2010-2015 Toyota Prius 2012-2015 Toyota Prius Plug-In |
| Engine | 1.8L Hybrid |
| OEM Part Numbers | 33550-47053-B1 (latest) 33550-47052-B0 33550-47051-B0 33550-47051 |
Compatibility Warning: This part is for the standard Prius liftback and Prius Plug-In only. It is not interchangeable with the Toyota Prius C or Toyota Prius V models.
Helpful Videos
Technical Specifications
OEM Part Numbers: 33550-47053-B1 33550-47052-B0 33550-47051-B0 33550-47051
Electronic 'shift-by-wire' joystick assembly with a single electrical connector. Secured by three 12mm nuts.
We Have This Part in Stock

The information in this article is provided for general reference and educational purposes only. Vehicle specifications, procedures, and part compatibility can vary by production date, trim level, and region. Always consult your vehicle's factory service manual and verify part numbers before purchasing or performing repairs. Safety-critical components such as airbags, seat belts, and braking systems should be installed by a qualified professional.
- Toyota Prius:
- Toyota Prius Plug-In:
- 🎬 Helpful Videos
- 🛍️ Shop This Part
- Symptoms of a Failing Prius Shift Lever
- Known Issues, Recalls, and Technical Service Bulletins (TSBs)
- Buying a Used Transmission Shift Lever: What to Check
- 1. Verify the Part Number
- 2. Inspect the Connector
- 3. Check Physical Condition
- 4. Prioritize Seller Reputation and Warranty
- Replacement Guide
- Step-by-Step Overview
- Cost to Replace a Prius Shifter Assembly
- Frequently Asked Questions (FAQ)
- Compatible Part Numbers and Vehicle Fitment
- 🎟️ Get 5% Off