
Equinox, Terrain, SRX & Captiva Sport Hard Brake Pedal: Electric Vacuum Pump Diagnosis (2010-2017)
Diagnose and fix a hard brake pedal and 'Service Brake Assist' warnings on your 2010-2017 GM SUV by inspecting the auxiliary electric brake vacuum pump.
- The primary symptom of failure is a hard brake pedal and a 'Service Brake Assist' message, which is a major safety hazard.
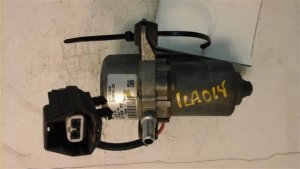
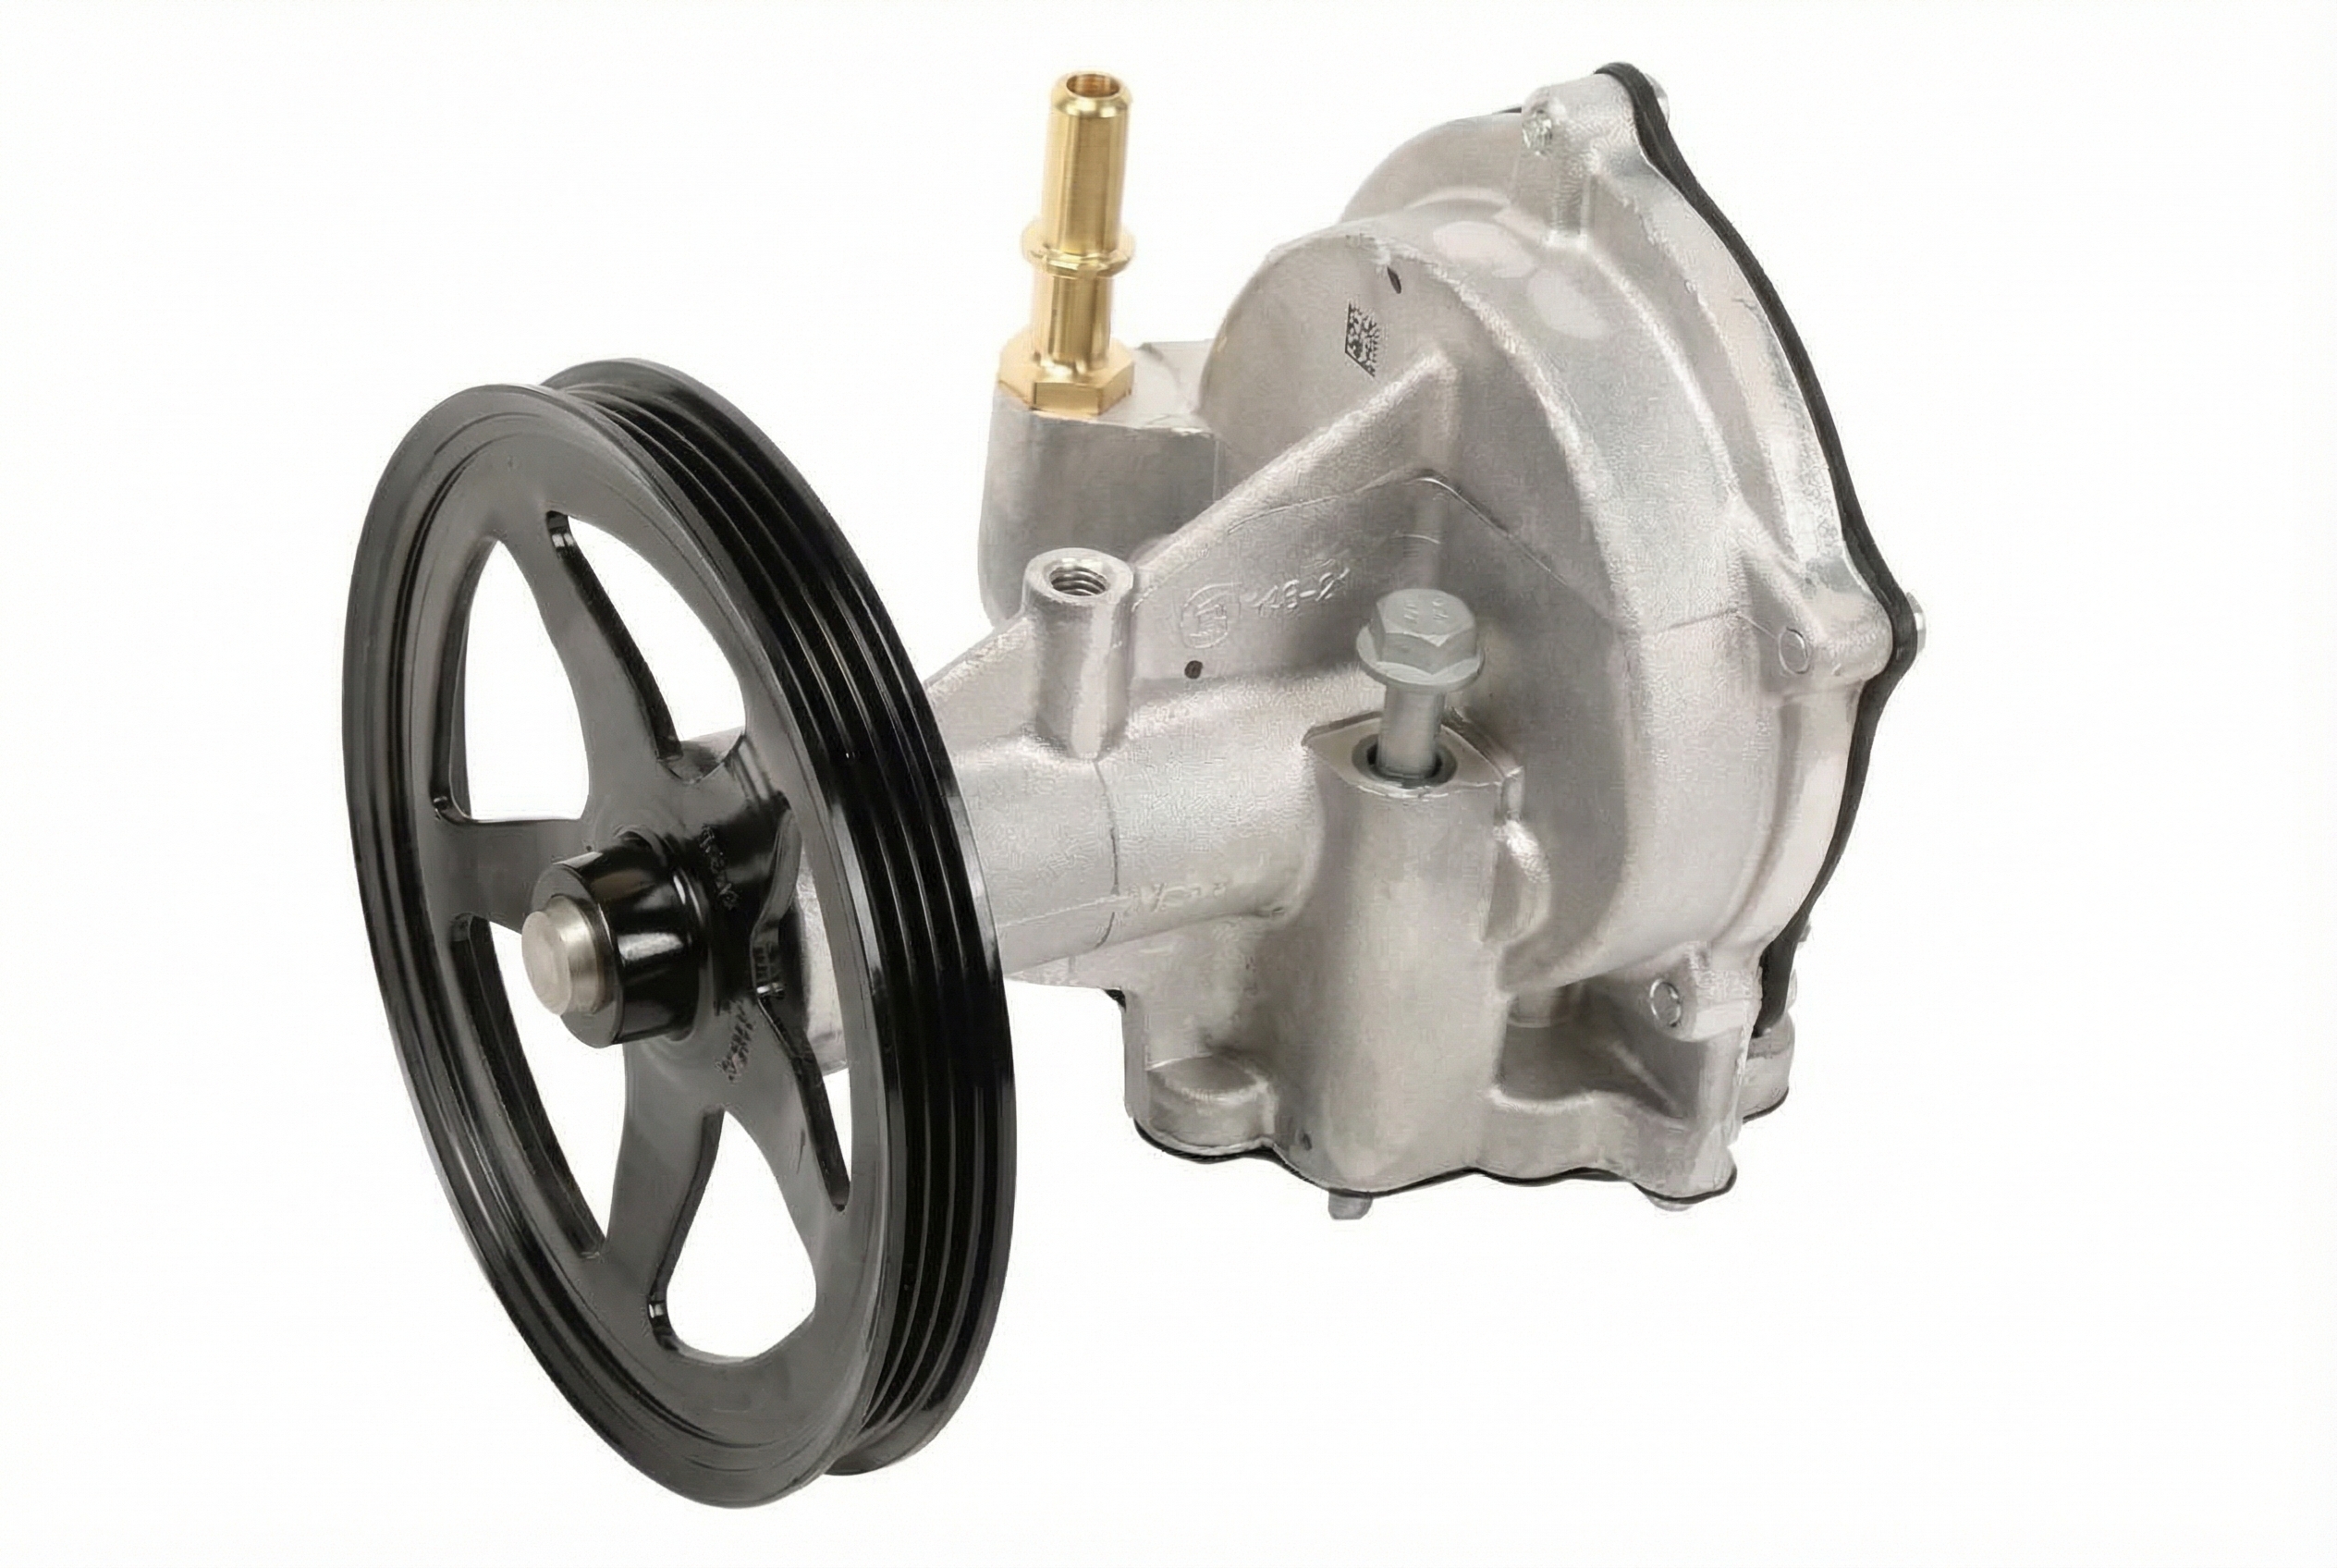
- This guide covers the auxiliary *electric* pump (part #20939309, 42853909), not the mechanical, engine-driven pump on some 2.4L models which fails by leaking oil.
- Before replacing the pump, always check the dedicated fuse in the under-hood fuse box first.
- Driving with a failed pump is dangerous; the loss of power assist significantly increases stopping distances.
Symptoms of a Failing Electric Vacuum Pump
When this electric pump begins to fail, the symptoms are directly related to braking performance and are a major safety concern. Unlike the separate mechanical vacuum pump found on some 2.4L engines that is known for oil leaks, the failure of this electric pump is all about brake feel and warning messages.
- Hard Brake Pedal: This is the most common and dangerous symptom. The pedal will feel stiff and require significantly more leg strength to press, especially on the first one or two stops after starting the vehicle. This happens because the brake booster isn't getting the vacuum it needs to provide power assist.
- "Service Brake Assist" Message: Your driver information center (DIC) will likely display a "Service Brake Assist" warning. This message indicates the vehicle's computer has detected a fault in the braking system, and a non-functioning vacuum pump is a common cause.
- Increased Stopping Distance: Because you can't apply as much force to the brakes without power assist, your vehicle will take longer to stop than you are used to.
- Hissing Noises: In some cases, you might hear a hissing sound from near the brake pedal or under the hood when you press the brakes, which could indicate a vacuum leak in the pump or its hoses.
Diagnosing the Issue
If you experience a hard brake pedal, don't immediately assume the pump is bad. Here is a simple diagnostic process to follow:
- Check the Fuse: Before replacing any parts, check the fuse for the brake vacuum pump. It is typically located in the under-hood fuse box. On the Equinox and Terrain, this is often fuse #3. If the fuse is blown, replacing it may be a simple fix, though you should question why it blew in the first place.
- Listen for Pump Operation: The pump should run briefly when you first start the car or press the brake pedal several times with the engine off. Have a helper press the brake pedal while you listen for the pump's whirring sound. It is generally located on the driver's side of the engine bay, near the firewall and brake booster. If you hear nothing, the pump's motor has likely failed. If it runs continuously, it may have a leak and cannot build sufficient vacuum.
- Inspect for Obvious Damage: Visually inspect the pump and its vacuum lines. Look for cracks in the plastic housing or disconnected, brittle, or broken vacuum hoses.
Warning: A hard brake pedal is a serious safety issue. Do not drive a vehicle that requires excessive force to stop. The loss of power brake assist makes the vehicle dangerous and significantly increases the risk of a collision.
Buying a Used Electric Vacuum Pump
A used OEM vacuum pump can be a reliable and cost-effective alternative to an expensive new part. Since this is an electrical component, here’s what to look for when buying a recycled part.
- Verify Compatibility: These vehicles were offered with different brake systems. Before ordering, confirm your vehicle is equipped with this auxiliary electric pump. Match the part number on your original pump to the one you are buying. Key OEM part numbers are 20939309, which was replaced by 42853909. Part number 25925575 is also an older version.
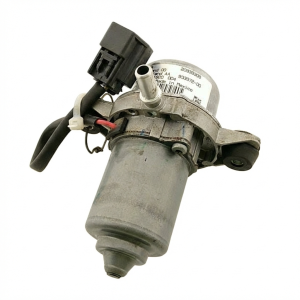
- Inspect the Housing: Carefully check the black plastic body of the pump for any cracks, especially around the mounting points and the vacuum hose nipples. A cracked housing will cause a vacuum leak, making the part useless.
- Check the Electrical Connector: The electrical connector pins should be clean, straight, and free of any green or white corrosion. A damaged connector or corroded pins can prevent the pump from getting power.
- Consider Mileage and Source: Choose a pump from a lower-mileage, accident-damaged vehicle if possible. A part from a vehicle that was running and driving prior to being dismantled is always preferable to one from a vehicle with unknown history.
- Why Used OEM is a Good Choice: A genuine GM used part that has been tested is often more reliable than a cheap, new aftermarket alternative. The original motors and seals were built to GM's specifications for durability and performance.
Replacement Overview
- Difficulty: 2 out of 5
- Estimated Time: 0.5 - 1 hour
- Location: The electric vacuum pump is typically mounted to the firewall or a bracket in the engine bay on the driver's side, near the brake master cylinder and booster.
- General Steps: Disconnect the negative battery terminal. Unplug the electrical connector from the pump. Carefully disconnect the vacuum hose. Remove the two or three bolts holding the pump to its bracket or the firewall and remove it. Installation is the reverse of removal.
Pro Tip: When disconnecting the vacuum hose, be gentle. The plastic nipple on the pump can become brittle with age and break easily. If the hose is stuck, try twisting it slightly to break the seal before pulling it off.
Cost of Replacing the Electric Vacuum Pump
Prices can vary based on your location and vehicle. Here are typical cost ranges:
| Part Type | Price Range |
|---|---|
| New OEM (GM Genuine) | $145 - $275 |
| New Aftermarket | $90 - $180 |
| Used OEM | $50 - $100 |
| Shop Labor | $100 - $225 |
Frequently Asked Questions (FAQ)
What's the difference between this electric pump and the mechanical one on the 2.4L engine?
This is an auxiliary electric pump used to supplement vacuum for the brake booster. Some 2.4L engines also use a mechanical, camshaft-driven vacuum pump which is a completely different part. The mechanical pump is known to fail by leaking oil, often due to a separate PCV system issue (GM TSB 14882), while this electric pump's failure symptom is a hard brake pedal.
Is a "Service Brake Assist" warning always caused by the vacuum pump?
No. While a failed vacuum pump is a common cause, this warning can also be triggered by other issues, such as a bad brake pedal sensor, a faulty ABS sensor, low or contaminated brake fluid, or a problem with the brake booster itself. However, if the warning appears along with a hard brake pedal, the vacuum pump is a primary suspect.
Can I drive my vehicle with a bad electric vacuum pump?
It is not recommended. While the vehicle will still stop, the amount of pedal force required is dramatically increased, which is extremely dangerous in a panic stop situation. For your safety, the vehicle should be repaired as soon as possible.
Do I need to bleed the brakes after replacing this pump?
No. This pump is part of the vacuum system, not the hydraulic system. As long as you only replace the pump and its vacuum line, you do not need to bleed the brakes.
Known Issues and Recalls
While there are no specific recalls for the electric vacuum pump on the 2010-2017 Equinox, Terrain, SRX, or Captiva Sport, GM has issued recalls and special coverage adjustments for similar vacuum pump issues on other vehicles like the Silverado and Tahoe (NHTSA Recall 19V645000). This indicates a history of issues with brake vacuum supply on various GM platforms. The most common issue reported by owners of the vehicles covered in this guide is the sudden onset of a hard brake pedal, which is resolved by replacing this pump.
Technical Specifications
OEM Part Numbers: 20939309 25925575 42853909
Electric auxiliary vacuum pump for power brake booster system. Typically operates on a 12V system and is controlled by the vehicle's ECU.
We Have This Part in Stock


The information in this article is provided for general reference and educational purposes only. Vehicle specifications, procedures, and part compatibility can vary by production date, trim level, and region. Always consult your vehicle's factory service manual and verify part numbers before purchasing or performing repairs. Safety-critical components such as airbags, seat belts, and braking systems should be installed by a qualified professional.
- Chevrolet Equinox:
- GMC Terrain:
- Cadillac SRX:
- Chevrolet Captiva Sport: