
2003-2008 Honda Pilot Window Regulator: Diagnosing Noises, Slowness, and Failure
A complete guide to identifying common window regulator problems in your first-generation Honda Pilot and choosing a reliable used replacement.
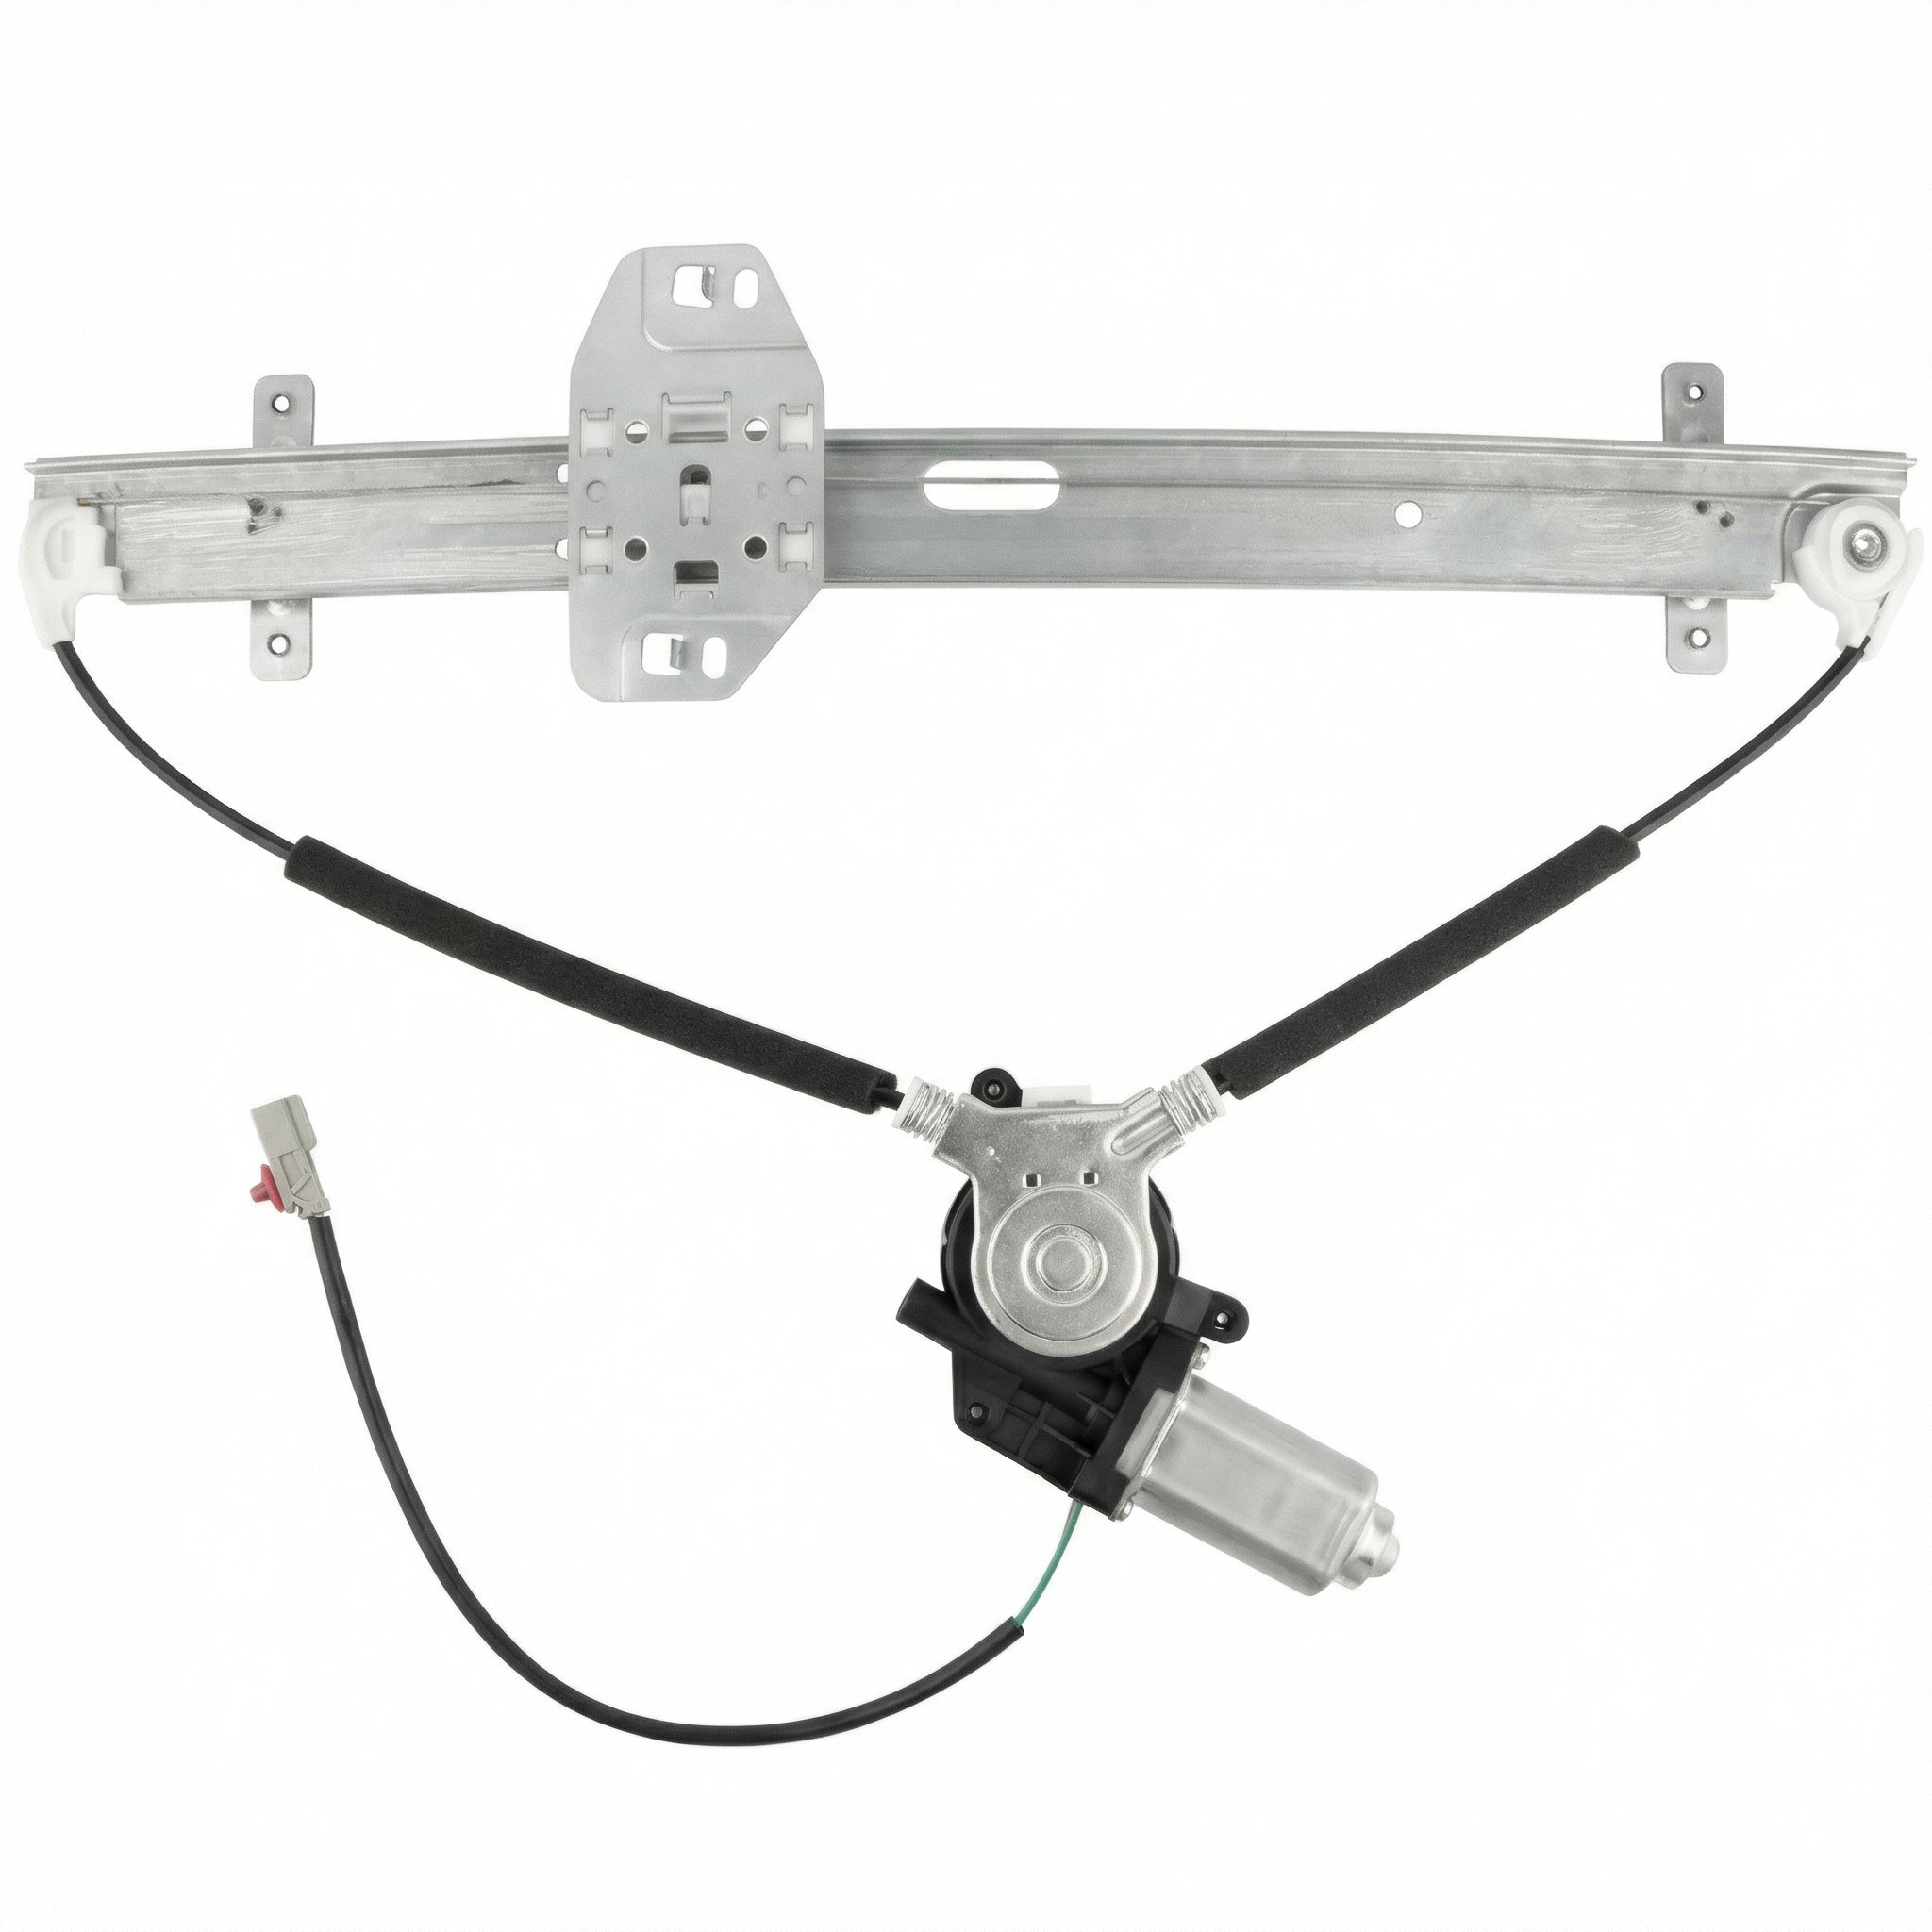
- The most common failure is a snapped or frayed cable, which causes grinding noises or a dropped window.
- There are no recalls for this part; failure is due to normal wear and tear.
- Replacement is a manageable DIY job for most, requiring basic tools and about 1-2 hours.
- When buying used, carefully inspect the cables for any fraying or damage, as this is the primary weak point.
Symptoms of a Failing Window Regulator

A window regulator failure on a 2003-2008 Honda Pilot typically gives several warning signs. The most common cause of failure is the steel cable inside the assembly fraying, snapping, or getting tangled. Paying attention to these symptoms can help you diagnose the problem before the window fails completely.
- Grinding or Popping Noises: A grinding, clicking, or popping sound when you operate the window is a classic sign of a problem. This noise is often caused by a frayed cable catching on the pulleys or the motor gears struggling with a tangled cable.
- Slow or Erratic Window Speed: If the window moves noticeably slower than it used to, or if it speeds up and slows down as it moves, the motor may be straining or the regulator tracks may have excess friction.
- Crooked Window: A window that tilts to one side as it goes up or down is a clear indicator of a regulator issue. This usually means a guide clip has broken or the cable has stretched or broken on one side, causing the glass to lift unevenly.
- Window Drops Inside the Door: The most dramatic symptom is the window suddenly falling into the door. This indicates a complete failure, usually from a snapped cable, and means the glass is no longer supported by the regulator.
- Window Won't Stay Up: You may be able to push the window up by hand, but it slowly slides back down on its own. This happens when the regulator mechanism can no longer hold the weight of the glass.
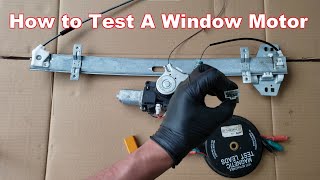
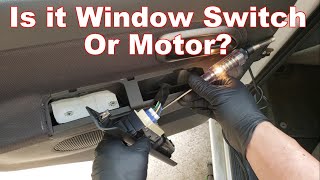
Pro Tip: If you hear the motor whirring inside the door but the window doesn't move, the motor is likely fine, but it has become disconnected from the regulator's cable mechanism. If you hear nothing at all, try tapping on the inside of the door panel over the motor's location while holding the switch; a temporary response suggests a failing motor. If that doesn't work, the issue could be the switch or a wiring problem.
🎬 Watch: How to diagnose if the window switch or motor is badBuying a Used Window Regulator for a 2003-2008 Pilot

For this generation of Pilot, a high-quality used OEM window regulator is often a better value than a new aftermarket part. Original Honda parts are built to a high standard of fit and material quality, whereas some aftermarket parts can have issues with motor longevity or improper fitment, leading to premature failure. Here’s what to inspect before buying a used unit.
Physical Inspection Checklist:
- Inspect the Cables: This is the most critical check. Look at all visible sections of the steel cables. Reject any regulator that has even minor fraying, kinks, or rust. A damaged cable is the primary failure point and will fail again.
- Check Plastic Pulleys and Clips: Examine the plastic wheels (pulleys) that the cables ride on. Ensure they are not cracked, chipped, or excessively worn. Also, check the plastic clips that attach to the window glass for any signs of cracking or stress.
- Examine the Metal Track: Look down the length of the main metal rail. It should be perfectly straight. Any bends or damage can cause the window to bind and will put stress on the motor and cables.
- Verify the Motor and Connector: Ensure the electric motor is attached and the wiring harness and connector are intact with no cut wires or damage.
- Confirm Compatibility: The regulators are specific to each of the four doors. Make sure you are buying for the correct position (e.g., Front Driver Side, Rear Passenger Side). See the part numbers section below to verify.
Known Issues, Recalls, and TSBs
There are no recalls or Technical Service Bulletins (TSBs) issued by Honda or the NHTSA specifically for window regulator failure on the 2003-2008 Honda Pilot. While numerous recalls exist for this vehicle generation, they are related to Takata airbags and ignition interlock systems, not the power windows.
Replacement Overview and Difficulty

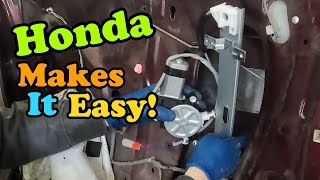
Replacing the window regulator is a common DIY task for those with basic mechanical skills. The process is similar for both front and rear doors.
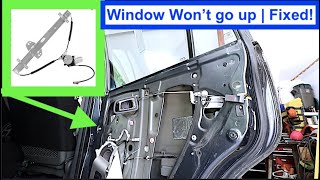
🎬 Watch: How to replace the rear window regulator- Remove the Interior Door Panel: This involves removing a few screws (behind the door handle, in the armrest) and then carefully prying the panel off to release its plastic clips.
- Peel Back the Vapor Barrier: Carefully pull back the plastic sheet behind the door panel to access the regulator. Try not to tear it, as it protects the interior from moisture.
- Secure the Window Glass: If the window is not already at the bottom of the door, you will need to temporarily reconnect the switch and move the regulator until you can see the two 10mm bolts that attach it to the glass. Loosen these bolts, then slide the glass all the way to the top of the door frame and secure it firmly with painter's tape. This prevents it from falling and breaking.
- Unbolt and Remove the Regulator: Disconnect the motor's electrical plug. Remove the several 10mm bolts holding the regulator assembly to the door frame. The assembly can then be maneuvered out through the large access hole in the door. 🎬 See this step-by-step front window regulator replacement walkthrough
- Installation: Installation is the reverse of removal. Install the new regulator, lower the glass to meet it, secure the bolts, and test the window's operation before reinstalling the vapor barrier and door panel.
Warning: Be careful when handling the window glass. It can be heavy and awkward. Taping it securely to the door frame is a critical safety step.
Cost Comparison (2003-2008 Honda Pilot)
| Part Type | Estimated Cost |
|---|---|
| New OEM | $170 - $260 |
| New Aftermarket | $75 - $120 |
| Used OEM | $70 - $110 |
| Shop Labor | $105 - $200 |
Frequently Asked Questions (FAQ)
Can I just replace the motor or the cable instead of the whole assembly?
No, for the 2003-2008 Honda Pilot, the window regulator and motor are sold as a complete assembly. The cables are not available as a separate replacement part from Honda. This integrated design simplifies replacement.
Is the front window regulator the same as the rear one?
No, all four doors use a unique window regulator. They are not interchangeable. You must purchase the correct part for the specific door you are repairing (e.g., Front Left, Rear Right).
Do I need to reset anything after installing a new window regulator?
Some Honda models require a reset procedure for the 'auto up/down' feature. After installation, you can try to reset it by rolling the window all the way down while holding the button, continuing to hold it for 5-10 seconds, then rolling it all the way up and holding the button for another 5-10 seconds. However, this may not always work, and you might lose the one-touch functionality.
What tools do I need to replace the window regulator?
You will need basic hand tools, including a Phillips screwdriver, a flat-blade screwdriver or a plastic trim removal tool, and a 10mm socket with a ratchet and extension. You will also need painter's tape to hold the window glass in place.
Helpful Videos
Technical Specifications
OEM Part Numbers: Right Rear: 72710-S9V-A02 (replaces 72710-S9V-A01) Left Rear: 72750-S9V-A02 Right Front: 72210-S9V-A02 Left Front: 72250-S9V-A02
Cable-driven power window regulator and motor assembly. Requires 10mm bolts for installation.
We Have This Part in Stock

The information in this article is provided for general reference and educational purposes only. Vehicle specifications, procedures, and part compatibility can vary by production date, trim level, and region. Always consult your vehicle's factory service manual and verify part numbers before purchasing or performing repairs. Safety-critical components such as airbags, seat belts, and braking systems should be installed by a qualified professional.
- Honda Pilot:
- 🎬 Helpful Videos
- 🛍️ Shop This Part
- Symptoms of a Failing Window Regulator
- Buying a Used Window Regulator for a 2003-2008 Pilot
- Physical Inspection Checklist:
- Known Issues, Recalls, and TSBs
- Replacement Overview and Difficulty
- Cost Comparison (2003-2008 Honda Pilot)
- Frequently Asked Questions (FAQ)
- 🎟️ Get 5% Off