
2004-2009 Mazda 3 Rear Window Regulator: Why It Fails and How to Replace It
A complete guide to diagnosing and replacing the failure-prone rear window regulator in your 2004-2009 Mazda 3 sedan or hatchback.
- The most common failure is a snapped or frayed cable, causing grinding noises or the window to drop into the door.
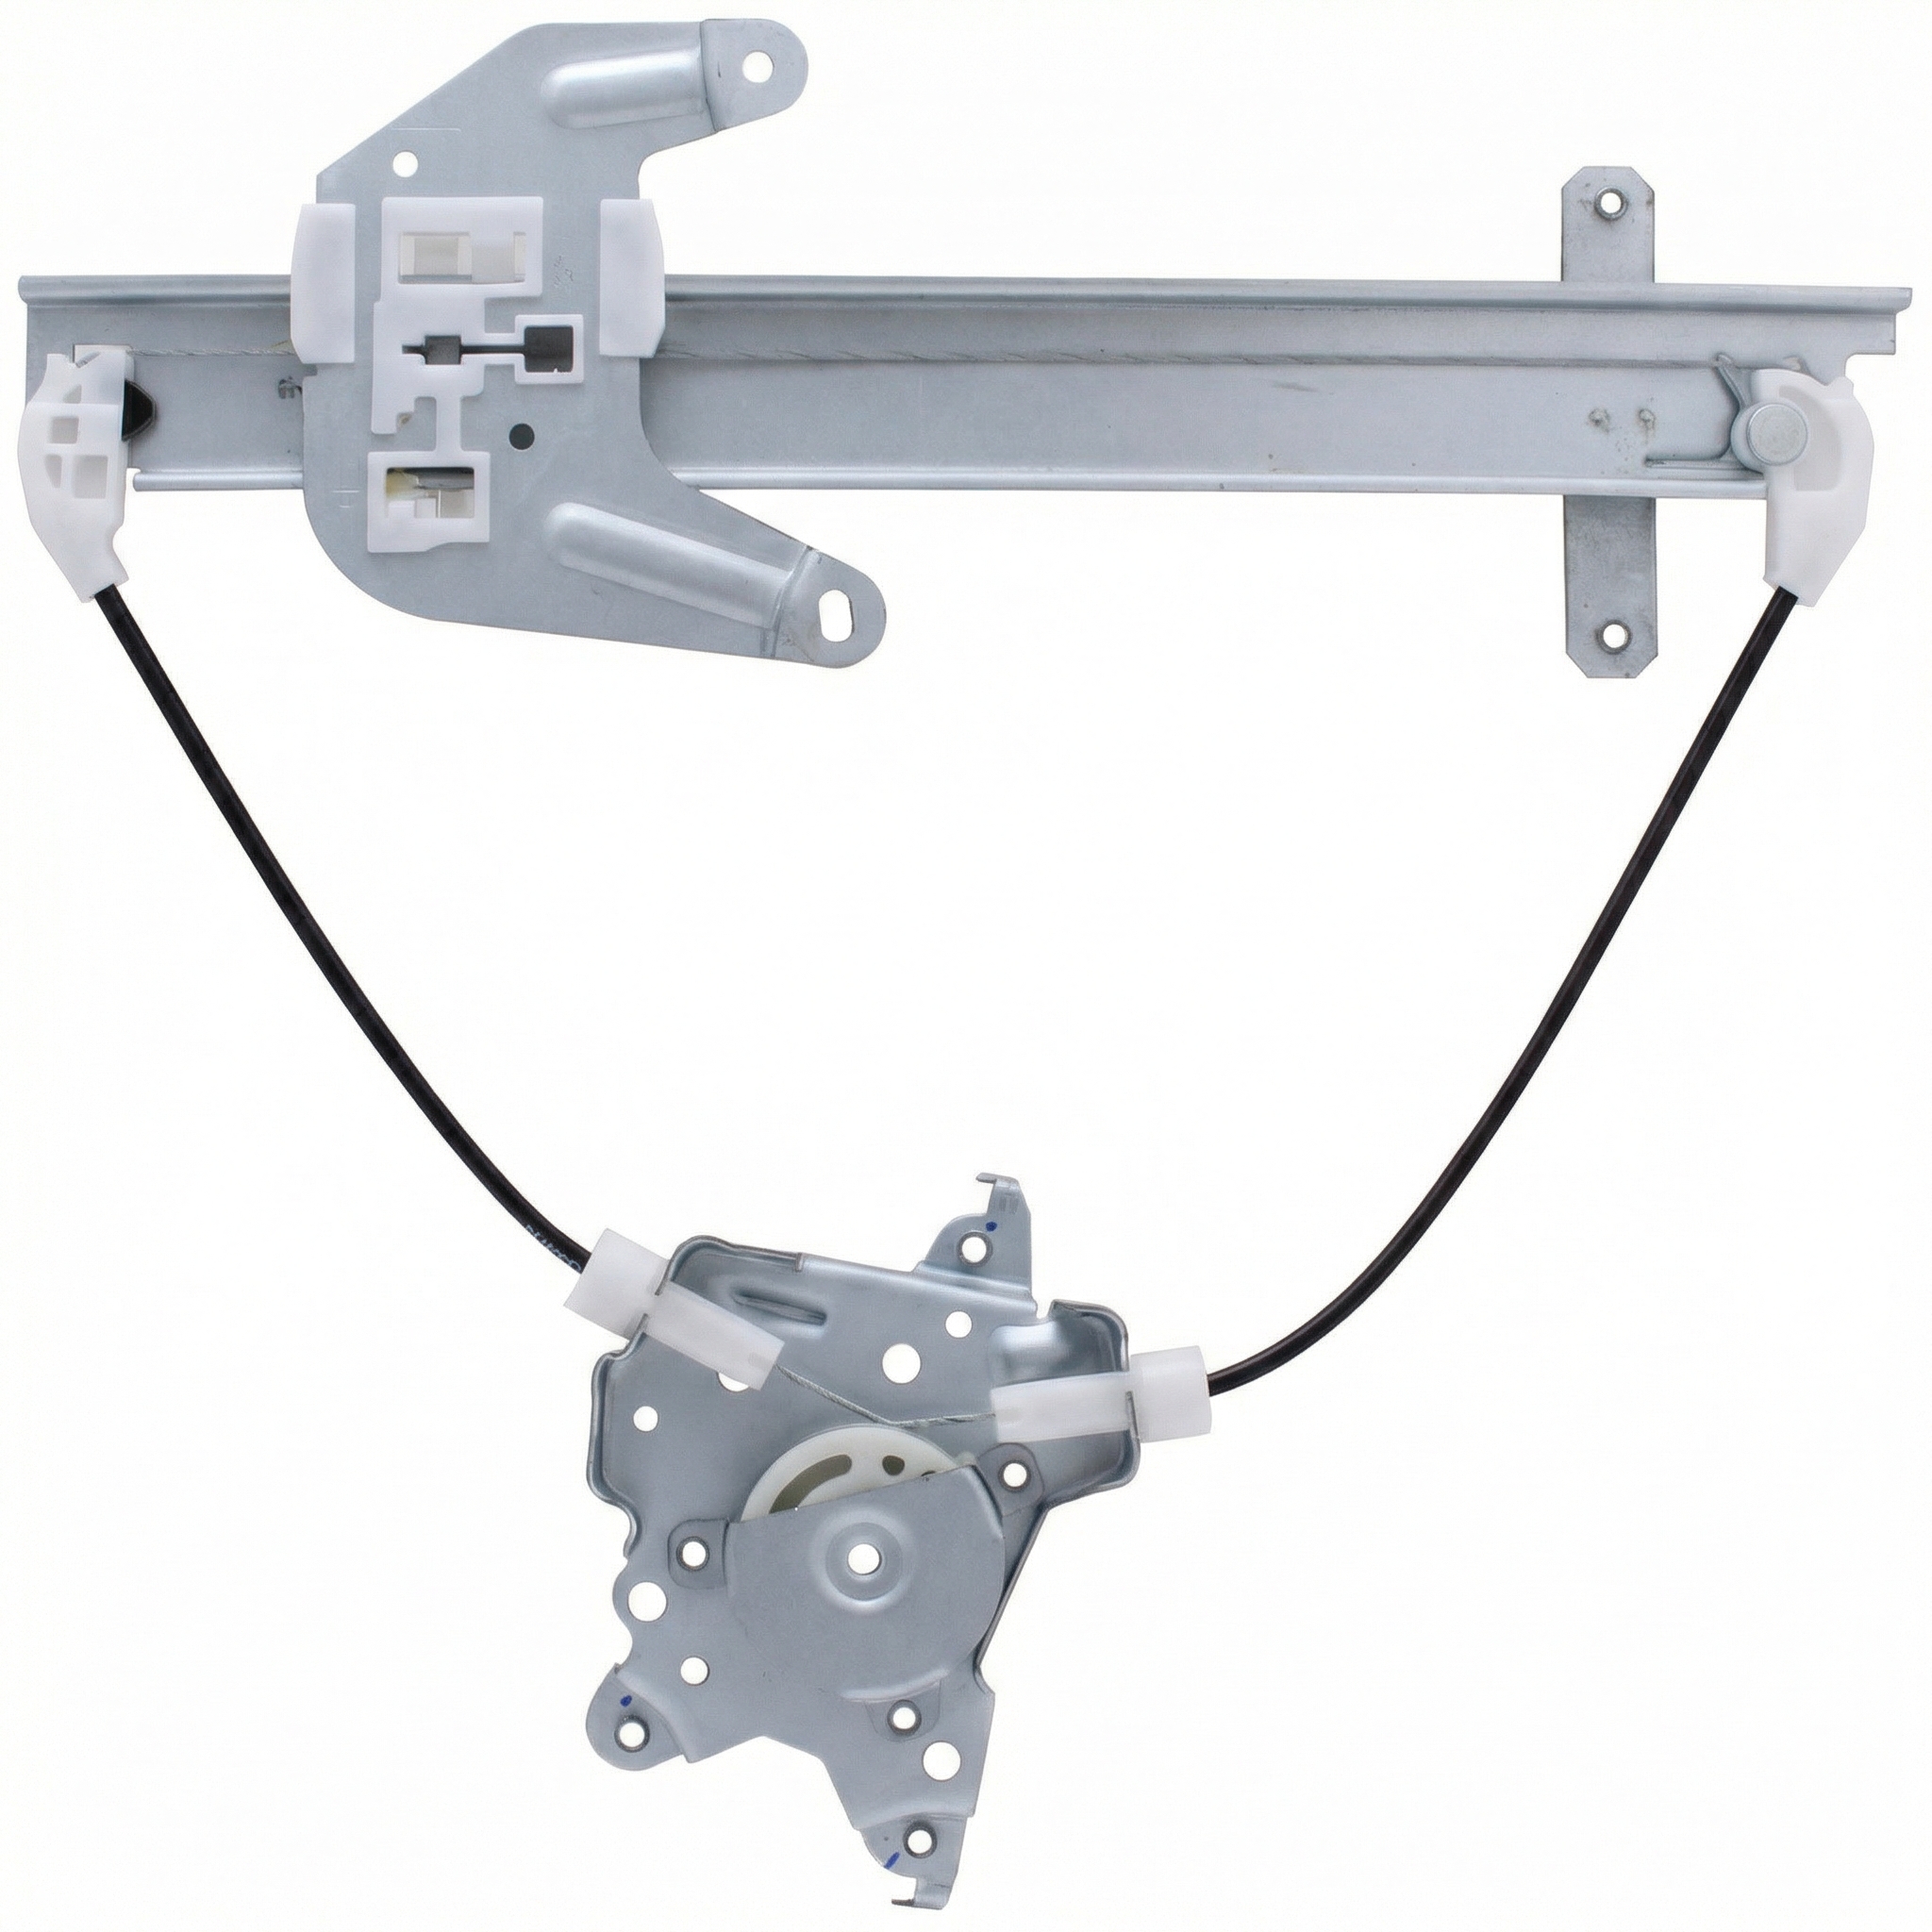
- This specific part (regulator only) fits the rear right door of both sedan and hatchback models from 2004-2009; the motor is a separate part that is reused.
- When buying a used regulator, the most critical inspection is checking the cables for fraying and the plastic clips for cracks.
- No official recalls or TSBs exist for this specific part, but it is a widely reported failure point among owners.
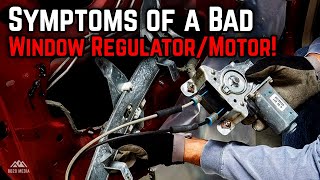
Symptoms of a Failing Rear Window Regulator

When a window regulator in a 2004-2009 Mazda 3 begins to fail, the symptoms are usually obvious. Because this is a cable-driven system, the most common point of failure is the cables themselves or the plastic components that guide them.
Common Failure Symptoms:
- Grinding or Popping Noises: A loud grinding, clicking, or popping sound when you try to move the window is a classic sign of a failed regulator. This noise is often caused by a snapped or tangled cable getting chewed up by the motor's gear.
- Window Drops Into Door: The window may suddenly fall completely or partially into the door cavity. This happens when a cable snaps or a plastic clip holding the glass breaks, leaving nothing to support the window's weight.
- Crooked or Jammed Window: If the window goes up or down at an angle, gets stuck, or moves very slowly, it often points to a bent regulator track or a cable that has come off its pulley. This can also happen if the plastic guides break.
- Window Doesn't Move, But Motor Hums: If you press the switch and hear the motor running or humming but the window doesn't move, the regulator has failed internally. The motor is spinning, but the broken cable system isn't transferring that force to the glass.
Pro Tip: To distinguish between a bad regulator and a bad motor, listen carefully. If you hear the motor trying to work (humming, grinding), the problem is almost certainly the regulator. If you hear nothing at all, the issue could be the motor, the switch, or a fuse.
🎬 Watch: Learn more about identifying signs of a bad regulator.Known Issues, TSBs, and Recalls
There are no specific recalls or Technical Service Bulletins (TSBs) from Mazda or the NHTSA for the rear window regulator on the 2004-2009 Mazda 3. However, forum discussions and mechanic reports show that failure of the cable-and-pulley system is a common problem for this vehicle generation. The plastic components can become brittle over time and the cables can fray and snap. While Mazda has issued TSBs for window issues on other models and years, such as the 2016-2019 MX-5 due to water entry and a Special Service Program for the 2014 Mazda 3 front regulator cable, none apply to this specific part and vehicle range.
Buying a Used 2004-2009 Mazda 3 Rear Window Regulator

A used OEM (Original Equipment Manufacturer) regulator is often a smart choice, providing the original factory fit and quality at a lower cost than a new dealer part. However, since this part has known weaknesses, careful inspection is critical.
What to Check Before You Buy:
- Inspect the Cables: This is the most important check. Look closely at the steel cables. Reject any regulator with signs of fraying, kinks, or rust. Run your fingers along the length of the cable (carefully) to feel for any broken strands.
- Check All Plastic Parts: Examine the plastic pulleys and the clips that attach to the window glass. They should be free of cracks, stress marks, or any signs of becoming brittle. If a plastic piece is broken, the regulator is useless.
- Verify the Track is Straight: The long metal rail that the glass carrier slides on must be perfectly straight. Sight down its length like a ruler. Any bends or twists will cause the window to jam.
- Confirm Compatibility: The rear right (passenger side) window regulator for the 2004-2009 Mazda 3 fits both the 4-door sedan and 5-door hatchback models. The OEM part number is BN8P-72-590E or an equivalent supercession like BP4K-72-590E. Ensure you are buying the correct side, as left and right are not interchangeable.
Warning: This part does not include the power window motor. You will need to transfer your existing motor to the replacement regulator. Before buying, confirm your motor is still working by listening for it to run when you press the switch.
Replacement Information

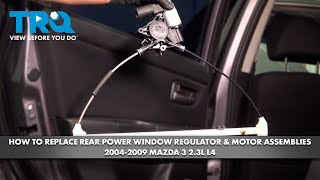
Replacing the rear window regulator is a common DIY job for those with basic tools and some patience. The process involves removing the interior door panel to access the mechanism.
- Installation Difficulty: 3 out of 5 (Moderate)
- Estimated Time: 1.5 - 2.5 hours
- Tools Required: Phillips screwdriver, flat blade screwdriver, 10mm socket and ratchet, trim removal tool, painter's tape.
Basic Replacement Steps:
- Remove screws from the interior door handle and armrest area.
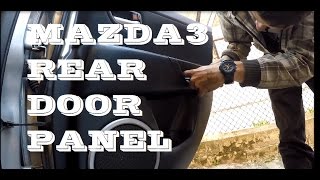
- Use a trim tool to carefully pry the door panel off, releasing the plastic clips around the perimeter. 🎬 See this video for a guide on removing the door panel.
- Disconnect the electrical connectors for the window switch and the door handle cables.
- Carefully peel back the plastic vapor barrier to expose the inside of the door.
- If the window is not already at the bottom, you may need to temporarily reconnect the switch to lower the window until you can see the bolts that attach it to the regulator through the access holes.
- Use painter's tape to secure the window glass in the 'up' position so it doesn't fall when you unbolt it.
- Unbolt the window glass from the regulator carrier (usually two 10mm bolts).
- Disconnect the electrical plug from the window motor.
- Unbolt the window motor (typically three screws) and the regulator assembly (several 10mm bolts) from the door frame.
- Carefully maneuver the old regulator out of the large access hole 🎬 Watch: A step-by-step walkthrough of the regulator replacement process. in the door.
- Transfer your old motor to the new regulator, then install the new assembly by reversing these steps.
Cost Comparison
Prices can vary based on supplier and location. These are estimates as of early 2026.
| Part Type | Estimated Cost |
|---|---|
| New OEM (Dealer) | $150 - $250 |
| New Aftermarket (e.g., Dorman) | $60 - $100 |
| Used OEM (Recycled) | $40 - $75 |
| Shop Labor Cost | $150 - $300 |
Frequently Asked Questions (FAQ)
Can I just replace the broken cable instead of the whole regulator?
No. The cables are wound under high tension and integrated into the assembly. It is not feasible or safe to attempt a cable-only repair. The entire regulator assembly must be replaced.
Does this regulator fit the front doors?
No, this part is specific to the rear right (passenger side) door. Front regulators and left-side regulators have different part numbers and are not interchangeable.
My window is stuck up. How do I get it down to access the bolts?
If the window is stuck and the motor/regulator is completely dead, you will have to remove the door panel and then unbolt the motor from the regulator. This may release the tension on the cables, allowing you to manually push the glass down to access the bolts holding it to the regulator carrier.
Is it better to buy a regulator with the motor included?
Since the motor rarely fails on these models, it is usually more cost-effective to buy the regulator alone and reuse your original motor. However, if you suspect your motor is also weak or you prefer the convenience, assemblies with a new aftermarket motor are widely available. If you hear grinding, the regulator is the issue, not the motor.
Helpful Videos

Technical Specifications
OEM Part Numbers: BN8P-72-590E BP4K-72-590E
Cable-driven power window regulator for rear right (passenger side) door. Fits 4-door sedan and 5-door hatchback. Motor not included.
We Have This Part in Stock

The information in this article is provided for general reference and educational purposes only. Vehicle specifications, procedures, and part compatibility can vary by production date, trim level, and region. Always consult your vehicle's factory service manual and verify part numbers before purchasing or performing repairs. Safety-critical components such as airbags, seat belts, and braking systems should be installed by a qualified professional.
- Mazda Mazda 3:
- 🎬 Helpful Videos
- 🛍️ Shop This Part
- Symptoms of a Failing Rear Window Regulator
- Common Failure Symptoms:
- Known Issues, TSBs, and Recalls
- Buying a Used 2004-2009 Mazda 3 Rear Window Regulator
- What to Check Before You Buy:
- Replacement Information
- Basic Replacement Steps:
- Cost Comparison
- Frequently Asked Questions (FAQ)
- 🎟️ Get 5% Off