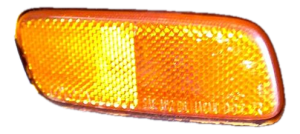
This is a side marker lamp for 4-door vehicles.
Condition: Excellent (A)
Mileage: 188,400 miles
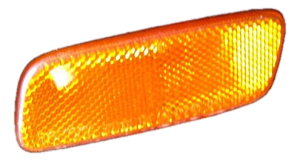
This is a side marker lamp for 4-door vehicles.
Condition: Excellent (A)
Mileage: 188,400 miles
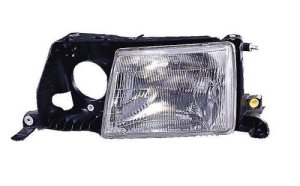
This is a high-quality TYC/DEPO-brand item.
This assembly includes a Fog Lamp.
The OEM number is 8111050061.


Browse our selection of quality headlight assembly parts designed specifically for your Lexus LS400. We carry options across multiple trim levels, body styles, and engine configurations to ensure a perfect fit.
Base
Sedan
4.0L V8 · V8 4.0L
Automatic