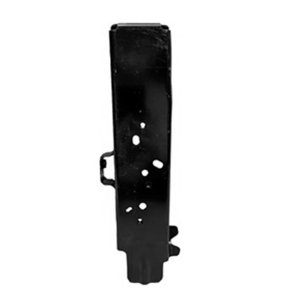
This is the Headlamp Support Panel for the Right side.
OEM # 5220K612
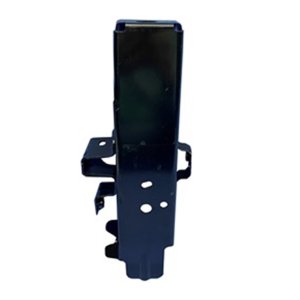
This is the Headlamp Support Panel for the Left side.
OEM # 5220F313
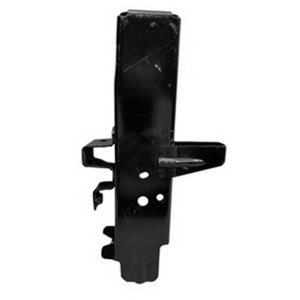
2020-2024 MITSUBISHI OUTLANDER SPORT: Headlamp Support Panel; LH OEM # 5220AQ07
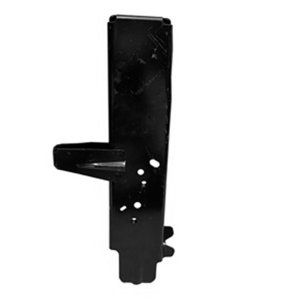
2020-2024 MITSUBISHI OUTLANDER SPORT: Headlamp Support Panel; RH OEM # 5220AQ08
High-Quality TYC/DEPO-brand item.
Composite design.
OEM #8301C895
High-Quality TYC/DEPO-brand item.
Composite design.
OEM #8301C896

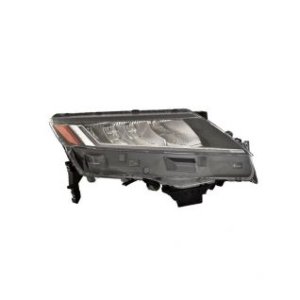
OEM #s: 8301C223, 8301C224
Partslink #s: MI2503160, MI2502160
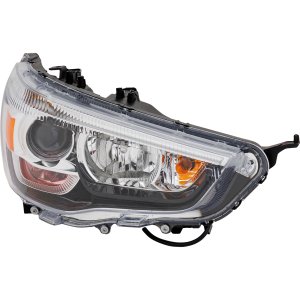
It has pits.
Condition: Good (B)
Mileage: 73,600 miles
This part is for the Mitsubishi Outlander Sport.
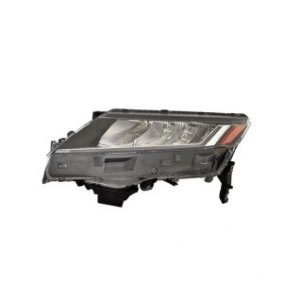
OEM # 8301C216
OEM # 8301C215
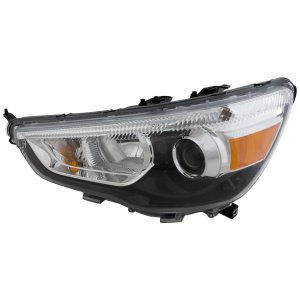
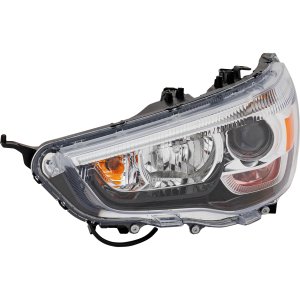
This headlight assembly uses LED technology.
OEM #: 8301D572
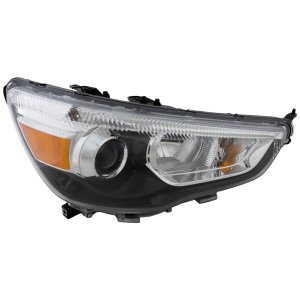
This headlight assembly uses LED technology.
OEM #: 8301D571
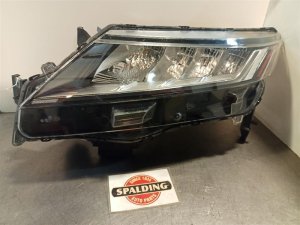
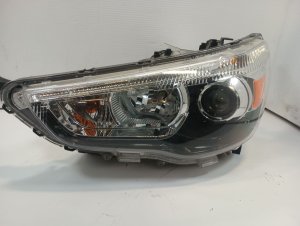
It has pits and a broken mount.
Condition: Good (B)
Mileage: 42,200 miles


Browse our selection of quality headlight assembly parts designed specifically for your Mitsubishi Outlander Sport. We carry options across multiple trim levels, body styles, and engine configurations to ensure a perfect fit.
BE · ES · GT · GT Special Edition · LE · Ralliart · S · SE · SE Plus · SE Special Edition · SEL · SP · Trail Edition
SUV · Sport Utility
2.0L L4 · 2.4L L4 · L4 1.5L · L4 2.0L · L4 2.4L
Automatic CVT · Manual