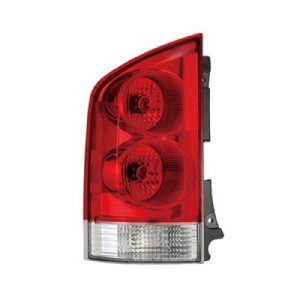
OEM Part Number: 265557S025
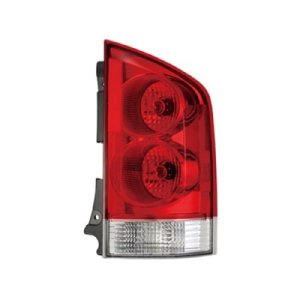
OEM Part Number: 265507S025
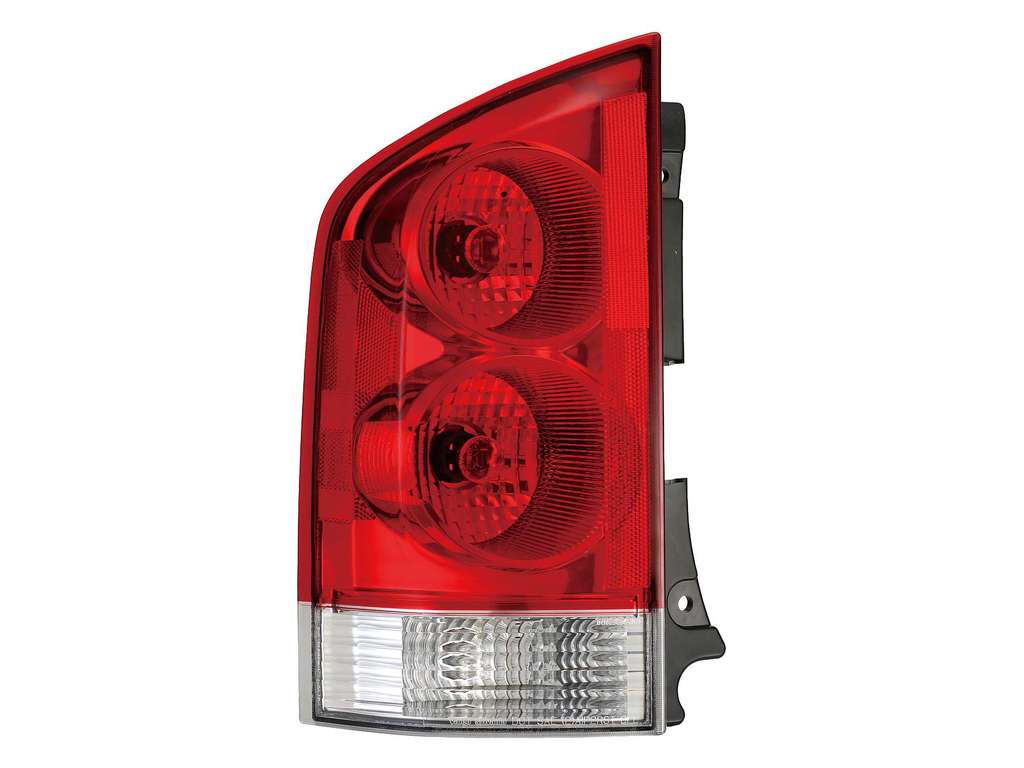
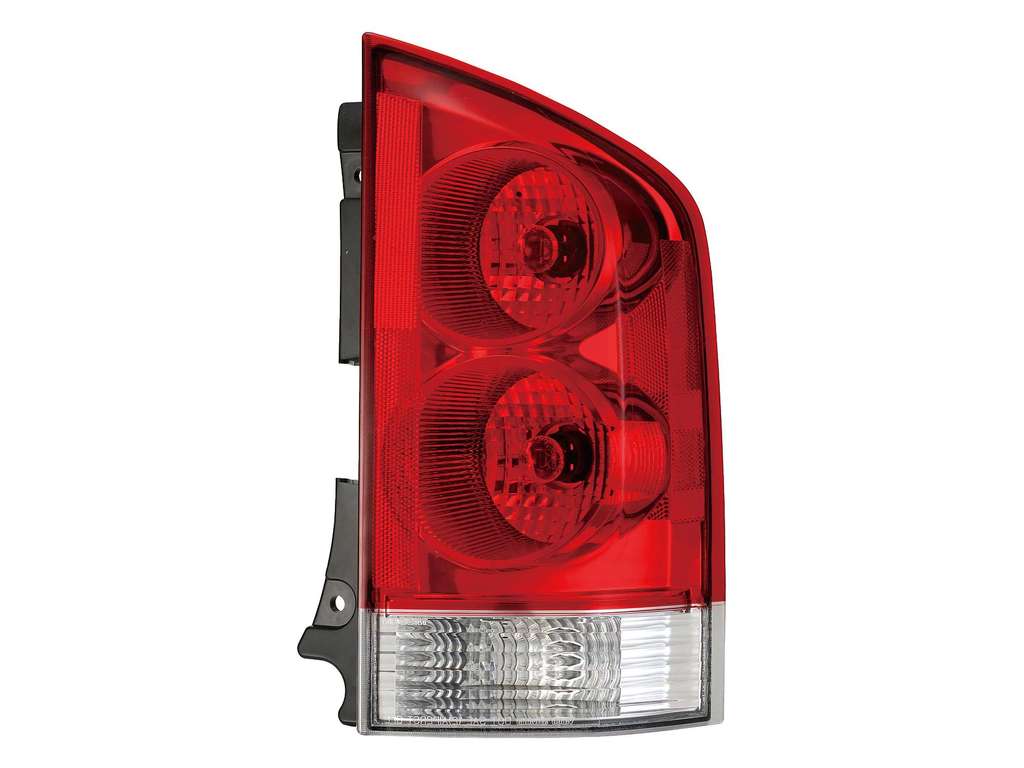


Browse our selection of quality tail light assembly parts designed specifically for your Nissan Pathfinder Armada. We carry options across multiple trim levels, body styles, and engine configurations to ensure a perfect fit.
LE · SE
Sport Utility
5.6L V8 · V8 5.6L
Automatic