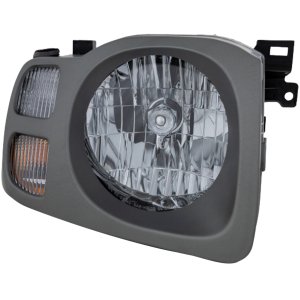
OEM #: 26092-EA000
This part is for models built up to April 2009.
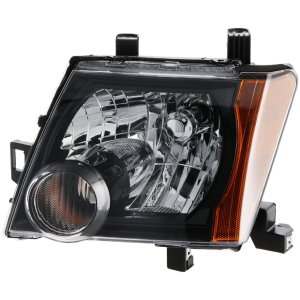
OEM #: 26040-EA001
This part is for models built starting in April 2009.
OEM #: 26040-ZL01A
This part is for models built starting in April 2009.
OEM #: 26040-ZL00A
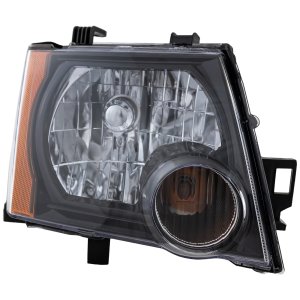
OEM #: 26042-EA000
This part is for models built up to April 2009.
OEM #: 26040-EA000
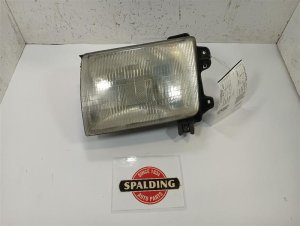
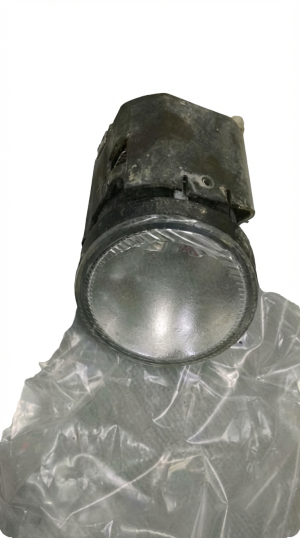
The headlamp assembly is faded.
Condition: Excellent (A)
Mileage: 222,300 miles

It is finished in yellow.
Condition: Excellent (A)
Mileage: 54,000 miles
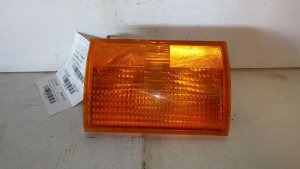
The amber lens is scuffed.
Condition: Excellent (A)
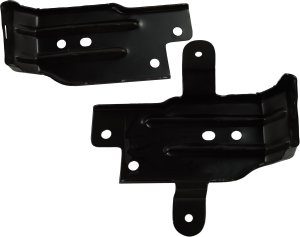
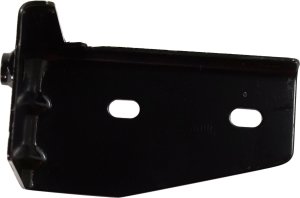
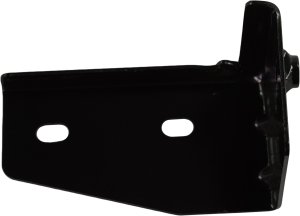
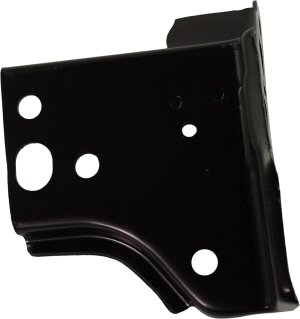
This bracket is for the Lower Position.
It is made of Steel and is Black.
This part fits models manufactured From April 2009.
The corresponding OEM #s are 26040ZL01A and 26040ZL00A.
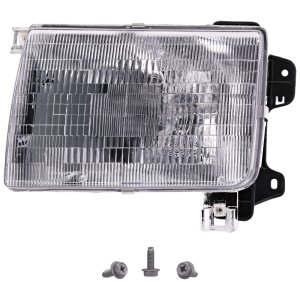
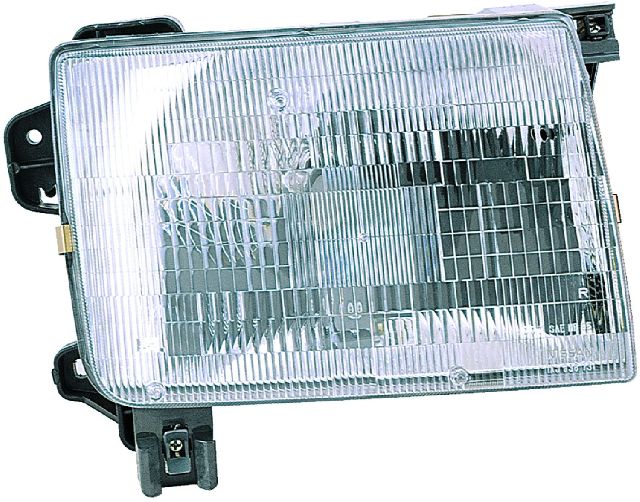
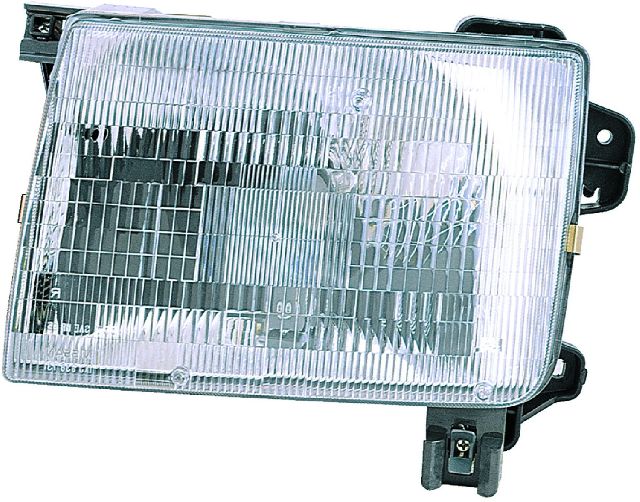
This assembly comes with bulbs and sockets.
This is a Composite lamp type.
OEM Part Number: 260607B425
Condition: Excellent (A)
Mileage: 148,300 miles
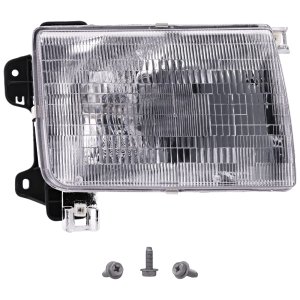
This assembly comes with bulbs and sockets.
This is a Composite lamp type.
OEM Part Number: 260107B425
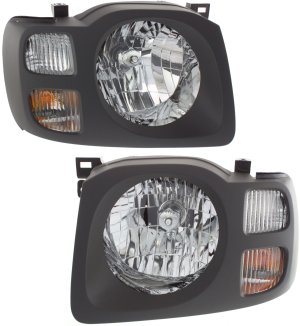
This assembly is composite.
It comes complete with bulbs and sockets.
The OEM reference number is 260107Z825.
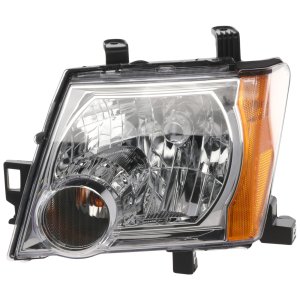
This is a composite assembly. It comes complete with bulbs and sockets.
OEM Reference: 260607Z825
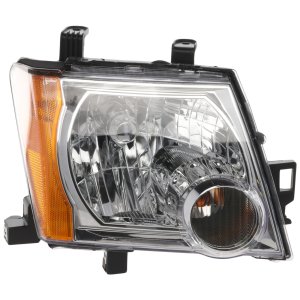
This is a composite assembly. It comes complete with bulbs and sockets.
OEM Reference: 260607Z826
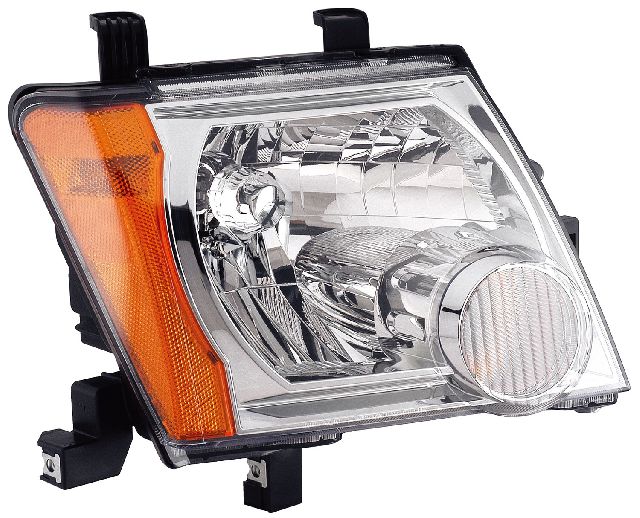
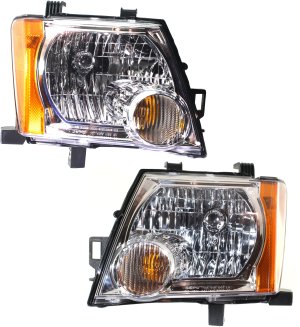
The assembly features a Composite design.
The OEM number is 26060EA025.
The assembly features a Composite design.
The OEM number is 26010EA025.
This is a composite assembly. It comes complete with bulbs and sockets.
OEM Reference: 260107Z826
The lens is pitted from road wear.
Condition: Excellent (A)
Mileage: 107,400 miles
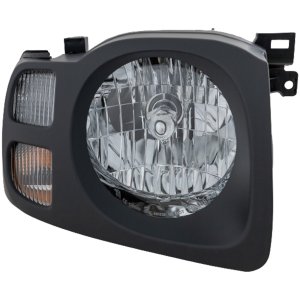
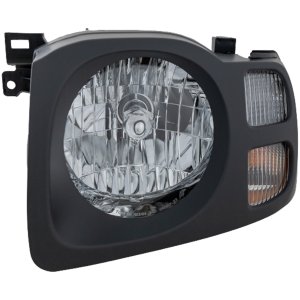
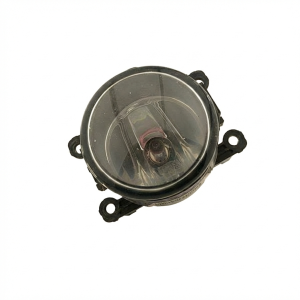
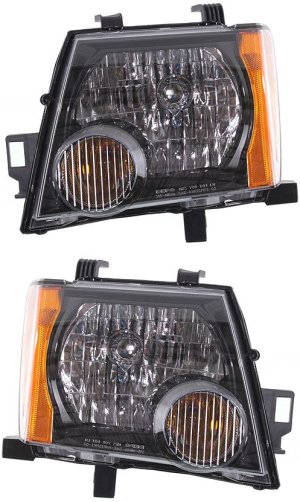
The assembly comes with Bulbs and Sockets.
It features a Black Bezel.
This is a Composite assembly.
The OEM number is 26060ZL00A.
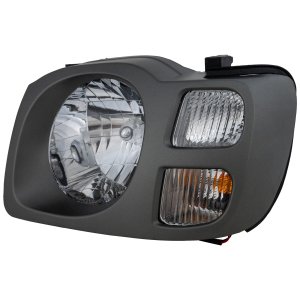
The assembly comes with Bulbs and Sockets.
It features a Black Bezel.
This is a Composite assembly.
The OEM number is 26010ZL00A.
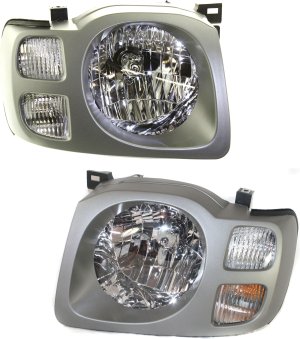
This is a Halogen Assembly designed specifically for the SE Model.
The OEM #s are 260607Z826 and 260107Z826.
This headlight assembly pair uses Halogen bulbs.
It excludes S and X Models for the 2009 through 2015 model years.
OEM #s: 26060EA025, 26010EA025
OEM #s: 26060ZL00A, 26010ZL00A
Partslink #s: NI2502189, NI2503189
OEM #s: 260607Z825, 260107Z825


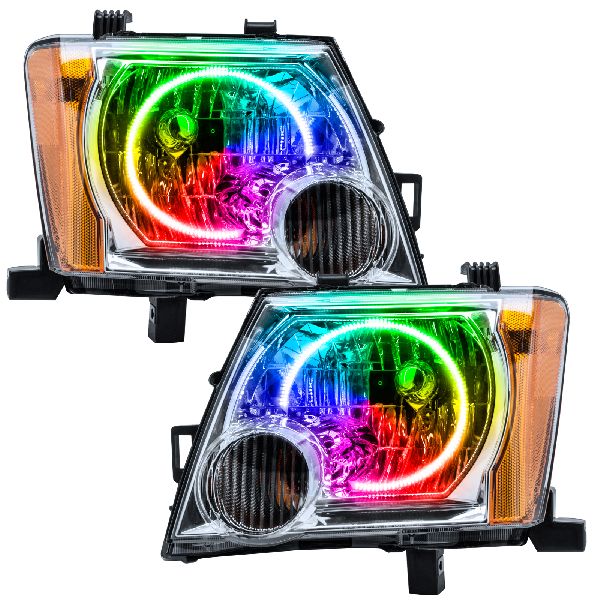


Browse our selection of quality headlight assembly parts designed specifically for your Nissan Xterra. We carry options across multiple trim levels, body styles, and engine configurations to ensure a perfect fit.
Off-Road · PRO-4X · S · SE · SV · X · XE
SUV · Sport Utility
2.4L L4 · 3.3L V6 · 4.0L V6 · L4 2.4L · L4 2.5L · V6 3.3L · V6 4.0L
Automatic · Manual