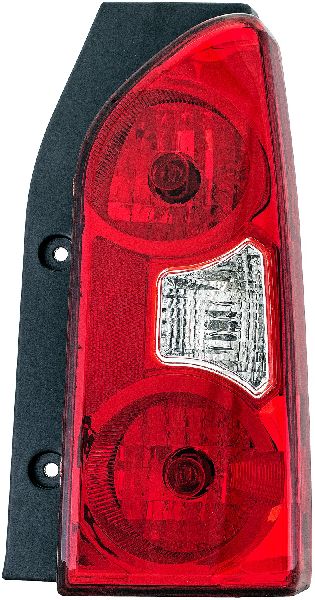
Comes with Bulbs and Sockets.
OEM Part Number: 26555EA025
Comes with Bulbs and Sockets.
OEM Part Number: 26550EA025
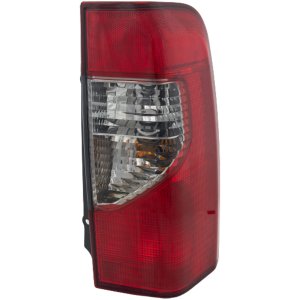
High-Quality TYC/DEPO-brand item.
Compatible only with models manufactured up to July 2001.
OEM #265557Z025
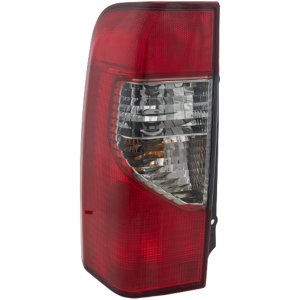
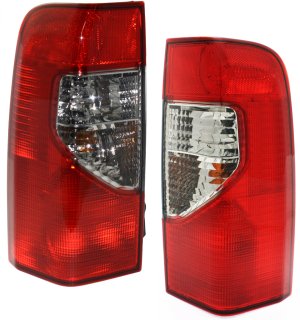
This is a high-quality TYC/DEPO-brand item.
This part fits vehicles manufactured up to July 2001.
The OEM number is 265507Z025.

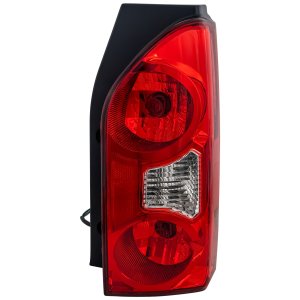
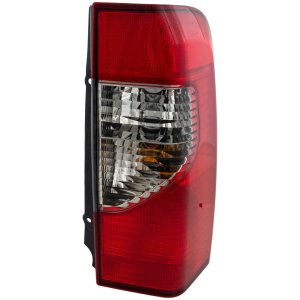
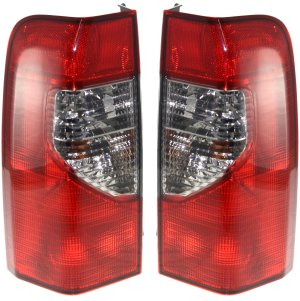
High-Quality TYC/DEPO-brand item.
Compatible only with models manufactured up to September 2003.
OEM #265557Z825
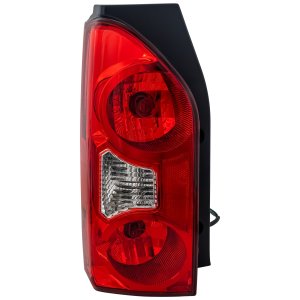
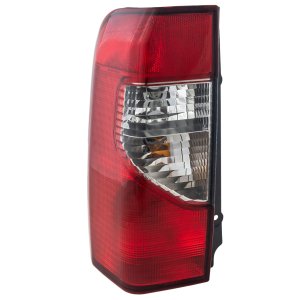
High-Quality TYC/DEPO-brand item.
Compatible only with models manufactured up to September 2003.
OEM #265507Z825
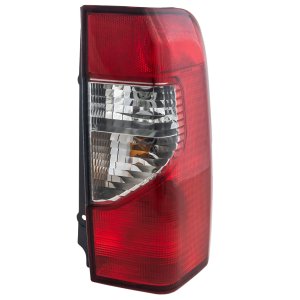
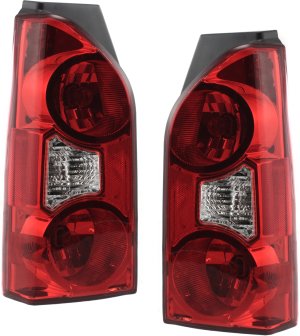
This is a high-quality TYC/DEPO-brand item.
This part is for vehicles manufactured starting September 2003.
OEM Part Number: 26555ZD325
This is a high-quality TYC/DEPO-brand item.
This part is for vehicles manufactured starting September 2003.
OEM Part Number: 26550ZD325
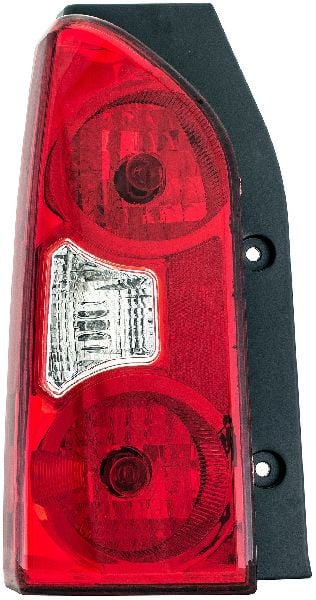
This is an assembly.
OEM #s: 26555EA025, 26550EA025
Partslink #s: NI2801173, NI2800173
OEM #s: 265557Z025, 265507Z025
The OEM #s are 265557Z825 and 265507Z825.


Browse our selection of quality tail light assembly parts designed specifically for your Nissan Xterra. We carry options across multiple trim levels, body styles, and engine configurations to ensure a perfect fit.
Off-Road · PRO-4X · S · SE · SV · X · XE
Sport Utility
2.4L L4 · 3.3L V6 · 4.0L V6 · L4 2.5L · V6 4.0L
Automatic · Manual