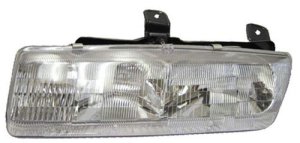
It fits coupe models.
Condition: Excellent (A)
Mileage: 107,000 miles
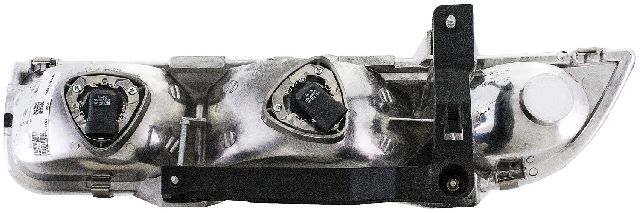
It does not include the mounting bracket.
Condition: Excellent (A)
Mileage: 89,000 miles
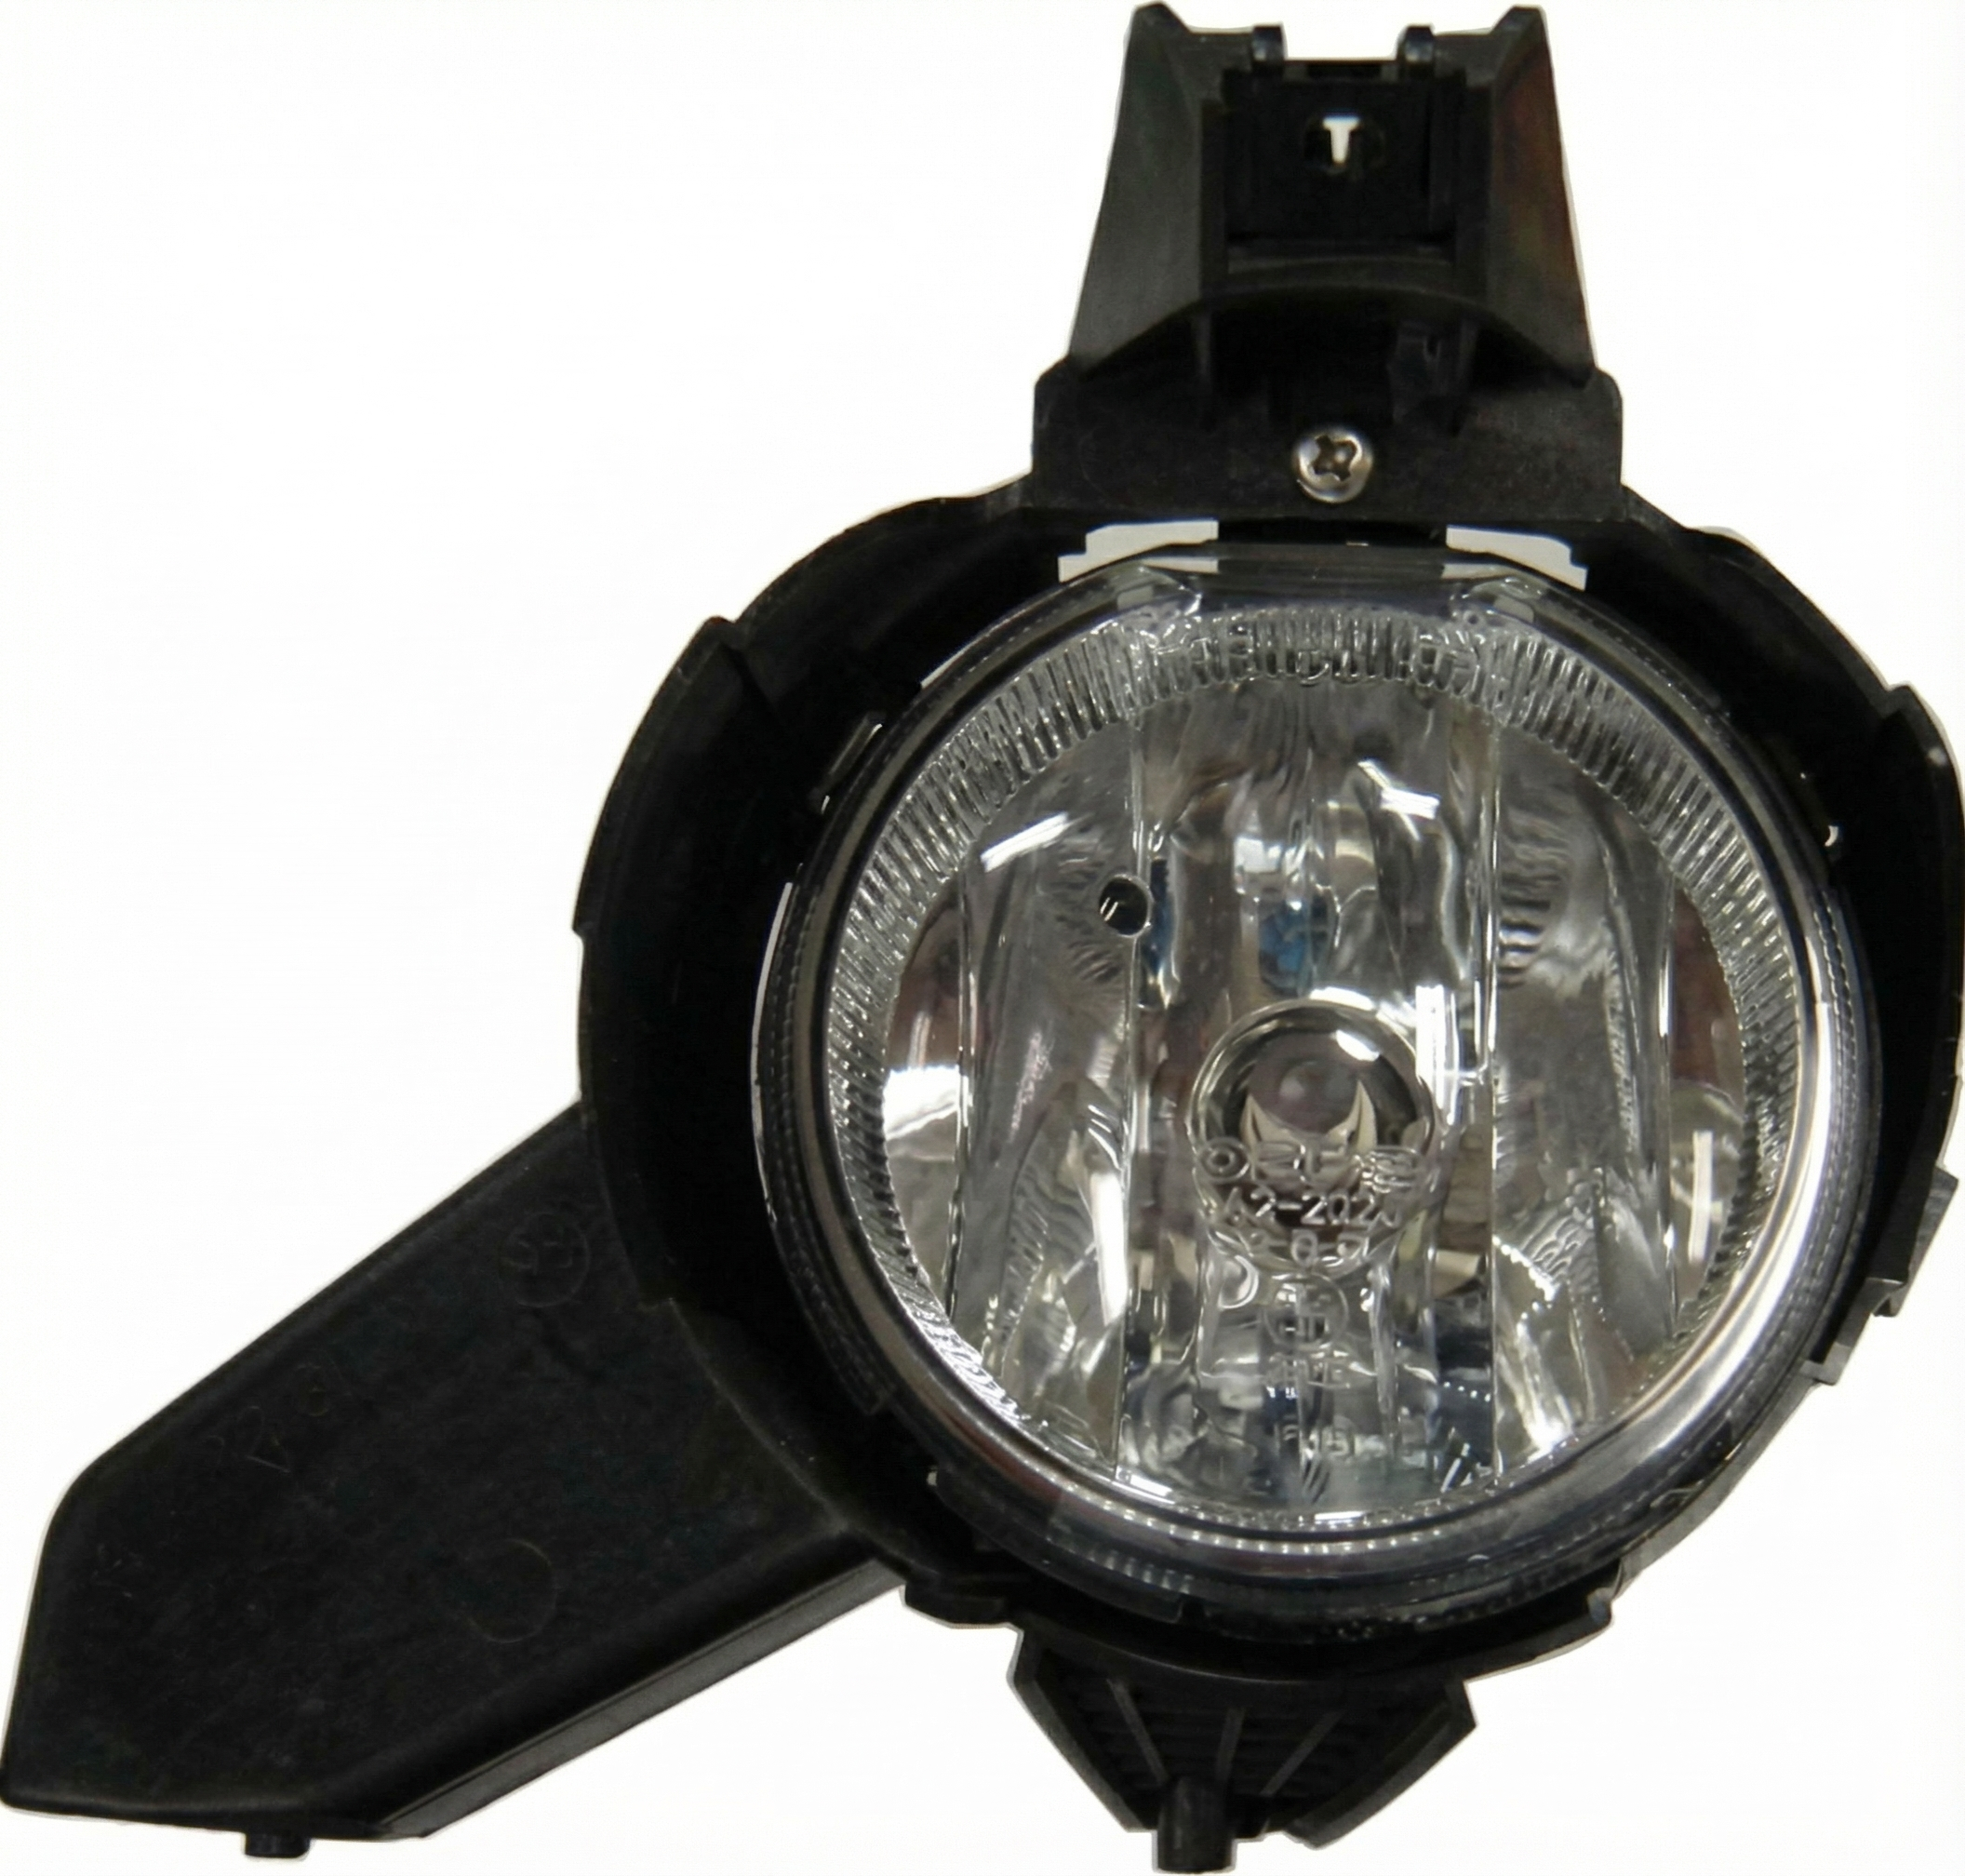
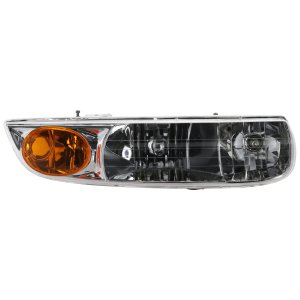
This assembly comes with bulbs and sockets.
The assembly is composite.
It includes park and signal lamps.
The OEM number is 21111169.
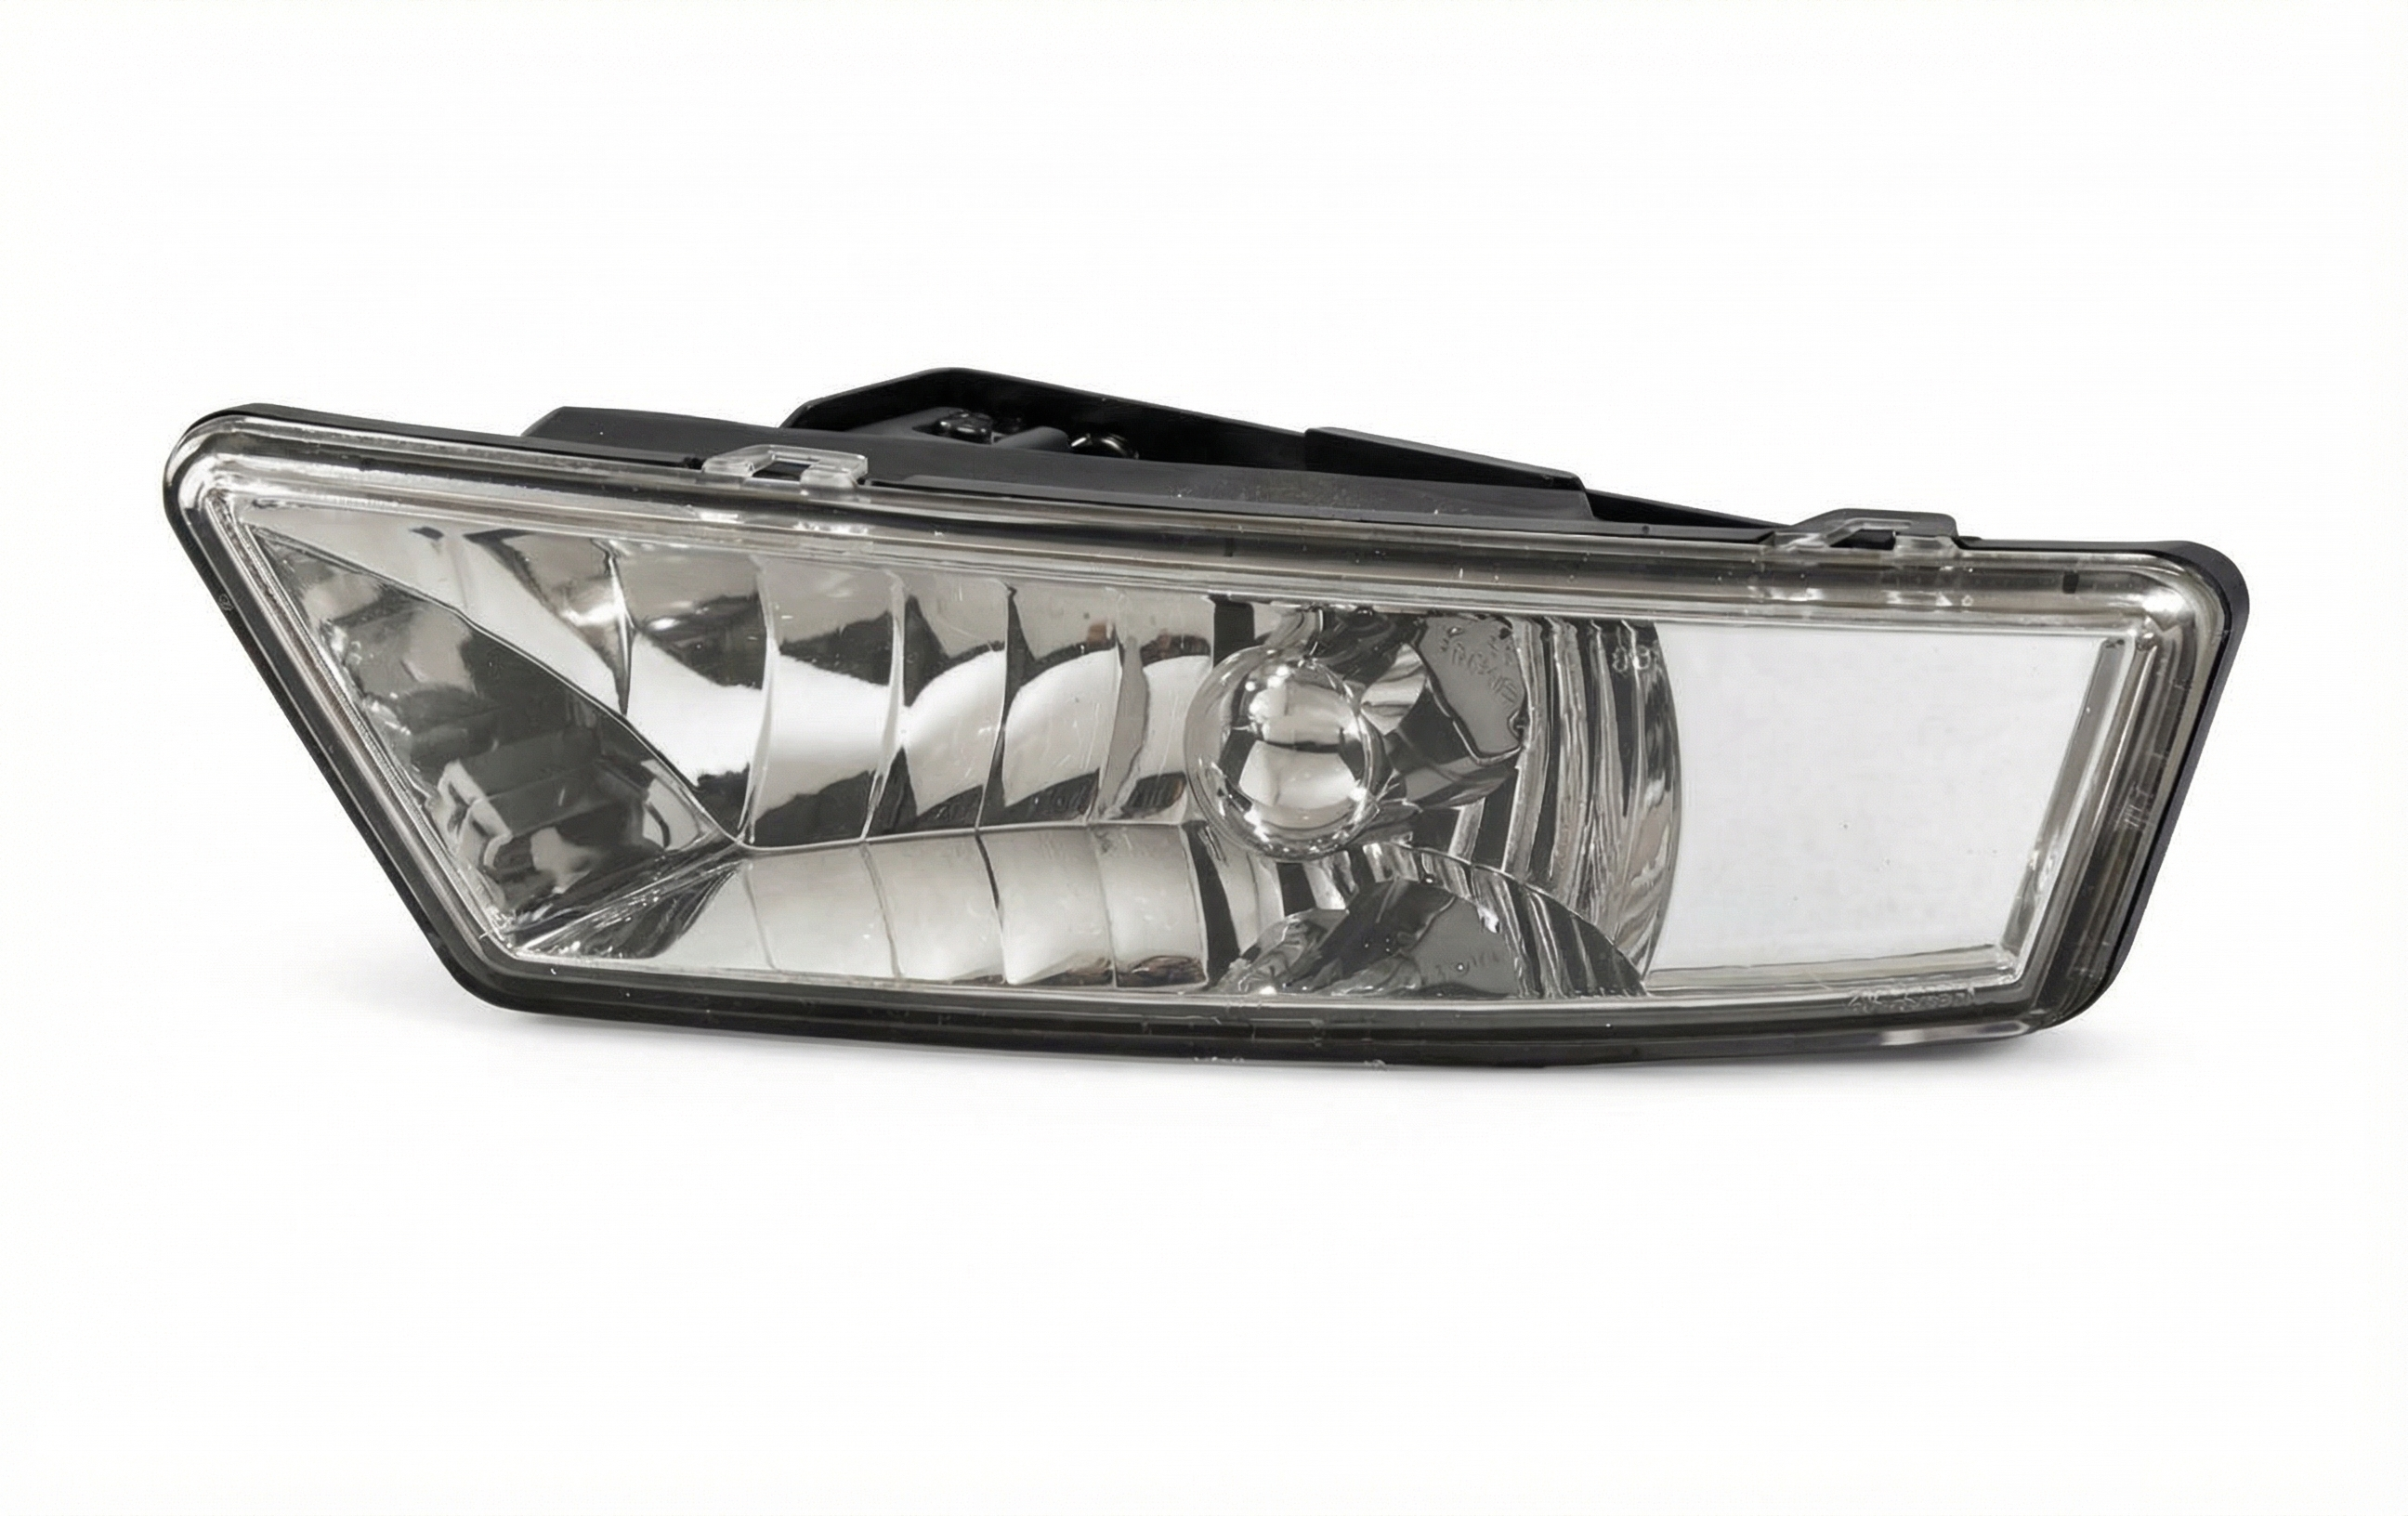
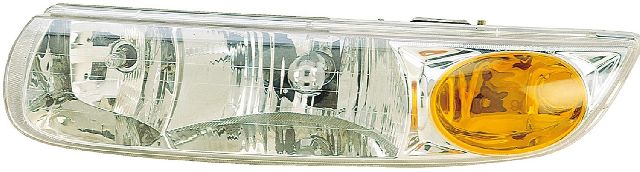
This assembly comes with bulbs and sockets.
The assembly is composite.
It includes park and signal lamps.
The OEM number is 21111170.
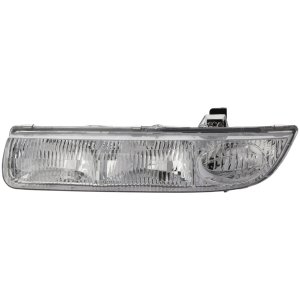
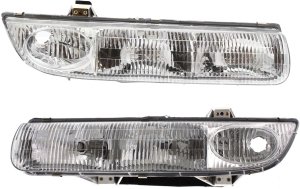
This is a composite assembly.
It comes complete with bulbs and sockets.
This assembly includes the integrated park and signal lamps.
OEM Part Number: 21112456

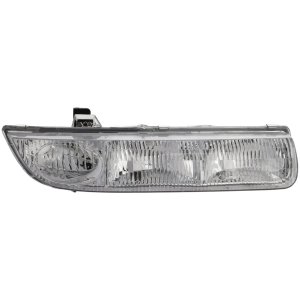
This is a composite assembly.
It comes complete with bulbs and sockets.
This assembly includes the integrated park and signal lamps.
OEM Part Number: 21112455

Combination Lamp
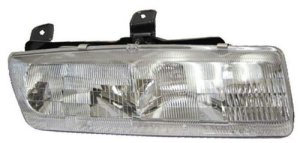
This is a high-quality TYC/DEPO-brand item.
The OEM number is 21110140.
This is a high-quality TYC/DEPO-brand item.
The OEM number is 21110139.
This is a Halogen headlight assembly.
OEM #s: 21111169, 21111170
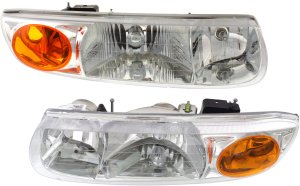
Suitable for Sedan and Wagon models.
OEM #s: 21112455, 21112456
Partslink #s: GM2502206, GM2503206


Browse our selection of quality headlight assembly parts designed specifically for your Saturn SL1. We carry options across multiple trim levels, body styles, and engine configurations to ensure a perfect fit.
Base
Sedan
1.9L L4 · L4 1.9L
Automatic · Manual