


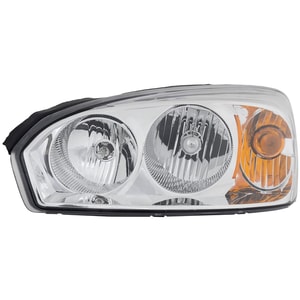
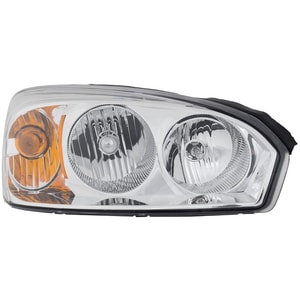

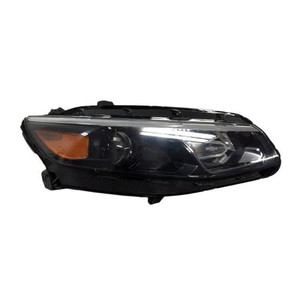
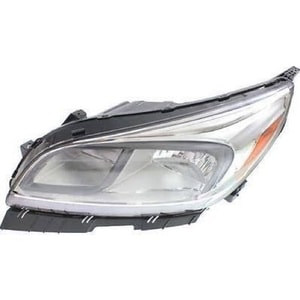
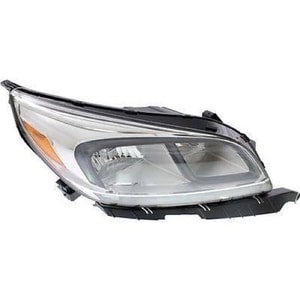
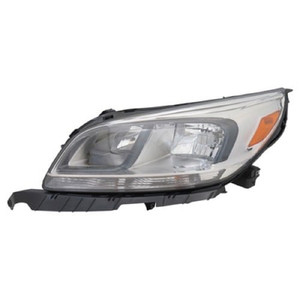
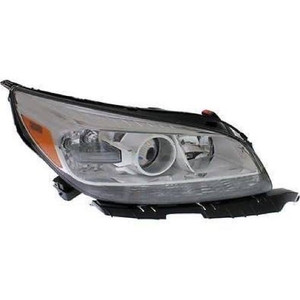

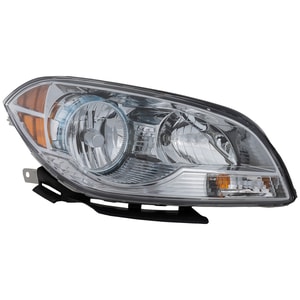

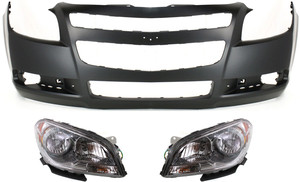
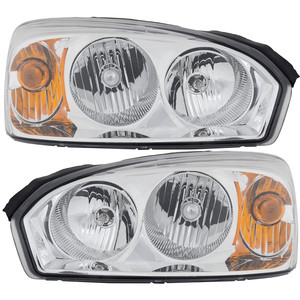
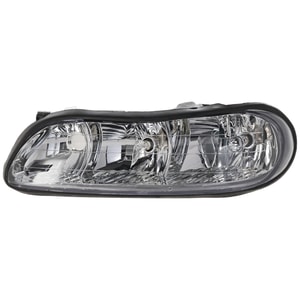
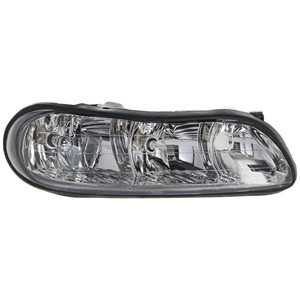
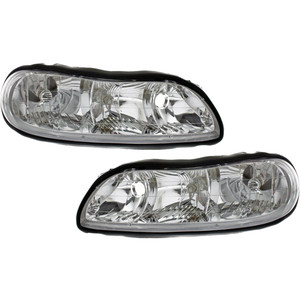
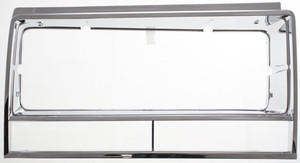
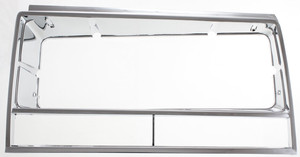
Chevrolet Malibu headlights are vital components that enhance driving safety by providing clear illumination of the road during low-light conditions and inclement weather. These headlamps not only improve visibility but also contribute to the vehicle's overall aesthetic appeal.
Owners of the Chevrolet Malibu may encounter issues such as dimming lights, foggy or yellowed lenses, or headlight failure. Dimming headlights can result from aging bulbs or electrical problems, while foggy lenses are often due to UV damage causing the plastic to become cloudy. Complete failure of the headlight can be caused by blown bulbs, faulty wiring, or a malfunctioning headlight switch.
To keep your Malibu's headlights in optimal condition, regular maintenance is essential. Clean the headlight lenses periodically with automotive-safe cleaners to remove dirt and grime. If the lenses become cloudy or yellowed, use a headlight restoration kit to restore clarity. Check the headlight bulbs regularly and replace them in pairs to ensure even lighting. Inspect the wiring and connections for any signs of wear or corrosion.
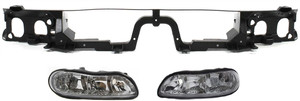
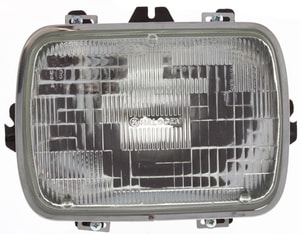
When installing new headlights or replacing bulbs in your Chevrolet Malibu, follow these steps for a successful installation:
1. Safety First: Turn off the engine and remove the keys from the ignition. Ensure all lights are switched off.
2. Access the Headlight Assembly: Open the hood and locate the headlight assembly at the front of the vehicle.
3. Remove the Old Bulb or Assembly: For bulb replacement, disconnect the power connector and remove the bulb by twisting it counterclockwise. For full assembly replacement, you may need to remove retaining clips or screws holding the assembly in place.
4. Install the New Bulb or Assembly: Insert the new bulb without touching the glass (oil from skin can reduce bulb life), secure it by twisting clockwise, and reconnect the power connector. If replacing the assembly, position it correctly and secure all fasteners.
5. Test the Lights: Turn on the headlights to ensure they are functioning properly before closing the hood.
Q: How do I know when it's time to replace my headlight bulbs?
A: Signs that it's time to replace headlight bulbs include dimming lights, flickering, or one headlight not working at all. It's recommended to replace both bulbs simultaneously to maintain even lighting.
Q: Can I upgrade my Chevrolet Malibu headlights to brighter ones?
A: Yes, you can upgrade to higher-performance bulbs or opt for LED or HID headlights if compatible with your model year. Ensure any upgrades meet local regulations and are properly installed.
Q: What causes headlights to become cloudy, and how can I fix it?
A: Headlights can become cloudy due to oxidation from UV exposure. This results in a hazy or yellowed appearance. Restoring clarity involves using a headlight restoration kit that typically includes sanding and polishing the lens surface.
Q: Why are my headlights flickering while driving?
A: Flickering headlights can be caused by loose connections, a failing alternator, or issues with the headlight switch. Inspect the electrical connections and consult a professional mechanic if the problem persists.
Q: Is it difficult to adjust the headlight aim on a Malibu?
A: Adjusting the headlight aim can be done with basic tools. Locate the adjustment screws on the headlight assembly and follow the aiming instructions provided in the vehicle's owner manual to ensure proper alignment.