


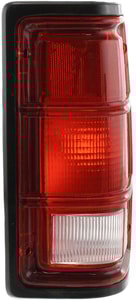

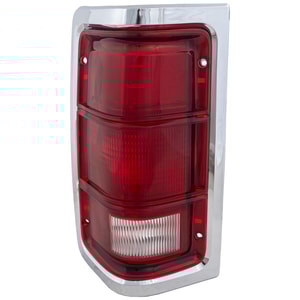

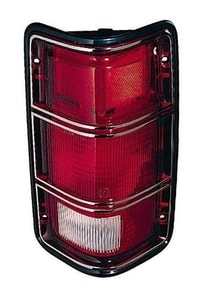
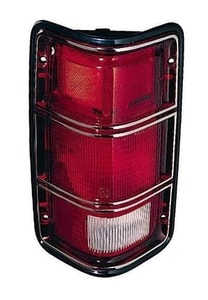
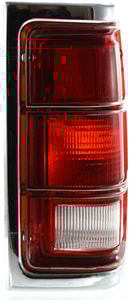
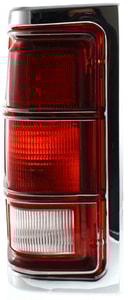
The Dodge D250 tail light is a crucial component of the vehicle's lighting system, ensuring safety by providing visibility to other drivers on the road. Tail lights illuminate the rear of the truck, signaling braking, turning, and the vehicle's presence in low-light conditions. A properly functioning tail light is essential for safe driving and is a legal requirement to meet road safety regulations.
Over time, tail lights on the Dodge D250 may experience issues due to regular use and exposure to the elements. Common problems include burnt-out bulbs, cracked or broken lenses, faulty wiring, and moisture buildup inside the lens assembly. Burnt-out bulbs result in reduced visibility, while cracked lenses can allow moisture and dirt to enter, potentially causing electrical issues. Faulty wiring may lead to intermittent functionality or total failure of the tail light.
Regular inspection of the tail lights can help identify issues early. To maintain optimal performance:
Check Bulbs Regularly: Replace any burnt-out bulbs promptly to ensure continuous visibility.
Inspect the Lens: Look for cracks or damage to the lens and replace it if necessary to prevent moisture ingress.
Clean the Assembly: Keep the tail light assembly clean from dirt and debris to maintain brightness.
When installing a new tail light:
1. Safety First: Turn off the vehicle and disconnect the battery to prevent electrical shocks.
2. Remove the Old Tail Light: Unscrew the mounting screws and gently remove the tail light assembly.
3. Install the New Tail Light: Connect the wiring harness to the new tail light, ensuring a secure connection.
4. Secure the Assembly: Reattach the tail light to the vehicle with the mounting screws.
5. Test the Lights: Turn on the vehicle and test the tail lights, brake lights, and turn signals to confirm proper operation.
Q: How do I know if my Dodge D250 tail light needs to be replaced?
A: Signs that your tail light may need replacement include the light not illuminating when activated, dim lighting, visible cracks or damage to the lens, or moisture inside the lens assembly.
Q: Can I replace a tail light bulb myself?
A: Yes, replacing a tail light bulb on a Dodge D250 is typically a straightforward process that can be done at home with basic tools. Always ensure the vehicle is turned off before starting the replacement.
Q: What causes moisture to build up inside the tail light, and how can I prevent it?
A: Moisture can accumulate inside the tail light if the lens is cracked or the seals are damaged. To prevent this, regularly inspect the tail light for damage and replace any faulty components promptly.
Q: Is it legal to drive with a broken tail light?
A: Driving with a broken tail light is illegal in most areas because it poses a safety risk. It can result in traffic citations and increases the chance of accidents due to reduced visibility.