
P0030 on 2003-2009 Toyota 4Runner 4.7L V8: Heater Circuit Fault Causes and Fixes
On a 4th Gen 4Runner with the 4.7L V8, P0030 almost always means the heater inside the upstream oxygen sensor on the passenger side (Bank 1, Sensor 1) has failed. The most common fix is to replace the sensor itself. Before replacing, check the 25A 'A/F HTR' fuse. Expect to pay between $70-$120 for an OEM-quality Denso sensor, which is a DIY-friendly job requiring a 22mm (7/8") O2 sensor socket.
- P0030 on this 4Runner points to a bad heater in the passenger-side upstream A/F sensor.
- Before buying parts, check the 25A 'A/F HTR' fuse and consider swapping the A/F relay in the engine bay.
- It is critical to buy the correct sensor for your model year: 2003-2004 (Denso 234-9041) and 2005-2009 (Denso 234-9048) use different parts.
- Using the OEM supplier brand (Denso) is highly recommended for a reliable fix.
- This is a DIY-friendly repair that can be done with basic tools and a special 22mm (7/8") oxygen sensor socket.
What's Unique About the 2003-2009 Toyota 4Runner
On the 4.7L V8 4Runner, this code is overwhelmingly caused by the sensor itself failing from age and heat cycles. Unlike some vehicles where wiring or fuse issues are common, owners of these 4Runners report a very high success rate by simply replacing the sensor. A critical detail for this platform is a mid-generation part change: 2003-2004 models use a different A/F sensor than the 2005-2009 models, which gained VVT-i. Using the wrong part will not work, so verifying the correct part number for your year is essential.
Symptoms You May Notice
- Check Engine Light is on
- Decreased fuel economy.
- Failure to pass an emissions test.
- Slightly rough or unstable idle on a cold start that improves as the engine warms up.
- Replacing the wrong oxygen sensor (e.g., the downstream sensor or the sensor on the driver's side, Bank 2). P0030 specifically refers to the upstream sensor on the passenger side.
- Replacing the sensor without first checking the 'A/F HTR' fuse and relay.
Most Likely Causes
- Failed Air/Fuel Ratio Sensor (Bank 1, Sensor 1) 🔴 High Probability → Shop Oxygen Sensor The internal heater element is a common failure point due to constant extreme heat cycles and age. It's considered a normal wear-and-tear item with a finite lifespan.
How to confirm: After checking the fuse, test the resistance of the heater circuit 🎬 Watch: How to diagnose any AFR sensor heater circuit malfunction on the sensor itself using a multimeter. The two same-colored wires (usually black on Denso sensors) are for the heater. A good sensor should have a resistance between 1.8 and 3.4 ohms at room temperature (68°F/20°C). An open circuit (infinite resistance or 'OL') confirms the sensor's heater element has failed.
Typical fix: Replace the Bank 1, Sensor 1 Air/Fuel Ratio sensor. This is the upstream sensor on the passenger side. Using a 22mm or 7/8" offset oxygen sensor socket is highly recommended for removal and installation.
Est. part cost: $70-$120 - Blown 'A/F HTR' Fuse ⚪ Low Probability A failing sensor can sometimes short circuit internally, causing the protective fuse to blow.
How to confirm: Locate the fuse box in the engine bay near the battery and inspect the 25A 'A/F HTR' fuse. If it is blown, replace it. If it blows again immediately, there is a short circuit in the wiring that needs to be diagnosed. You can also swap the 'A/F HEATER' relay with an identical one (like the horn relay) to test its function.
Typical fix: Replace the blown fuse.
Est. part cost: $1-$5 - Damaged Wiring or Connector ⚪ Low Probability The wiring harness is routed near hot exhaust components and can become brittle, melted, or damaged over time.
How to confirm: Visually inspect the wiring harness and connector leading to the Bank 1 Sensor 1 A/F sensor. Look for any signs of melting, chafing, corrosion, or broken wires. Use a multimeter to check for ~12V power at the harness connector with the key on, engine off.
Typical fix: Repair the damaged section of wiring or replace the connector pigtail.
Est. part cost: $10-$30
Rare But Worth Checking
- Faulty Engine Control Module (ECM): → Shop Engine Control Module (ECM) This is extremely rare. Before suspecting the ECM, all other possibilities (sensor, fuse, wiring) must be exhaustively ruled out by a professional.
Diagnosis Steps
- Verify the code with an OBD-II scanner.
- Check the 25A 'A/F HTR' fuse in the engine bay fuse box. Replace if blown.
- Consider swapping the 'A/F HEATER' relay with a known good, identical relay to rule it out.
- Visually inspect the wiring and connector for the passenger-side upstream A/F sensor for any damage, melting, or corrosion.
- If the fuse and wiring are okay, the most likely cause is the sensor itself.
- For confirmation, disconnect the sensor and measure the resistance between the two heater pins (same-colored wires, typically black) on the sensor side. A reading of 'OL' or infinite resistance indicates a broken heater element. A good sensor should read between 1.8-3.4 ohms.
- If resistance is within spec, check for battery voltage (~12V) at the harness connector's power pin (+B) with the ignition on.
- If all checks pass but the code persists, the issue may be in the wiring between the sensor and the ECM, or a very rare ECM fault.
Parts You'll Likely Need
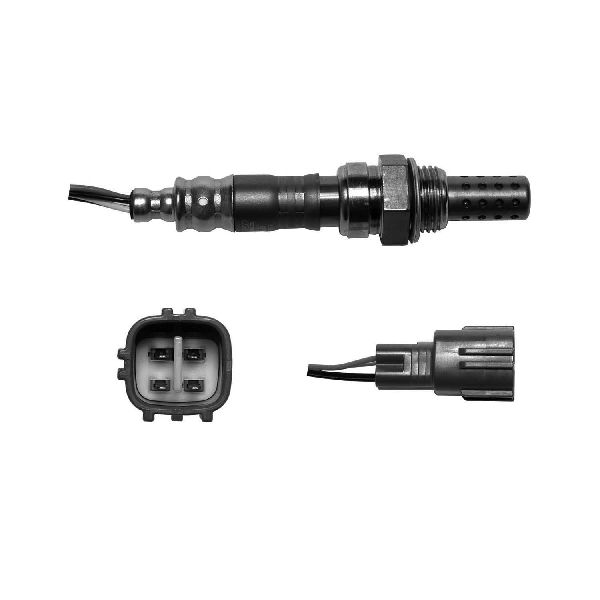
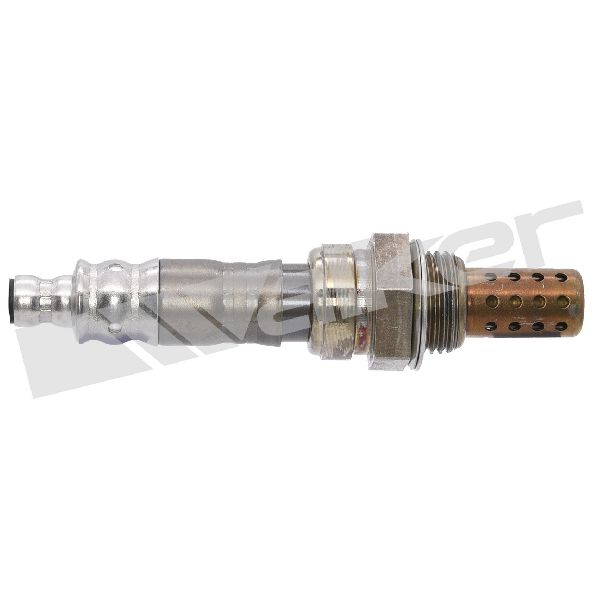
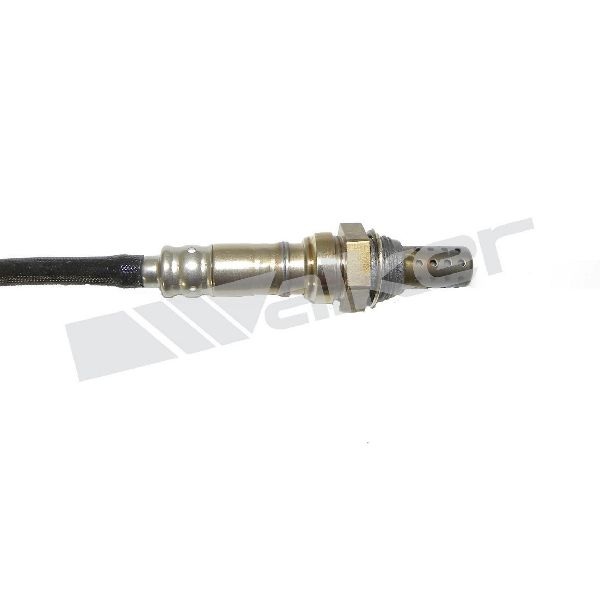
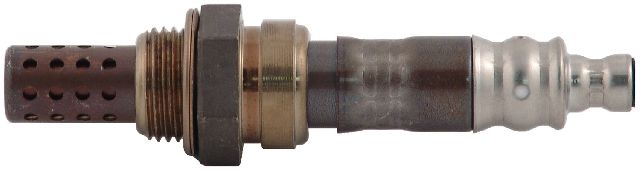
- Air/Fuel Ratio Sensor (Bank 1, Sensor 1)
(OEM #89467-35100 (2003-2004), 89467-71020 (2005-2009))— This is the upstream oxygen sensor for the passenger side. Its internal heater element is the most common failure point for code P0030.
Trusted brands: Denso (OEM), NTK
OEM price range: $200-$270
Aftermarket price range: $70-$120
Platform-Specific Known Issues
- There is a critical part difference based on the model year. 2003-2004 models use a different sensor (Denso 234-9041) than the 2005-2009 VVT-i models (Denso 234-9048). Installing the incorrect part will not resolve the code.
- Access to the sensor on the passenger side manifold is reasonable from underneath the vehicle, but using a specialized 22mm (7/8") offset O2 sensor socket is highly recommended to get the proper leverage and avoid damaging the old or new sensor.
Mechanic-Grade Diagnostic Values
- A/F Sensor Heater Circuit Current — expected: The ECM expects to see a specific current draw. While exact values for P0030 are not published, related codes P0031 (Low) and P0032 (High) are triggered by specific thresholds.. Failure: A current draw less than 0.8 A can trigger a low-current fault, while a draw over 10 A can trigger a high-current fault. P0030 indicates a general circuit malfunction.
- Voltage at A/F Sensor Connector (Harness Side) — expected: With the ignition ON, engine OFF, there should be battery voltage (~12V) at pin +B of the sensor connector.. Failure: 0V on the power pin indicates a problem upstream, such as the A/F HTR fuse, EFI MAIN relay, or the wiring from the relay.
- Voltage at ECM Connector (HT1A pin) — expected: With the engine idling after warming up, a multimeter should show a duty-cycle pulse (voltage rapidly switching) at the HT1A pin on the ECM connector.. Failure: A constant 0V or a constant 12V indicates a problem with the ECM's driver circuit or a short/open in the wire between the ECM and the sensor.
Scan Tool Commands That Help
- Toyota Techstream: Active Test: 'Control the A/F Sensor Heater (Bank 1 Sensor 1)' — This command allows a technician to manually turn the heater circuit on and off. It is the definitive way to test the entire control circuit (ECM, relay, fuse, and wiring) independently of the sensor itself. If the heater can be commanded on, the control side is working, and the fault is almost certainly the sensor's internal heater element.
Wiring & Ground Locations
- A/F Sensor Connector (Bank 1, Sensor 1) — On the passenger side of the engine, connecting the A/F sensor to the main engine harness.. This is the primary point for testing. The heater circuit pins are +B (Power, typically Black/Red wire) and HT1A (ECM Control, typically White wire). The other two pins are for the sensor signal.
- ECM Connector Pin HT1A — This is the specific pin on the Engine Control Module (ECM) that controls the ground side of the B1S1 heater circuit.. Testing for a pulse signal at this pin can confirm if the ECM is attempting to control the heater. A lack of signal here when all wiring is good points to a rare ECM failure.
- Engine Ground (Passenger Side) — A 10mm bolt securing a ground wire from the harness to the rear of the passenger side cylinder head/block area, near the firewall.. While the sensor heater has a dedicated power and control wire, the ECM and other related components rely on clean engine and chassis grounds. A corroded or loose main engine ground can cause a variety of strange electrical issues, and it's a known good practice to check them during any electrical diagnosis.
Real Owner Repair Stories
- ClubLexus forum user (2008 Lexus GX470 (direct platform mate)) — Check Engine Light with P0030 code.
❌ Tried (didn't work) Initially confused by different part numbers listed on various websites (234-9048 vs 234-9051).
✅ What actually fixed it Confirmed with other owners that the correct part for the 2005+ VVT-i 4.7L V8 was the Denso 234-9048. Replacing the Bank 1 Sensor 1 with this specific part resolved the code.
OEM Part Supersession History
89467-35100→N/A, still valid for the specified years— Original part for non-VVT-i engines.
Heads up: This part is for 2003-2004 models only. It is physically different and electrically incompatible with 2005-2009 models. The aftermarket equivalent is Denso 234-9041.89467-71020→N/A, still valid for the specified years— Original part for VVT-i engines.
Heads up: This part is for 2005-2009 models only. It will not work on earlier models. The aftermarket equivalent is Denso 234-9048.
Model Year Variations Within This Range
- 2003-2004 vs 2005-2009: The primary difference is the introduction of Variable Valve Timing with intelligence (VVT-i) to the 2UZ-FE engine in 2005. This engine update required different Air/Fuel ratio sensors and a different ECM. The sensors are not interchangeable between the two versions.
Diagnostic Flowchart
Other Known Issues on This Vehicle
Issues unrelated to this code that are worth knowing about as an owner of this generation:
- Cracked Exhaust Manifolds 🟠 Medium — Very common, typically occurs between 80k-150k miles. Presents as a ticking noise on cold starts that may disappear as the engine warms up.
- Secondary Air Injection System (SAIS) Failure 🔴 High — Extremely common on 2005-2009 VVT-i models. A failed pump or stuck valves will trigger a Check Engine Light and often put the vehicle into 'limp mode' with severely reduced power. (Ref: A recall existed for Tundras/Sequoias but not the 4Runner. Aftermarket bypass kits are a popular, permanent fix.)
- Seized Front Brake Calipers 🟠 Medium — Common across all years, especially in regions with road salt. Pistons in the calipers stick, causing brake drag, pulling to one side, and excessive heat.
- Timing Belt Replacement 🔴 High — This is a required maintenance item, not a failure. The 2UZ-FE is an interference engine, and the timing belt must be replaced every 90,000 miles to prevent catastrophic engine damage. The water pump is typically replaced at the same time.
- Frame Rust 🔴 High — A major issue for 4th Gen 4Runners, particularly those in the 'salt belt'. Severe rust can compromise the structural integrity of the vehicle, making it unsafe. Meticulous inspection is required before purchase. (Ref: A previous frame replacement program from Toyota has expired.)
Used vs. New Parts: Buying Guide for This Vehicle
When a used part is the smart pick: For this specific repair, buying a used Air/Fuel Ratio sensor is NOT recommended. They are wear items with a finite lifespan, similar to spark plugs or brake pads. A used sensor may fail shortly after installation. However, sourcing a used wiring harness pigtail from a junkyard is a smart choice if your original connector is melted or damaged.
Donor-vehicle mileage cap: roughly under 50000 miles for the part to have meaningful remaining life.
What to inspect on the donor part:
- For a wiring pigtail: ensure the plastic connector is not brittle, the locking tab is intact, and the wires have at least 4-6 inches of length for splicing. Check for any signs of corrosion on the pins.
Aftermarket brands forum-validated for this vehicle:
- Denso: Denso is the Original Equipment Manufacturer (OEM) for Toyota. Buying a Denso-branded sensor from an auto parts store is equivalent to buying the part from a Toyota dealership, but usually at a lower cost.
Brands owners have reported issues with on this vehicle:
- Bosch: While a quality brand for many vehicles, forum consensus strongly indicates that Toyota's engine management systems of this era are sensitive and may not function correctly with non-Denso sensors, potentially leading to persistent codes.
- Universal Sensors: Avoid any sensor that requires cutting your factory connector and splicing wires. The precise resistance of the circuit is critical, and improper connections are a common cause of failure.
Real Owner Stories
Aggregated from forums and TSBs cited above. Mileages and costs reflect what owners reported in those sources.
2003-2009 Toyota 4Runner 2UZ-FE 4.7L V8
Symptoms: Check Engine Light on with P0030; owners emphasize that the issue is almost always the Bank 1 Sensor 1 heater circuit failing.
What fixed it: Replacing the sensor with the correct year-specific Denso part after checking the A/F HTR fuse.
Source hint: T4R.org / Toyota-4Runner.org
2003-2009 Lexus GX470 (2UZ-FE 4.7L V8)
Symptoms: Identical P0030 failure pattern as the 4Runner, involving the heater circuit of the upstream A/F sensor.
What fixed it: Replacement of the Bank 1 Sensor 1 A/F sensor using Denso parts.
Source hint: ClubLexus.com
Related OBD-II Codes
Frequently Asked Questions
Which specific Denso sensor do I need for my 2005 4Runner V8?
Can I use a Bosch or universal oxygen sensor to fix P0030 on my 4Runner?
Is there a TSB or recall for the Secondary Air Injection System failure on my 4Runner?
Where is the Bank 1 Sensor 1 located on the 4.7L V8 engine?
My 4Runner has a ticking noise on cold starts along with the check engine light; are they related?
What fuse should I check for a P0030 code on a 2UZ-FE engine?
Helpful Videos


We Have This Part in Stock


The information in this article is provided for general reference and educational purposes only. Vehicle specifications, procedures, and part compatibility can vary by production date, trim level, and region. Always consult your vehicle's factory service manual and verify part numbers before purchasing or performing repairs. Safety-critical components such as airbags, seat belts, and braking systems should be installed by a qualified professional.
- Toyota 4Runner:
- 🧭 Diagnostic Flowchart
- 🎬 Helpful Videos
- 🛍️ Shop This Part
- What's Unique About the 2003-2009 Toyota 4Runner
- Symptoms You May Notice
- Most Likely Causes
- Rare But Worth Checking
- Diagnosis Steps
- Parts You'll Likely Need
- Platform-Specific Known Issues
- Mechanic-Grade Diagnostic Values
- Scan Tool Commands That Help
- Wiring & Ground Locations
- Real Owner Repair Stories
- OEM Part Supersession History
- Model Year Variations Within This Range
- Other Known Issues on This Vehicle
- Used vs. New Parts: Buying Guide for This Vehicle
- Real Owner Stories
- 2003-2009 Toyota 4Runner 2UZ-FE 4.7L V8
- 2003-2009 Lexus GX470 (2UZ-FE 4.7L V8)
- Related OBD-II Codes
- Frequently Asked Questions
- 🎟️ Get 5% Off