
P0036 on 2005-2010 Pontiac G6 3.5L: HO2S Heater Circuit Causes and Fixes
This code almost always means the Bank 1, Sensor 2 oxygen sensor has failed and needs to be replaced. It's located on the rear exhaust bank after the catalytic converter. Before replacing, check the 10A 'Post 02' fuse in the trunk. Expect to pay $40-$80 for a quality aftermarket sensor (like Denso or NTK) and $70-$120 for an OEM ACDelco part. It's a DIY-friendly fix if you can access the sensor, which is tight on this engine.
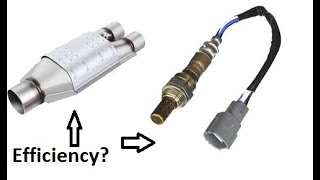
- P0036 points to a failure in the heater circuit of the oxygen sensor located on the rear exhaust bank (firewall side), after the catalytic converter.
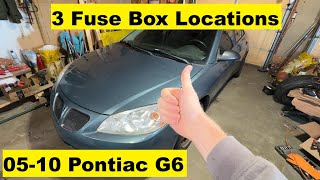
- Before replacing the sensor, always check the 10-amp 'Post 02' fuse in the trunk fuse box first. A blown fuse is a strong indicator of a short in the sensor or wiring.
- The most likely fix is replacing the oxygen sensor itself. Access is tight, but it is a manageable DIY job for those with patience and the correct tool (a 7/8" or 22mm O2 sensor socket).
- Ensure you are replacing the correct sensor. This engine has four, and you need Bank 1, Sensor 2. Also check the wiring harness for chafing, a known issue on this platform.
What's Unique About the 2005-2010 Pontiac G6
On the transversely mounted 3.5L V6 (LZ4) in the Pontiac G6, Bank 1 is the cylinder bank located against the firewall, as it contains cylinder #1. This makes accessing the Bank 1 Sensor 2 (downstream) oxygen sensor more challenging than on engines where it's easily reached from under the vehicle. The repair often requires reaching down from the top of the engine bay or carefully accessing it from below, which can be tight. Using a specialized 7/8" (or 22mm) slotted oxygen sensor socket with a universal joint and extensions is highly recommended.
🎬 Watch: How to locate and replace Bank 1 sensors on a 3.5L G6Symptoms You May Notice
- Check Engine Light illuminated
- Vehicle may fail an emissions test.
- In some GM vehicles, remote start functionality may be disabled when a Check Engine Light is active.
- Replacing the wrong oxygen sensor. The 3.5L V6 has four sensors. It is crucial to identify the correct one: Bank 1 (rear/firewall side) and Sensor 2 (downstream/after the catalytic converter).
- Replacing the sensor when the actual fault is a blown fuse or a damaged wire. Always check the fuse first.
Most Likely Causes
- Failed Bank 1, Sensor 2 Oxygen Sensor 🔴 High Probability → Shop Oxygen Sensor The internal heater element is a common failure point in oxygen sensors due to constant, rapid heat cycles. The element is essentially a resistor that burns out over time.
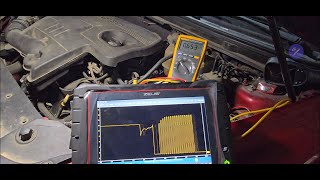
How to confirm: After checking the fuse and wiring, test the resistance of the heater circuit within the sensor using a multimeter. The two same-colored wires (often black or white) are for the heater. A reading of 'OL' (over-limit) or infinite resistance means the circuit is open and the sensor is bad. A healthy sensor typically reads between 3 and 30 ohms.
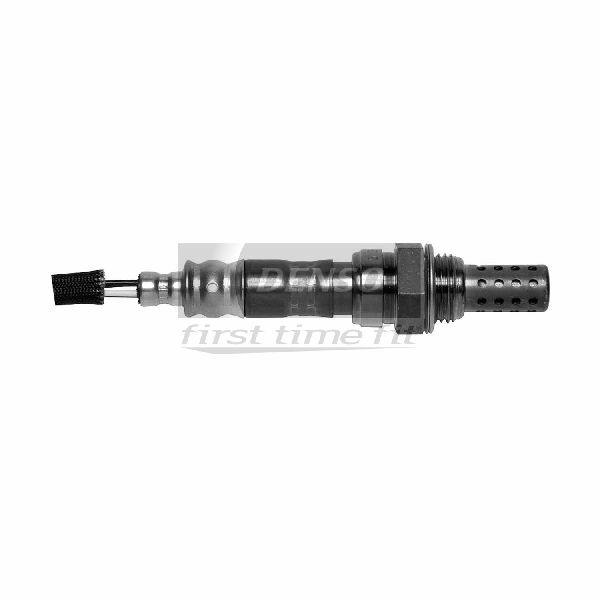
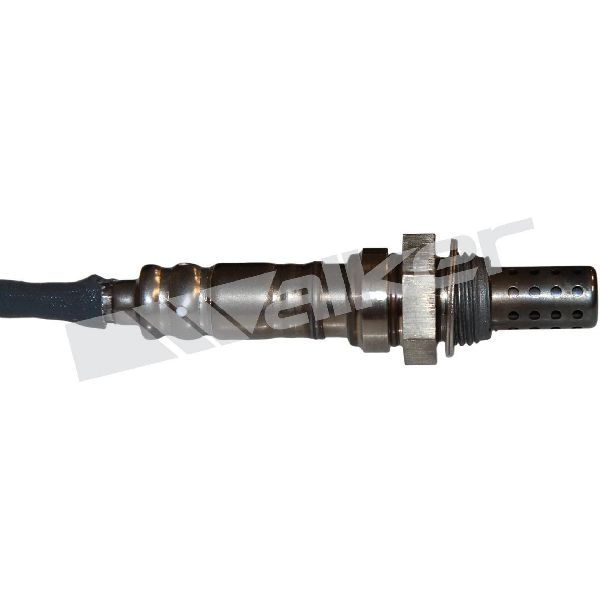
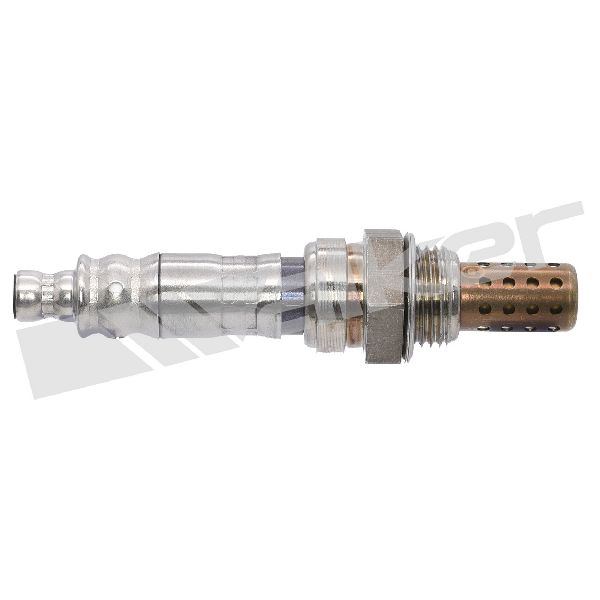
Typical fix: Replace the Bank 1, Sensor 2 oxygen sensor. Popular aftermarket choices include Denso 234-4651. The OEM part is typically an ACDelco sensor.
Est. part cost: $40-$120 - Blown Fuse for O2 Sensor Heater 🟡 Medium Probability → Shop Oxygen Sensor A short circuit in the O2 sensor's internal heater element or its wiring harness can cause a sudden current spike, blowing the protective fuse.
How to confirm: Check the 'Post 02' fuse, which is a 10-amp fuse in position 45 of the rear fuse block. The rear fuse block is located in the trunk on the driver's side. If the fuse is blown, a short circuit in the wiring or the sensor itself is likely. A recurring blown fuse strongly points to a wiring issue.
Typical fix: Replace the blown 10-amp fuse after inspecting the wiring and O2 sensor for shorts. If the fuse blows again immediately, the wiring harness must be traced to find the short to ground.
Est. part cost: $1-$5 - Damaged Wiring or Connector ⚪ Low Probability The wiring harness for the rear O2 sensor runs close to hot exhaust components and the driveshaft, making it susceptible to melting, chafing, or corrosion over time. A GM TSB for other models (24-NA-042) notes issues with O2 sensor wiring contacting the exhaust, indicating a known potential issue on GM platforms. A video on a platform-mate Chevy Malibu showed the harness rubbing through on the intake manifold.
How to confirm: Visually inspect the entire wiring harness and connector leading to the Bank 1, Sensor 2 O2 sensor for any signs of melting, fraying, or corrosion. Pay close attention to where the harness passes near the exhaust manifold and heat shields. Check for 12-volt power and a good ground at the connector with the key on.
Typical fix: Repair the damaged section of the wiring harness or replace the connector pigtail. Use heat-shrink tubing and secure the harness away from heat sources.
Est. part cost: $15-$40
Rare But Worth Checking
- Faulty Powertrain Control Module (PCM): → Shop Engine Control Module (ECM) This is very uncommon. All other possibilities, including the sensor, fuse, and wiring, should be exhaustively ruled out before considering a PCM failure. A faulty driver circuit within the PCM can fail to send power to the heater circuit.
Diagnosis Steps
- Retrieve the P0036 code using an OBD-II scanner.
- Inspect the 'Post 02' 10A fuse (position 45) in the rear fuse block located in the trunk. Replace if blown. If it blows again, suspect a wiring short.
- If the fuse is good, locate the Bank 1, Sensor 2 oxygen sensor. It is on the rear exhaust manifold, after the catalytic converter. Access may be from the top or bottom.
- Visually inspect the sensor's wiring harness and connector for any signs of melting, chafing, or corrosion, especially where it runs near the exhaust or engine block.
- Disconnect the sensor. With the ignition on (engine off), use a multimeter to verify there is 12V power on the power pin of the vehicle-side connector and a good ground on the ground pin.
- On the sensor side of the connector, measure the resistance between the two same-colored wires (the heater circuit). A reading between 3-30 ohms is typical. If the reading is infinite (Open Loop/OL) or zero (shorted), the sensor has failed and must be replaced.
- If the fuse, wiring, and sensor resistance are all good, the problem may be intermittent or, in rare cases, point to a faulty PCM driver circuit.
Parts You'll Likely Need
- Oxygen Sensor (Bank 1, Sensor 2)
(OEM #ACDelco 213-4228 (Supersedes 213-1574))— The internal heater element is the most common failure point that triggers code P0036.
Trusted brands: ACDelco (OEM), Denso (e.g., 234-4651), Bosch, NGK/NTK
OEM price range: $70-$120
Aftermarket price range: $40-$80
Related Codes That Often Appear With This One
- P0141: O2 Sensor Heater Circuit Malfunction (Bank 1, Sensor 2) - This is an almost identical code and is often triggered alongside P0036.
- P0054: HO2S Heater Resistance (Bank 1, Sensor 2) - This code specifically points to an issue with the resistance value of the heater circuit, often seen with P0036.
- P0137: O2 Sensor Circuit Low Voltage (Bank 1, Sensor 2)
- P0138: O2 Sensor Circuit High Voltage (Bank 1, Sensor 2)
Technical Service Bulletins (TSBs) & Recalls
- While no TSB is specific to P0036 on the G6, GM TSB 24-NA-042 discusses mis-routed Bank 1 Sensor 1 wiring harnesses coming into contact with the exhaust on other models, highlighting a known pattern of potential wiring issues on GM vehicles.
Platform-Specific Known Issues
- Difficult Access to Bank 1 Sensors: Owners report that accessing the rear bank (Bank 1) O2 sensors is difficult due to the tight space against the firewall. The downstream sensor (Sensor 2) is often reached from underneath the car, but may require specific tools like flexible extensions and a slotted O2 sensor socket to remove.
- Wiring Harness Chafing: On the GM Epsilon platform, there are documented cases of wiring harnesses rubbing through their insulation. A common area for the O2 sensor harness to get damaged is where it passes over the intake manifold or near exhaust heat shields. A video of a 2008 Chevy Malibu with the same engine and codes showed two wires for the O2 sensors had rubbed through on the manifold.
Diagnostic Flowchart
Real Owner Stories
Aggregated from forums and TSBs cited above. Mileages and costs reflect what owners reported in those sources.
2007 Pontiac G6 — 155228 miles
Symptoms: Oxygen sensor heater circuit code.
What fixed it: Needs rear O2 sensor.
Cost: $239.00 PLUS TAX
Source hint: Automotive Service & Repair
2007 Chevrolet Malibu 3.5L V6
Symptoms: P0036 and related codes (P0141, P0054).
What fixed it: Traced to a wiring issue after sensor replacement didn't fix it.
Source hint: 2carpros.com
2008 Chevrolet Malibu 3.5L V6
Symptoms: Multiple O2 sensor and other circuit codes.
What fixed it: Traced the fault to a wiring harness that had rubbed through on the engine/intake manifold.
Source hint: YouTube video diagnosis
Related OBD-II Codes
Frequently Asked Questions
Is there a specific TSB for the P0036 code on my 2005-2010 Pontiac G6?
Where is the fuse for the O2 sensor heater located on the Pontiac G6?
Why is my remote start not working when the P0036 code is active?
How difficult is it to replace the Bank 1 Sensor 2 oxygen sensor on the 3.5L V6?
What replacement oxygen sensor should I buy for my G6?
I replaced the sensor but the P0036 code came back. What else goes wrong on the GM Epsilon platform?
Helpful Videos


We Have This Part in Stock


The information in this article is provided for general reference and educational purposes only. Vehicle specifications, procedures, and part compatibility can vary by production date, trim level, and region. Always consult your vehicle's factory service manual and verify part numbers before purchasing or performing repairs. Safety-critical components such as airbags, seat belts, and braking systems should be installed by a qualified professional.
- Pontiac G6:
- 🧭 Diagnostic Flowchart
- 🎬 Helpful Videos
- 🛍️ Shop This Part
- What's Unique About the 2005-2010 Pontiac G6
- Symptoms You May Notice
- Most Likely Causes
- Rare But Worth Checking
- Diagnosis Steps
- Parts You'll Likely Need
- Related Codes That Often Appear With This One
- Technical Service Bulletins (TSBs) & Recalls
- Platform-Specific Known Issues
- Real Owner Stories
- 2007 Pontiac G6 — 155228 miles
- 2007 Chevrolet Malibu 3.5L V6
- 2008 Chevrolet Malibu 3.5L V6
- Related OBD-II Codes
- Frequently Asked Questions
- 🎟️ Get 5% Off