
P3004 on 2004-2009 Toyota Prius: High Voltage Malfunction Causes and Fixes
Code P3004 on a 2004-2009 Prius indicates a serious fault in the high-voltage system, often preventing the car from becoming 'Ready' to drive. The most common causes are a failed relay (contactor) within the HV battery assembly or a loose connection, like a bus bar nut. This is a dangerous, high-voltage system that requires professional diagnosis.
- P3004 is a critical fault that will make your Prius undriveable.
- DO NOT attempt to fix this yourself. The high-voltage system is extremely dangerous and requires a qualified professional.
- The most likely cause on a 2004-2009 Prius is a failed component inside the HV battery pack, such as a relay or a loose bus bar nut.
- If you recently had the battery serviced, a loose bus bar nut torqued to 48 inch-pounds is a very likely culprit.
What's Unique About the 2004-2009 Toyota Prius
While on the next generation (2010-2015) Prius this code almost always points to a failed inverter, on the 2004-2009 (Gen 2) model, the causes are more varied. Gen 2 issues for P3004 are more frequently traced back to components inside the high-voltage battery case itself, such as the main relays (contactors SMR1, SMR2, SMR3) or corrosion and loose connections on the battery bus bars. The inverter is a possible cause, but it is not the overwhelmingly common failure point that it is on the later generation.
Symptoms You May Notice
- Vehicle will not enter 'Ready' mode
- Master warning light and 'Problem' message on the multi-function display
- Red triangle warning light illuminated
- Check Engine light illuminated
- Inability to shift out of Park
- Replacing the entire HV battery pack without diagnosing the internal components. The issue is often a single, much cheaper component within the pack, like a relay or a loose nut.
- Immediately blaming the inverter. On a Gen 2 Prius, the fault is more likely to be within the battery case itself, unlike on a Gen 3.
Most Likely Causes
- Failed HV Battery Relay (Contactor) 🔴 High Probability → Shop Vehicle Battery The HV battery contains a junction block with three System Main Relays (SMRs) that connect the battery to the inverter. These are mechanical switches that handle very high voltage. Over many cycles, their internal contacts can burn, weld, or fail, preventing the battery from connecting to the rest of the car.
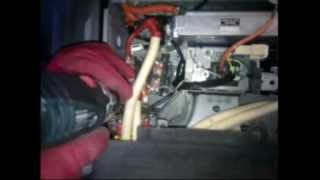
How to confirm: A technician can use an advanced scan tool (like Toyota Techstream) to perform an active test, commanding the relays one by one and listening for an audible 'click' from the battery area. Silence from one of the relays indicates it has failed. A diagnostic blog detailed this exact process, identifying the silent contactor 🎬 Watch: A real-world diagnosis of the P3004 code on a 2008 Prius. as the culprit for a P3004-131. Electrical testing at the junction block is the definitive confirmation.
Typical fix: Replace the failed relay(s) or the entire HV Battery Junction Block Assembly inside the hybrid battery case. The relays are often referred to as SMR1, SMR2, and SMR3.
Est. part cost: $100-$350 - Loose or Corroded HV Battery Bus Bar or Wiring 🟡 Medium Probability → Shop Vehicle Battery The 28 battery modules are connected in series by copper bus bars and 8mm nuts. Over time, potassium hydroxide can weep from module seals, causing a non-conductive crust to form on the copper bars. Additionally, if any prior battery service was performed, a nut may not have been properly torqued, creating a loose connection and an open circuit.
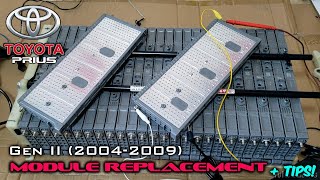
How to confirm: After safely depowering the HV system, a technician must open the battery case and visually inspect all bus bars. A loose nut will be obvious. A PriusChat user with a 2008 Prius reported fixing a P3004 code simply by finding and tightening a loose bus bar nut after replacing some cells. The factory torque specification is 48 inch-pounds (5.4 Nm) 🎬 See this walkthrough for cleaning bus bars and replacing battery modules., a critical and frequently discussed value in owner forums.
Typical fix: Clean the affected bus bars and terminals, and tighten all nuts to the factory specification of 48 inch-pounds. Cleaning methods discussed on forums include using vinegar and baking soda, or a more aggressive (but effective) dip in muriatic acid followed by a thorough water rinse. Replace any heavily corroded or damaged bus bars.
Est. part cost: $20-$100 - Service Plug Grip Not Fully Seated or Blown Fuse ⚪ Low Probability The orange service plug is a primary safety device used to disconnect the HV battery. If it's not fully seated and locked after service, the interlock circuit will remain open, preventing startup and triggering P3004. The plug also contains a large fuse that can blow in an overcurrent event, which would also create an open circuit.
How to confirm: Visually inspect the service plug to ensure the handle is down and the lever is fully locked. A technician can remove the plug and test the continuity of its internal fuse with a multimeter.
Typical fix: Re-seat the service plug correctly. If the internal fuse is blown, the entire service plug must be replaced. A blown fuse often indicates a more serious downstream problem (like a shorted inverter) that must be diagnosed.
Est. part cost: $30-$60
Rare But Worth Checking
- Failed Inverter/Converter Assembly: While this is the most common cause on the next generation Prius, it is a less common but still possible cause on the 2004-2009 models. Diagnosis would involve confirming that the HV battery, relays, and wiring are all functioning correctly before condemning the expensive inverter.
- Break in High-Voltage Cable: Physical damage to the large orange cables running between the HV battery and the inverter can cause an open circuit. This is rare without evidence of an accident, rodent damage, or improper service. A visual inspection and continuity/insulation resistance tests can confirm this.
- Failed HV Control ECU: In very rare cases, the Hybrid Vehicle Control ECU itself can fail, either by not sending the command to the relays or by misinterpreting the voltage feedback from the inverter. This is typically a diagnosis of last resort after all other components have been verified.
Diagnosis Steps
- Connect an advanced scan tool (e.g., Toyota Techstream) capable of reading Toyota hybrid system data.
- Check for P3004 and any accompanying information codes (e.g., 131, 132, 526).
- Verify the 12V auxiliary battery is healthy and fully charged, as low voltage can cause myriad electronic faults.
- Check that the brake pedal switch is functioning, as it's a required input to enter 'Ready' mode.
- Inspect the HV battery service plug to ensure it is fully seated and locked.
- Following all safety procedures for high-voltage systems (wearing insulated gloves, removing service plug, waiting 10+ minutes), access the HV battery assembly.
- Using the scan tool's active test function, command each of the three System Main Relays (SMRs) and listen for an audible click. No click suggests a failed relay or control circuit issue.
- Visually inspect all battery module bus bars and wiring for looseness, corrosion, or damage. Check the torque on the 8mm nuts, ensuring they are at 48 inch-pounds.
- If relays click and wiring is secure, test the System Main Resistor for correct resistance (typically 18-22 Ohms).
- If all battery components and wiring are confirmed to be good, further testing of the high-voltage cables and the inverter/converter assembly would be required.
Parts You'll Likely Need
- HV Battery Junction Block Assembly
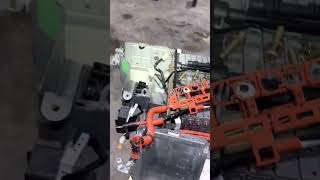
(OEM #G92Z0-47011)— This assembly contains all three system main relays (contactors), which are a primary failure point for P3004. Replacing the whole block is often easier than sourcing and replacing individual relays. 🎬 Watch: How to safely replace the main relays inside the battery.
Trusted brands: Toyota OE
OEM price range: $250-$400
Aftermarket price range: N/A - HV Battery Bus Bars — Corrosion or damage to these connector bars can cause an open circuit. They are often replaced or cleaned during battery service.
Trusted brands: Toyota OE, Various aftermarket kits (e.g., nickel-plated)
OEM price range: $5-$15 per bar
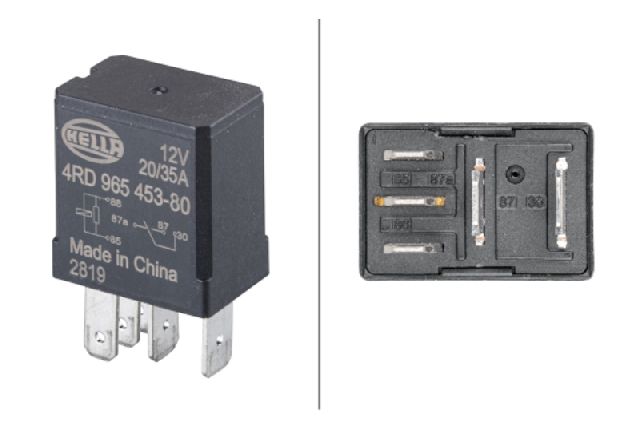
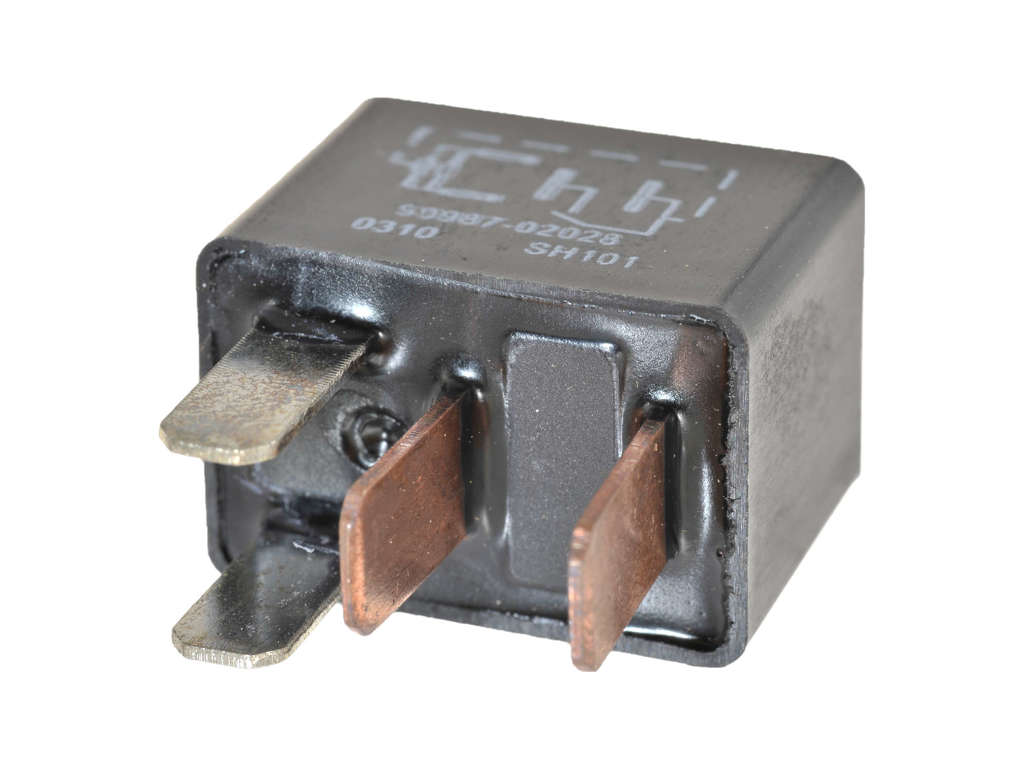
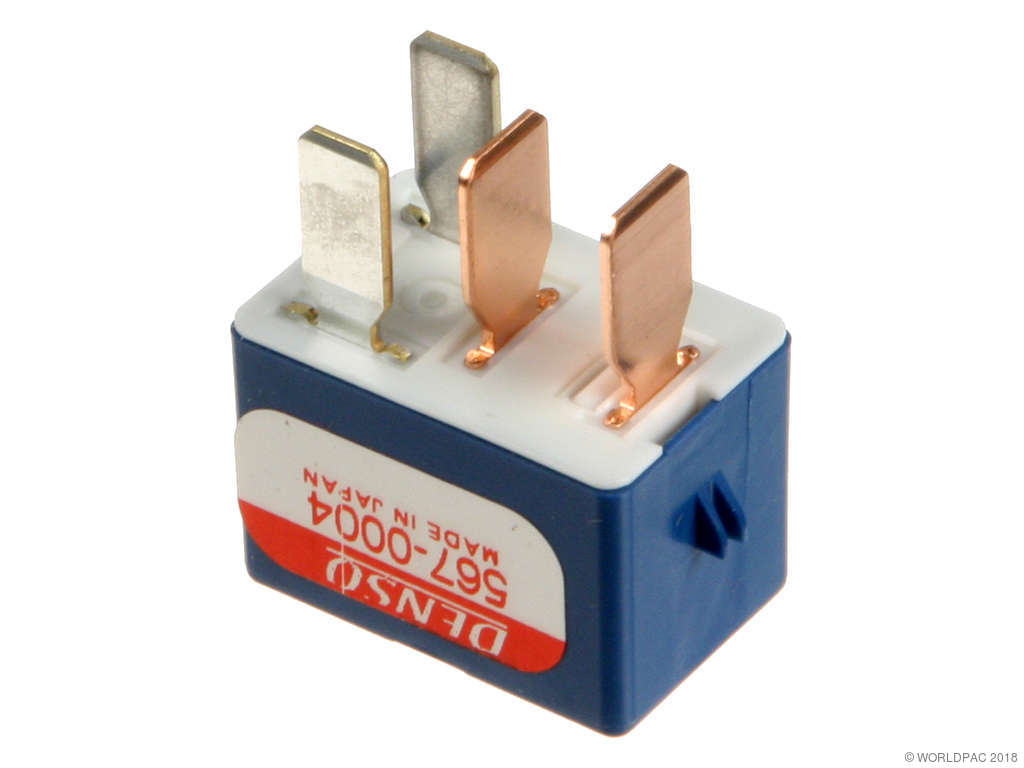
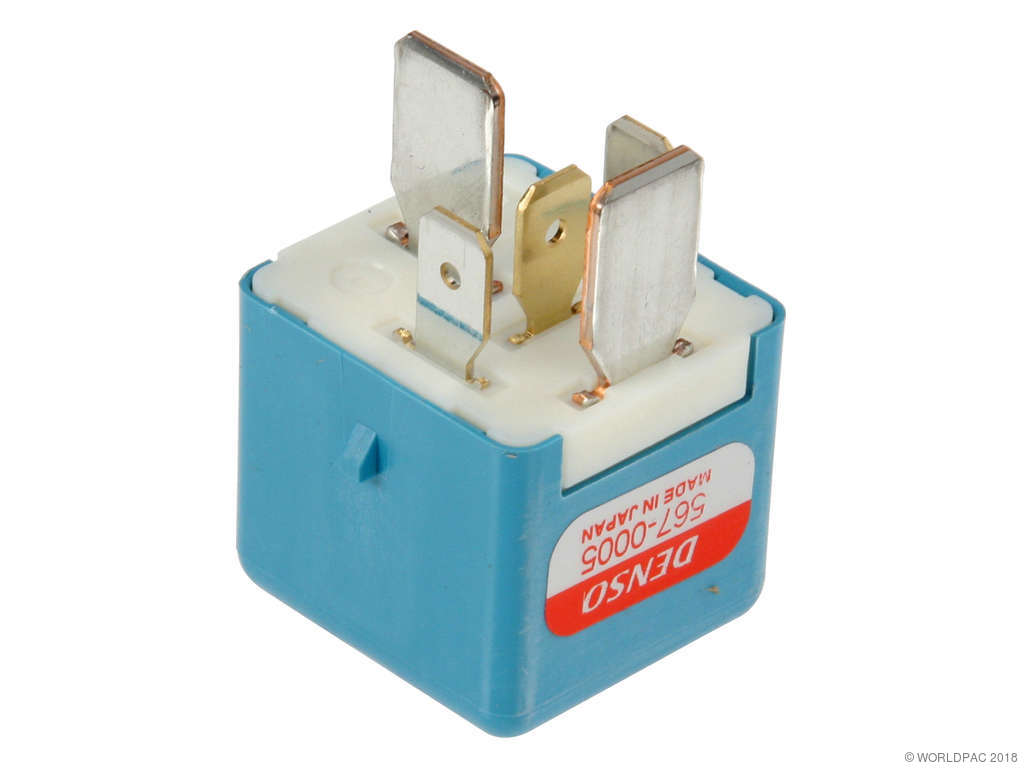
Aftermarket price range: $20-$50 for a set - Relay
(OEM #90084-98032)— This is a common Toyota relay part number that has been cross-referenced to the HV battery contactors in some parts diagrams. Sourcing individual relays can be difficult, but this number may be used.
Trusted brands: Toyota OE
OEM price range: $60-$85
Aftermarket price range: $20-$40
Related Codes That Often Appear With This One
- P3000 — P3000 is a general code for 'HV Battery Malfunction'. It will almost always be present alongside a more specific code like P3004 that points to the nature of the fault.
- P0A0D — This code indicates a 'High Voltage System Interlock Circuit High' condition. It can be triggered if the service plug is not fully seated or if there's an issue with the safety interlock wiring, which are also potential causes for P3004.
Platform-Specific Known Issues
- Post-DIY Service Errors — This code frequently appears after a DIY battery module replacement if a bus bar nut was not torqued to the correct 48 in-lbs specification, or if a wiring connector inside the battery case was not fully seated.
Mechanic-Grade Diagnostic Values
- System Main Resistor Resistance — expected: 18 to 22 Ω. Failure: A reading outside this range, particularly an open circuit (infinite resistance), will trigger P3004 with info code 131 or 132.
- Inverter High-Voltage Input to Ground Resistance — expected: High resistance (Mega-ohms). Failure: A reading of 0.0 ohms indicates a dead short within the inverter assembly, a rare but possible cause on this generation.
- HV Control ECU Connector Voltage (Power Switch OFF) — expected: < 1V. Failure: Voltage significantly above 1V indicates that high-voltage is not properly discharging, pointing to a stuck/welded relay or other circuit fault.
Hidden / Shadow Codes Worth Checking
- P3004-800 / P3004-801: Indicates an excessive or minimal overcurrent was detected during the pre-charge sequence. This strongly suggests a short circuit in the high-voltage system. While more common on Gen 3+ models due to inverter failure, on a Gen 2 it could point to a shorted HV A/C compressor or a wiring short. (see via Toyota Techstream or equivalent advanced scan tool under the Hybrid Control ECU menu.)
Scan Tool Commands That Help
- Toyota Techstream: Active Test: 'Data List / Active Test' -> 'Hybrid Control' -> 'SMRB, SMRP, SMRG' — This is a primary diagnostic step for P3004-131. It allows a technician to command each of the three System Main Relays (SMRs) individually. An audible 'click' should be heard from the rear battery area for each command. A silent relay points directly to a failed contactor or its control circuit.
- Toyota Techstream: Data List: 'VL-Voltage before Boosting' & 'VH-Voltage after Boosting' — When attempting to start the car ('Ready' on), monitor these values. 'VL' is the battery voltage, and 'VH' is the voltage at the inverter. If the relays click but VH does not rise to meet VL, it confirms an open circuit between the battery and inverter (e.g., failed resistor, bad cable, or internal inverter fault).
Wiring & Ground Locations
- Battery ECU — Inside the main HV battery case, in the rear of the vehicle.. This computer monitors all battery cell blocks and controls the System Main Relays within the battery's junction block. A failure in this ECU can prevent the relays from being commanded, causing a P3004.
- Hybrid Vehicle Control ECU — Behind the right side of the dashboard, near the glove box.. This is the master computer for the hybrid system. It receives the 'Ready' command and instructs the Battery ECU to close the relays. It then verifies voltage at the inverter. It is the ECU that ultimately sets code P3004.
- H15 Connector — A multi-pin connector at the Hybrid Vehicle Control ECU.. Specific pins on this connector (e.g., Pin 26 for VH, Pin 23 for GINV) are used as test points in the official diagnostic procedure to verify if the ECU is seeing the correct voltage from the inverter.
- HV Battery Ground Lug — Inside the HV battery case, where the 12V control wiring grounds to the case/chassis.. In at least one documented case, a ground lug for the battery control system was improperly installed (stuck under a plate) after service, preventing a proper connection and leading to a P3004 code.
Real Owner Repair Stories
- Automotive diagnostic blog (unnamed shop) (Toyota Prius (Gen 2 implied by fault type)) — Vehicle would not enter 'Ready' mode, non-start condition.
❌ Tried (didn't work) Initial scan showed P3004-131., Live data showed Pre-charge and Positive contactors would close momentarily then open again.
✅ What actually fixed it Using a scan tool's active test to command each of the three contactors individually, one was found to be silent. The technician replaced the single failed/burnt contactor inside the HV battery, which resolved the code and allowed the vehicle to start. - PriusChat user 'french Priusman' (2008 Prius, 51,000 miles) — Multiple warning lights, codes P0AC0, P3000, P3004.
❌ Tried (didn't work) Cleaned corrosion on HV battery bus bars., Replaced the entire Inverter/Converter assembly at a Toyota dealership ($4000 cost).
✅ What actually fixed it The codes returned two days after the inverter replacement. The owner then replaced the 'WireFrame A' (the battery voltage sensing harness) and the Battery ECU. This finally resolved the codes. This suggests the Battery ECU was the ultimate root cause, failing to properly control or monitor the HV system.
When the Usual Fixes Don't Work
- In one documented case on a 2008 Prius, the vehicle presented with P3004 and other codes. Following standard procedure, a dealership diagnosed and replaced the inverter assembly at a cost of nearly $4,000, but the problem quickly returned. The actual fix, performed later by the owner, was the replacement of the Battery ECU and its associated wiring harness inside the battery pack, which was the true root cause of the fault. This highlights that while inverter failure is rare on a Gen 2, it can be misdiagnosed, and the battery's internal control electronics should not be overlooked.
OEM Part Supersession History
90084-98032→N/A— N/A
Heads up: This part number is frequently cited online as a replacement for the SMR relays. However, parts catalogs show it as a generic 12V, 4-pin relay used for various functions like cooling fans, horns, etc. It is NOT the high-voltage contactor itself. Using this standard relay in place of a proper SMR would be incorrect and dangerous. The SMRs are best replaced as part of the complete Junction Block Assembly (G92Z0-47011).
Diagnostic Flowchart
Used vs. New Parts: Buying Guide for This Vehicle
When a used part is the smart pick: For this repair, sourcing a complete, used HV Battery Junction Block Assembly (which includes the three SMR relays and resistor) from a reputable salvage yard is a very common and cost-effective strategy. Since the relays are the most common failure point, getting a known-good used assembly is often much cheaper than a new OEM part.
Donor-vehicle mileage cap: roughly under 120000 miles for the part to have meaningful remaining life.
What to inspect on the donor part:
- Prioritize donors from dry climates to minimize the risk of corrosion on terminals and connectors.
- Verify the donor vehicle was not involved in a rear-end collision or a flood.
- If possible, get the VIN of the donor car to check its history and confirm low mileage.
- Visually inspect the part for any signs of arcing (black marks), melting, or heavy corrosion before purchase.
OEM-only on this vehicle (don't cheap out):
- HV Battery Junction Block Assembly / SMR Relays: Due to the high-voltage and safety-critical nature, only use Toyota OEM parts, whether new or salvaged from a donor vehicle. Avoid no-name aftermarket individual relays.
Aftermarket brands forum-validated for this vehicle:
- For corroded bus bars, aftermarket nickel-plated copper bus bar kits are a popular and recommended upgrade over OEM copper as they provide superior long-term corrosion resistance.
Brands owners have reported issues with on this vehicle:
- Unbranded individual relays sold on online marketplaces purporting to be direct SMR replacements. The quality control and high-voltage switching capability are unverified and pose a significant safety risk.
Real Owner Stories
Aggregated from forums and TSBs cited above. Mileages and costs reflect what owners reported in those sources.
2008 Toyota Prius 1NZ-FXE 1.5L
Symptoms: Immediately after the owner replaced two hybrid battery cells, the car would not start and displayed a P3004 trouble code.
What fixed it: The owner inspected the battery connections and found a bus bar nut that was not tight enough. Tightening the nut to the factory specification of 48 inch-pounds resolved the code and the no-start condition.
Source hint: PriusChat.com thread titled 'PriusChat: Gen 2 P3004 Code - The Smoking Gun for Loose Bus Bars'
2004-2009 Toyota Prius 1NZ-FXE 1.5L
Symptoms: The vehicle would not start or enter 'Ready' mode and had an active P3004-131 fault code.
What fixed it: A professional technician used a scan tool to perform an active test on the three battery relays. Two relays made an audible 'click' when commanded, but one was silent. Replacing the failed relay (contactor) fixed the problem.
Source hint: Gadd Automotive Blog: P3004-131 Diagnostic Case Study
Related OBD-II Codes
Frequently Asked Questions
What is the correct torque specification for the HV battery bus bar nuts on my 2004-2009 Prius?
I just replaced some battery cells myself and now my Prius has a P3004 code. What did I likely do wrong?
How can a technician test the high-voltage battery relays without taking the whole battery apart?
My Prius won't go into 'Ready' mode and shows P3004. Could it be something simple like the orange service plug?
What are the recommended methods for cleaning the corroded copper bus bars in my Prius battery?
What are the 'information codes' like 131 or 526 that can appear with P3004?
Helpful Videos
We Have This Part in Stock

The information in this article is provided for general reference and educational purposes only. Vehicle specifications, procedures, and part compatibility can vary by production date, trim level, and region. Always consult your vehicle's factory service manual and verify part numbers before purchasing or performing repairs. Safety-critical components such as airbags, seat belts, and braking systems should be installed by a qualified professional.
- Toyota Prius:
- 🧭 Diagnostic Flowchart
- 🎬 Helpful Videos
- 🛍️ Shop This Part
- What's Unique About the 2004-2009 Toyota Prius
- Symptoms You May Notice
- Most Likely Causes
- Rare But Worth Checking
- Diagnosis Steps
- Parts You'll Likely Need
- Related Codes That Often Appear With This One
- Platform-Specific Known Issues
- Mechanic-Grade Diagnostic Values
- Hidden / Shadow Codes Worth Checking
- Scan Tool Commands That Help
- Wiring & Ground Locations
- Real Owner Repair Stories
- When the Usual Fixes Don't Work
- OEM Part Supersession History
- Used vs. New Parts: Buying Guide for This Vehicle
- Real Owner Stories
- 2008 Toyota Prius 1NZ-FXE 1.5L
- 2004-2009 Toyota Prius 1NZ-FXE 1.5L
- Related OBD-II Codes
- Frequently Asked Questions
- 🎟️ Get 5% Off