
U0100 on 2008-2014 Dodge Challenger: Lost Communication with ECM/PCM Causes and Fixes
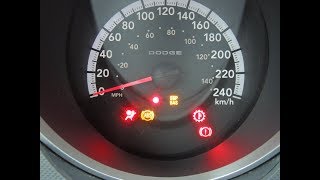
On a 2008-2014 Dodge Challenger, code U0100 often causes a no-start or stalling condition. Before suspecting an expensive PCM failure, check for a weak battery, corroded terminals, or a faulty Totally Integrated Power Module (TIPM), which is the main fuse box and a known weak point for this platform. A no-start condition is a primary symptom, often accompanied by multiple, seemingly unrelated electrical issues.
- Code U0100 on a 2008-2014 Challenger is a critical fault that will likely leave you stranded. Do not drive the vehicle.
- The most common causes are NOT the expensive PCM. Start by checking the battery, all power/ground connections, and the fuses in the TIPM.
- The Totally Integrated Power Module (TIPM) is a known weak point on these cars and is a high-probability cause for this code.
- Proper diagnosis is key. Before replacing any parts, confirm whether the PCM is receiving the 12V power it needs from the TIPM.
- Due to the complexity of the network and the need for electrical testing, professional diagnosis is highly recommended if the simple checks don't solve the problem.
What's Unique About the 2008-2014 Dodge Challenger
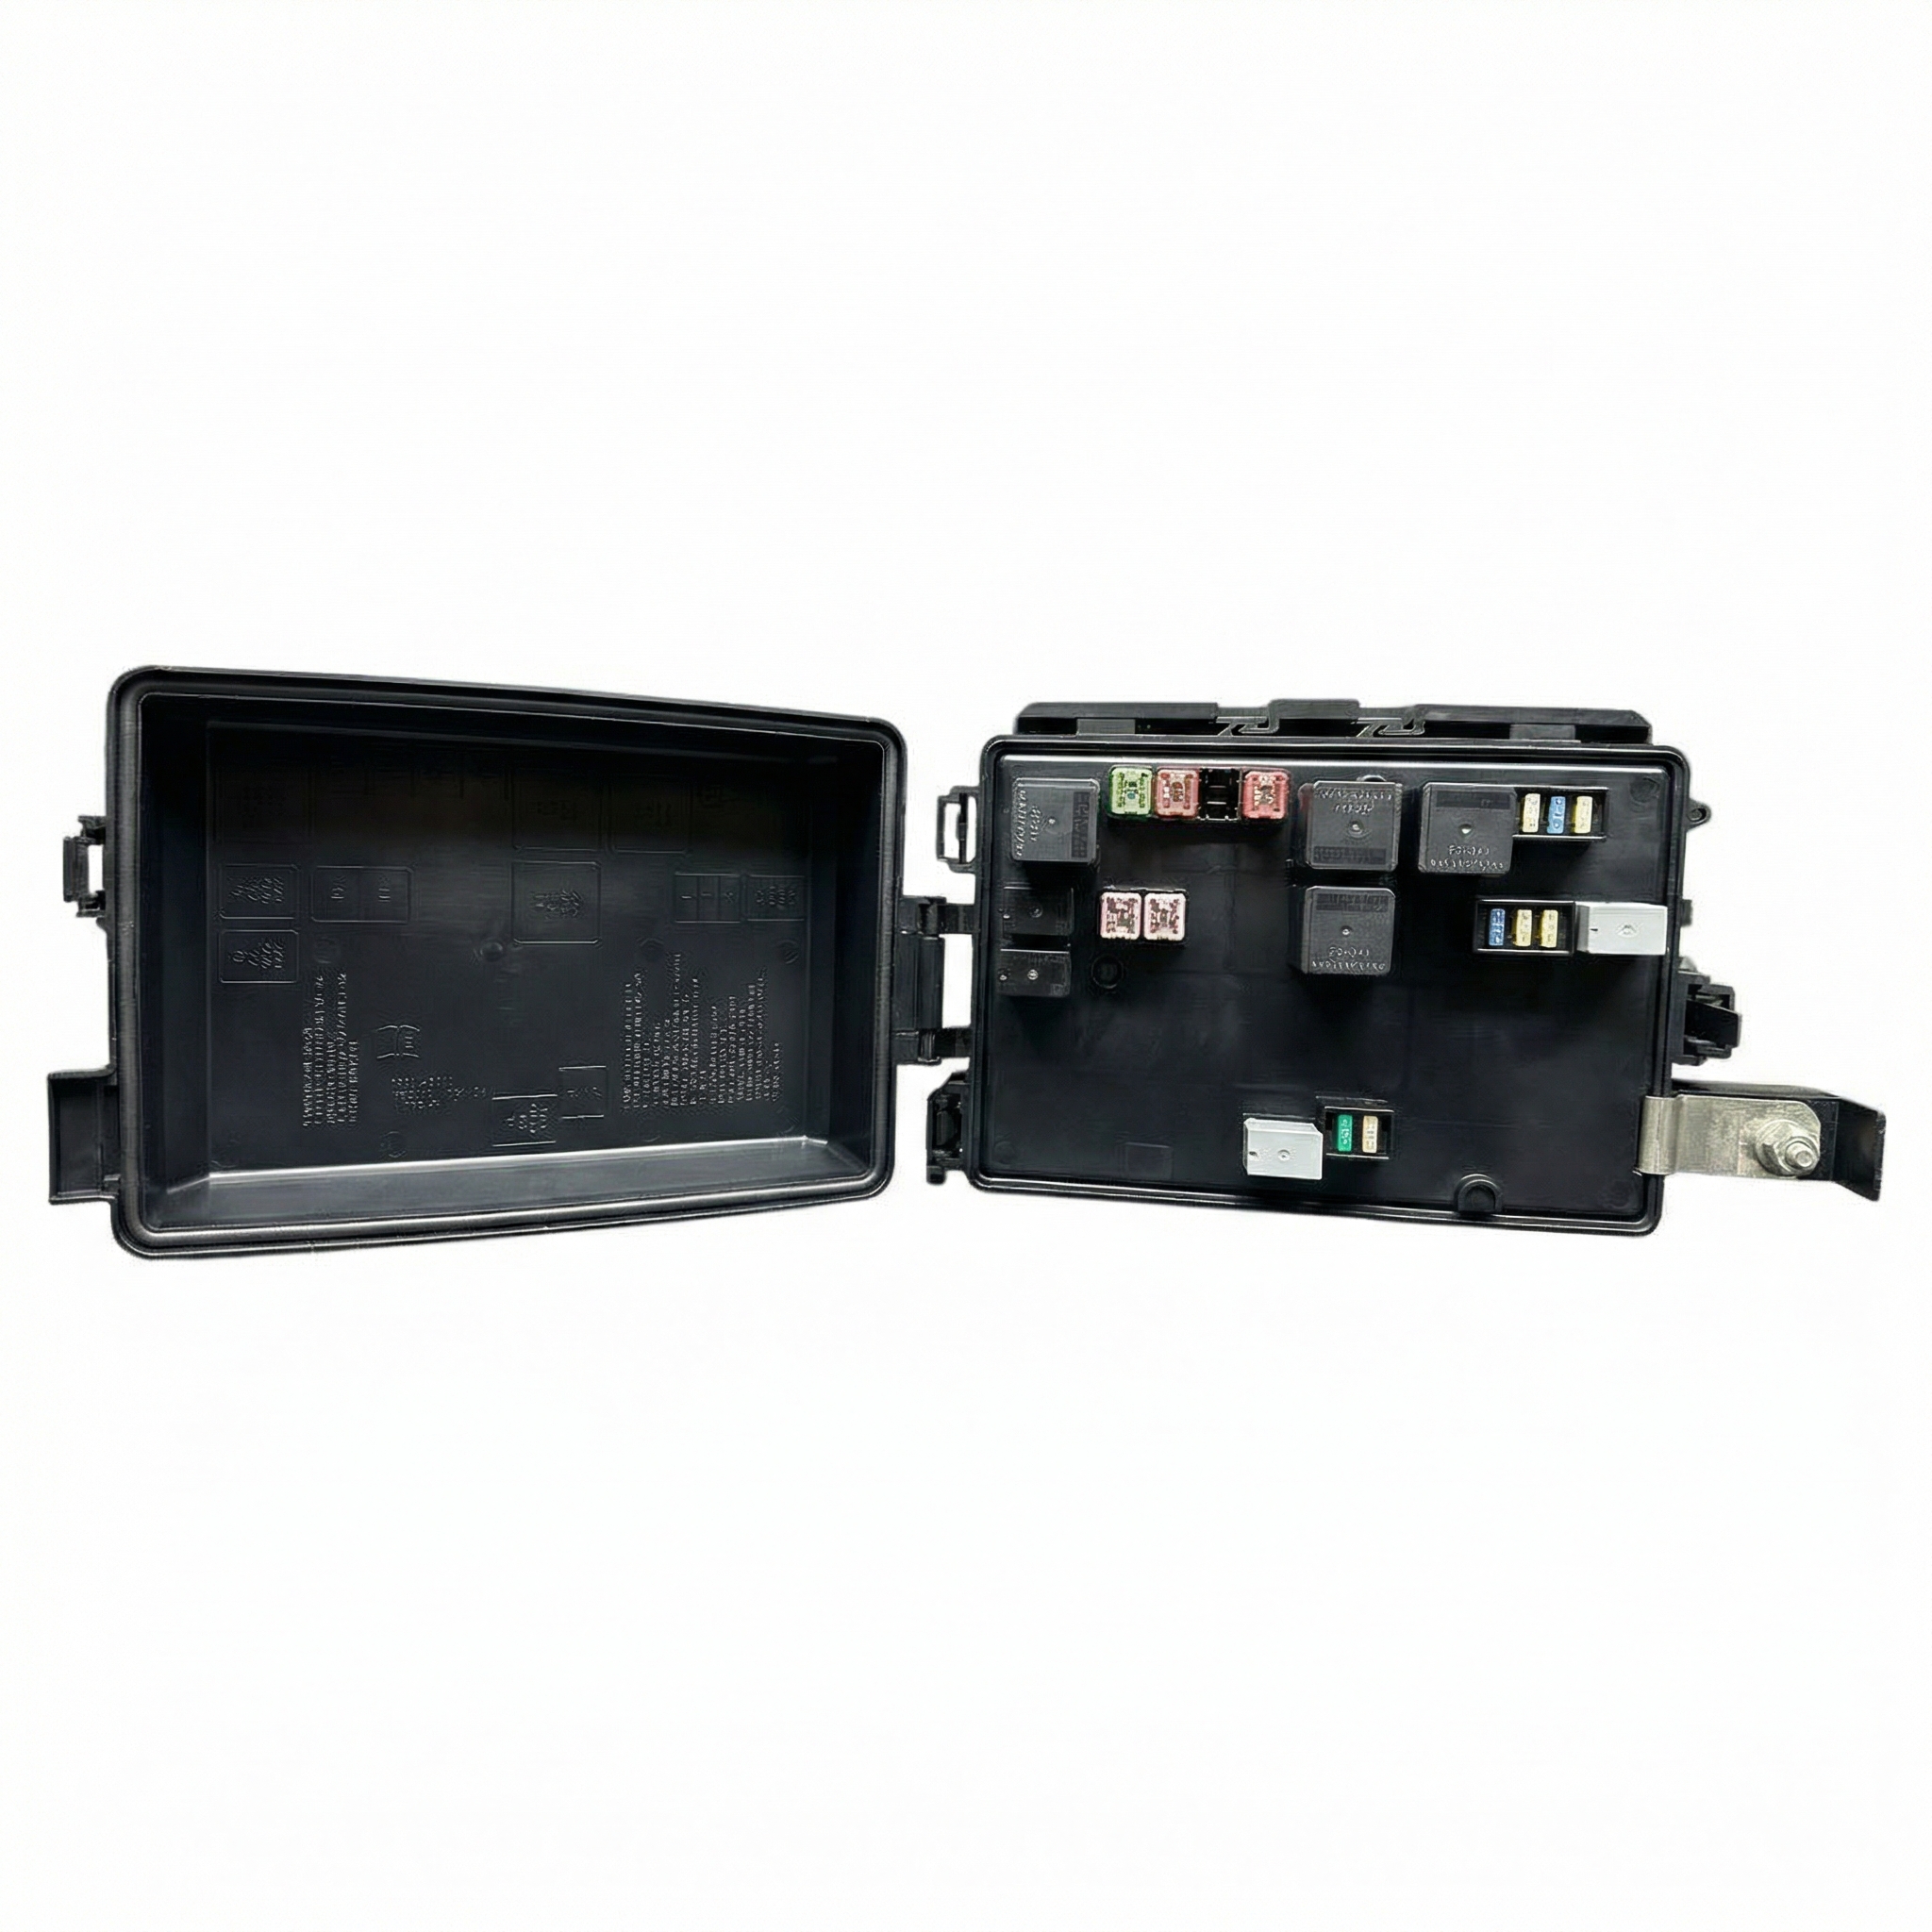
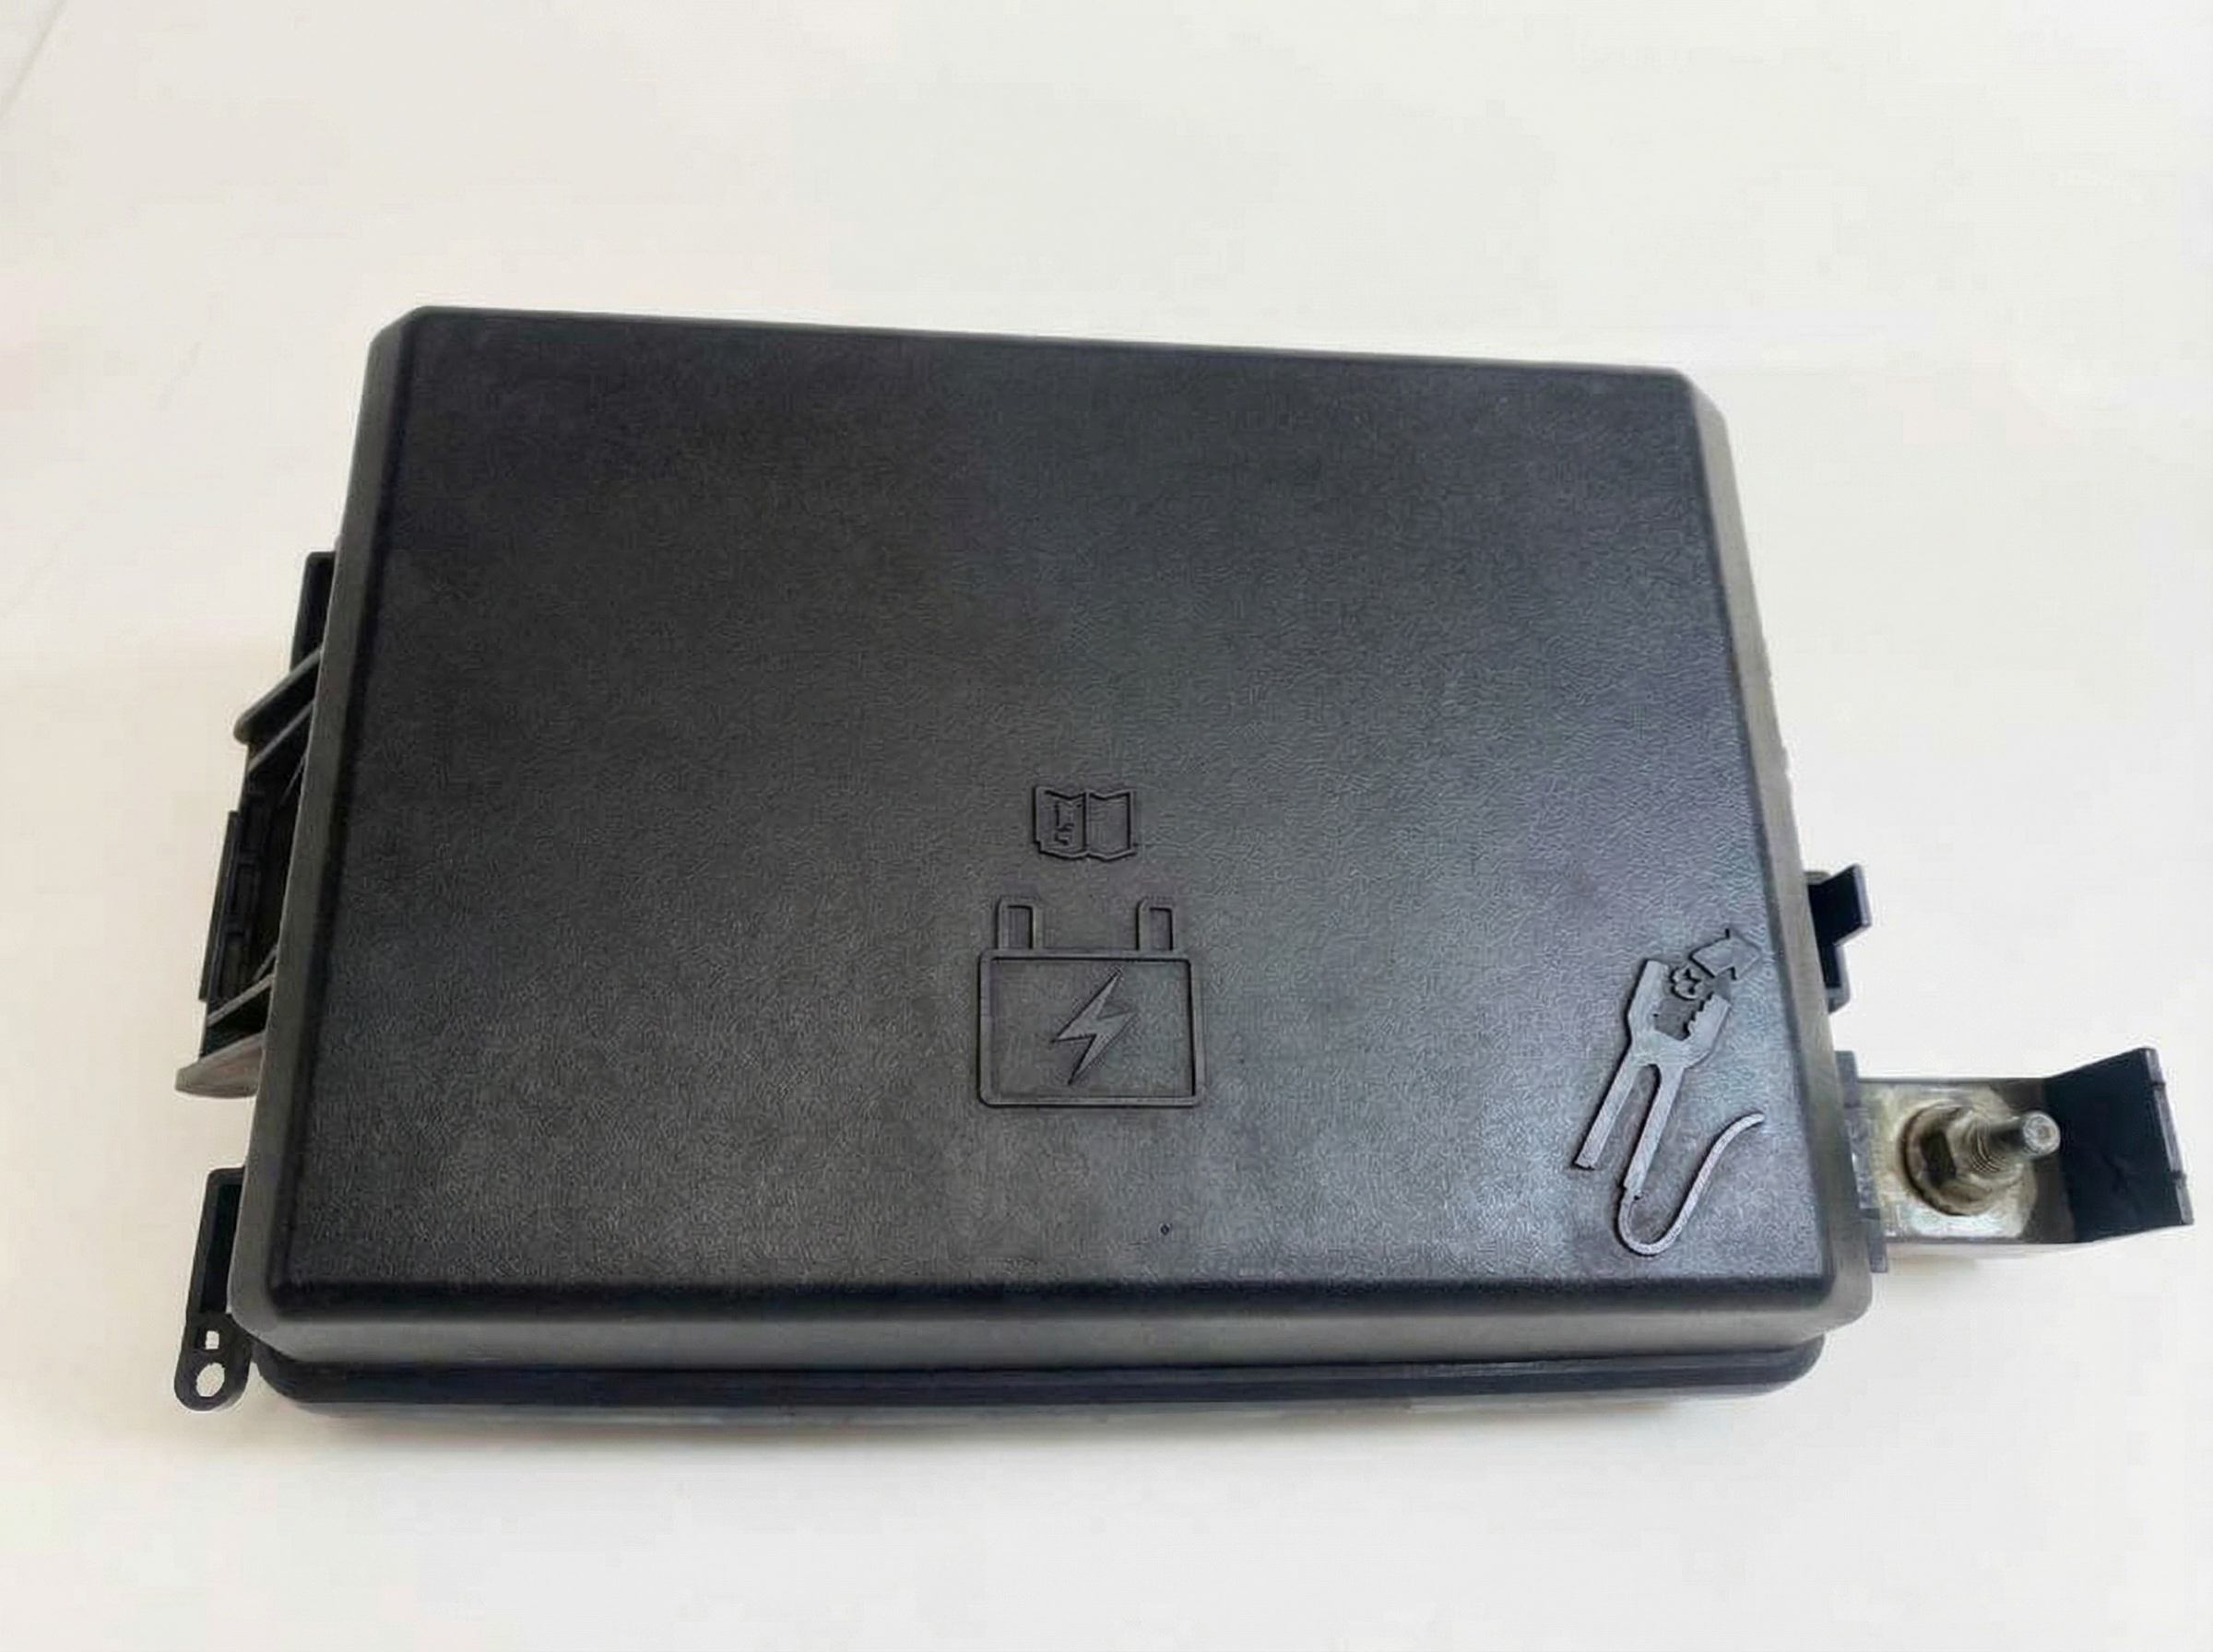
The 2008-2014 Challenger belongs to the Chrysler LC platform, which, like many Dodge/Chrysler vehicles of this era, relies on a Totally Integrated Power Module (TIPM). This complex unit, which serves as the primary fuse and relay center, is a very common point of failure and a primary suspect for code U0100. Many U0100 issues on this platform are not caused by a bad PCM, but by a faulty TIPM that fails to provide power to the PCM, or by specific wiring harness points that are known to chafe and short out. The battery's location in the trunk can also lead to issues, as water leaks into the trunk are a known problem, potentially compromising the battery, its connections, and the nearby rear fuse box.
Symptoms You May Notice
- No crank, no start condition
- Engine stalls intermittently or while driving
- Check Engine Light is on
- Electronic Throttle Control (ETC) or 'lightning bolt' warning light is on
- Multiple other warning lights may appear (ABS, traction control, etc.)
- Transmission may be stuck in 'limp mode'
- Scan tool cannot communicate with the PCM
- Erratic behavior of other electrical components like wipers, horn, or lights
- Fuel gauge reading empty despite having fuel in the tank
- Replacing the PCM without first verifying its power and ground supply. The issue is much more likely to be the TIPM or wiring that provides power to the PCM.
- Replacing the battery without checking for a parasitic drain from a faulty TIPM or a charging system issue from a bad alternator.
Most Likely Causes
- Weak or Faulty Battery / Poor Connections / Water Intrusion 🔴 High Probability → Shop Vehicle Battery The Challenger's battery is located in the trunk. Long cable runs and remote jump-start posts under the hood provide multiple points for corrosion and voltage drop. Network modules are highly sensitive to low voltage. Furthermore, these models are known to develop water leaks into the trunk area from tail light seals, spoiler mounting holes, or rear window seals, which can flood the battery compartment, corrode terminals, and damage the rear fuse box.
How to confirm: With the vehicle off, measure the battery voltage directly at the battery posts in the trunk. A healthy battery should read at least 12.4V. Inspect the battery terminals, the remote positive post under the red cap in the engine bay, and the nearby chassis ground for any corrosion or looseness. Check the trunk floor under the carpet for any signs of moisture, rust, or standing water around the battery. 🎬 See this guide on finding common Challenger trunk water leaks.
Typical fix: Clean all terminals and ground points thoroughly. Charge or replace the battery if it fails a load test. Identify and seal the source of any water leaks into the trunk.
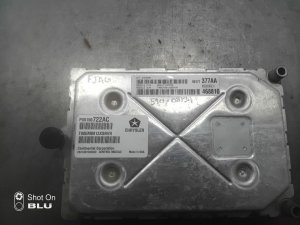
Est. part cost: $150-$250 - Faulty Totally Integrated Power Module (TIPM) 🔴 High Probability → Shop Fuse Box The TIPM used in this generation of Dodge/Chrysler vehicles is a known failure point. Internal relays and circuit board traces can fail, cutting power to essential modules, most notably the PCM and fuel pump. This can cause a no-start or stalling condition and is a very common cause for U0100.
How to confirm: Check fuses related to the PCM in the TIPM. If fuses are good, the next step is to check for power output from the TIPM to the PCM. Using a multimeter and a wiring diagram, verify if there is 12V power on the specific pins at the PCM connector that are fed by the TIPM. If there is no power, and the wiring between the TIPM and PCM is intact, the TIPM is highly suspect. A YouTube video by 'Online Mechanic Tips' titled 'No Crank No Start. FIXED.' shows a detailed diagnosis where a bad TIPM was the cause of a U0100 code by failing to supply power to the PCM. 🎬 Watch: This video shows how to test the TIPM for power.
Typical fix: Replace the TIPM. This part must be correct for the vehicle's year, model, and options. Some may require programming by a dealer or a specialized shop. Companies also offer TIPM repair services.
Est. part cost: $400-$800 - Wiring Harness Damage (Short or Open) 🟡 Medium Probability Engine bay heat and vibration can cause wiring harnesses to rub against the chassis, engine components, or other brackets, eventually chafing through the insulation and causing a short or open circuit. The CAN bus wires are a twisted pair; damage to these wires is a direct cause of communication codes.
How to confirm: Visually inspect all wiring harnesses connected to the PCM and TIPM. Pay close attention to areas where the harness bends or is close to hot or sharp metal parts. A common diagnostic step is to measure the resistance between the CAN-High and CAN-Low wires at the OBD-II port (pins 6 and 14) with the battery disconnected. A reading of approximately 60 ohms indicates the main bus wiring and terminating resistors are likely intact. A reading of 120 ohms suggests an open circuit or a failed terminating resistor, while a reading near 0 ohms indicates a short between the CAN wires.
Typical fix: Repair the damaged section of the wiring harness. This involves cutting out the damaged wires, soldering in new sections, and protecting the repair with heat shrink tubing. Ensure the harness is re-routed or secured to prevent future damage.
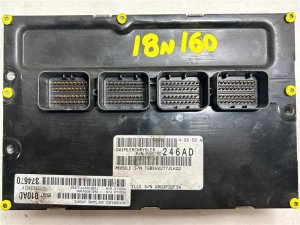
Est. part cost: $10-$50 - Faulty Powertrain Control Module (PCM) ⚪ Low Probability → Shop Engine Control Module (ECM) While less common than TIPM or wiring issues, the PCM can fail internally. However, it is often misdiagnosed.
How to confirm: This should only be considered after all other possibilities have been exhausted. If the PCM has proper power (verified on all required pins), good grounds, and the CAN bus network wiring is confirmed to be intact with a 60-ohm reading, then the PCM itself may have an internal failure. A professional may use an oscilloscope to check for signal activity on the CAN lines at the PCM connector.
Typical fix: Replace the PCM. A new or refurbished PCM will need to be programmed with the vehicle's VIN and specific configuration, which typically requires a dealer or specialized repair shop.
Est. part cost: $500-$1200
Rare But Worth Checking
- Faulty CAN Bus Terminating Resistor: The CAN bus has two 120-ohm terminating resistors. If one fails, the total network resistance will be 120 ohms instead of the expected 60 ohms, causing communication chaos. These are often integrated into a module (like the instrument cluster or PCM) and are not a separate part.
- Other Failed Module Taking Down the Network: A short circuit within another module on the CAN bus (e.g., ABS module, TPMS module, or even the radio) can corrupt the entire network, preventing the PCM from communicating. A diagnostic technician can unplug modules one by one to see if communication is restored.
- Faulty Alternator: → Shop Alternator A failing alternator can produce excessive AC ripple or unstable voltage, which can disrupt sensitive module communications and set a U0100 code. Symptoms include dimming lights, a battery warning light, or a whining noise from the engine bay. The alternator was a particularly common failure point on 2011-2013 models.
Technical Service Bulletins (TSBs) & Recalls
Manufacturer service bulletins for related platforms highlight the importance of software updates to prevent misdiagnosis. For instance, Bulletin #08-068-16 notes that updates should be performed to reduce the potential for incorrect module replacement when codes like U0100-00 (Lost Communication With ECM/PCM), U0140-00 (Lost Communication With Body Control Module), and U0101-00 (Lost Communication With TCM) are present.
Diagnosis Steps
- Check the Battery and for Water Intrusion: Do not skip this. Fully charge and load test the battery. Clean all battery terminals and ground connections. Inspect the trunk for any signs of water, especially around the battery and rear fuse box.
- Scan for Codes: Use a high-quality scan tool that can read codes from all vehicle modules (ABS, TCM, BCM, etc.), not just the PCM. Note all 'U' codes present.
- Check PCM Fuses: Check all fuses related to the PCM and ignition in the TIPM (front fuse box).
- Verify Power and Ground at the PCM: This is the most critical step. Using a wiring diagram for your specific model and engine, identify the power and ground pins on the PCM connectors. With the key on, use a multimeter to confirm that the PCM is receiving 12V power and has a solid ground connection (less than 0.1 ohms of resistance to the negative battery terminal).
- Test the TIPM Output: If po
Parts You'll Likely Need
- Totally Integrated Power Module (TIPM) — This is a very common failure point on this platform and is directly responsible for powering the PCM. Internal failures will cut power and cause a U0100 code.
Trusted brands: Mopar (OEM)
OEM price range: $400-$800
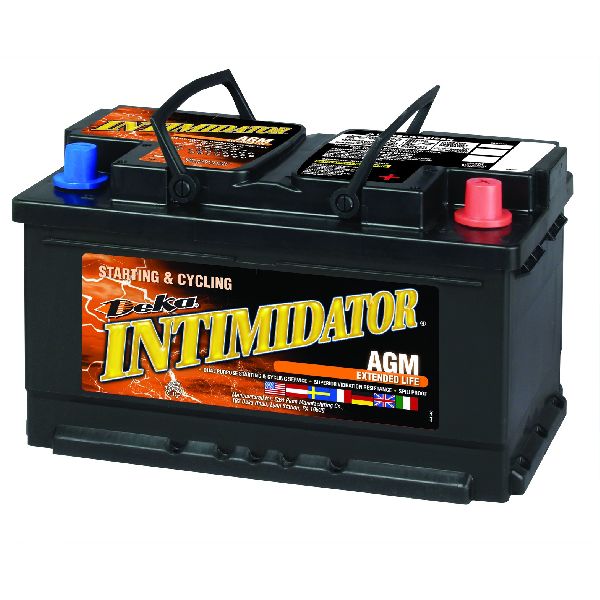
Aftermarket price range: $300-$600 - Battery — Low voltage is the most common and easiest-to-fix cause of network communication codes. Always rule this out first.
Trusted brands: Interstate, DieHard, Duralast
OEM price range: $200-$300
Aftermarket price range: $150-$250 - Powertrain Control Module (PCM) — This is the least likely cause but is the part that has 'lost communication'. It is only needed if the module itself has failed internally, after confirming it has good power, ground, and network connections.
Trusted brands: Mopar (OEM), Cardone
OEM price range: $800-$1200
Aftermarket price range: $400-$700
Related Codes That Often Appear With This One
- U0101 — Lost Communication with TCM. The Transmission Control Module (TCM) is on the same network. If the entire network is down or the PCM is offline, the TCM will also lose communication.
- U0140 — Lost Communication with Body Control Module. The BCM (often part of the TIPM in these vehicles) is another critical node on the network. Communication faults often trigger codes across multiple systems.
- P0688 — ASD/Main Relay Control Circuit. This code often appears alongside U0100 when the TIPM fails to properly power the PCM and the Auto Shutdown (ASD) relay circuit.
Mechanic-Grade Diagnostic Values
- CAN Bus Network Resistance — expected: Approximately 60 Ω (ohms) when measured between Pin 6 (CAN-H) and Pin 14 (CAN-L) at the OBD-II port with the battery disconnected.. Failure: A reading of 120 Ω indicates an open circuit or a failed terminating resistor. A reading near 0 Ω indicates a short between the CAN wires.
- CAN Bus Voltage (Key On, Engine Off) — expected: CAN High (Pin 6) should be ~2.5-3.5V. CAN Low (Pin 14) should be ~1.5-2.5V.. Failure: Voltages stuck at 0V, 12V, or both lines reading the same voltage indicates a circuit fault.
- PCM Ground Circuit Resistance — expected: Less than 0.1 Ω from the PCM ground pins to the negative battery terminal.. Failure: Higher resistance indicates a poor ground connection, a common cause of module communication failures.
- PCM Power Supply Voltage — expected: Battery voltage (approx. 12.4V+) on specified power input pins at the PCM connector with the key in the 'ON' position.. Failure: No voltage or low voltage indicates a problem with the TIPM or the wiring between the TIPM and PCM.
Scan Tool Commands That Help
- Witech (Chrysler/Dodge Dealer Tool): View Network Topology — This function provides a visual map of all modules on the CAN bus and shows which ones are actively communicating and which are offline. It is one of the fastest ways to see that the PCM is the module that is not responding, confirming the U0100 fault from the perspective of other modules.
- Witech (Chrysler/Dodge Dealer Tool): TIPM Actuator Tests — If the PCM is not powering on, you can use the scan tool to command the specific TIPM relay/circuit that powers the PCM to turn on. If the PCM receives power when the command is sent, it proves the wiring from the TIPM to the PCM is good and the TIPM itself is likely faulty for not activating the circuit on its own.
Wiring & Ground Locations
- Star Connector (CAN Bus Junction Block) — Located behind the passenger side glove box or sometimes behind the driver's side kick panel. To access, the glove box must be lowered or the kick panel removed.. This is a central hub where multiple CAN bus branches connect. Corrosion (often from water leaks) or loose pins in this connector can take down the entire network or isolate the PCM, directly causing a U0100 code. Wiggling this connector while trying to start the vehicle can sometimes temporarily restore connection, confirming it as the fault area.
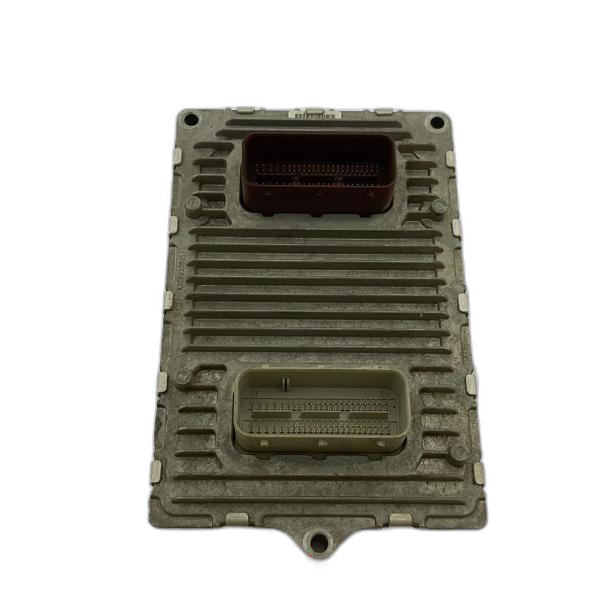
- PCM Connector C1 — This is one of the main connectors plugging into the Powertrain Control Module (PCM) in the engine bay.. This connector contains the essential power, ground, and CAN bus communication wires for the PCM. Technicians must back-probe specific pins here to verify the PCM is receiving power from the TIPM and has a solid ground before condemning the PCM itself.
- Ground Pack / Main Chassis Grounds — Key ground points are located in the engine bay on the inner fenders, near the battery in the trunk, and under the dashboard.. All electronic modules share common ground points. A loose or corroded main ground can create a floating voltage reference, causing unpredictable behavior and communication codes across multiple systems, including U0100.
Real Owner Repair Stories
- YouTube video from 'RAM 1500 No Start U0100 – Star Connector Fix' (2019-2022 RAM 1500 (Note: While a different vehicle, the architecture and failure mode of the Star Connector is highly relevant to the 2008-2014 Challenger)) — Intermittent no-crank, no-start condition with a U0100 code.
❌ Tried (didn't work) Suspecting a failed PCM.
✅ What actually fixed it The root cause was water intrusion corroding the pins of the Star Connector located behind the driver's side kick panel. Gently wiggling the connector harnesses restored communication and allowed the truck to start. The permanent fix was cleaning the corroded pins with electrical contact cleaner or replacing the connector entirely (Mopar part # 68324484AA). - NHTSA ODI #11331197 — An owner reported that every single time the vehicle died while driving or failed to start while parked, they received a U0100 engine code.
- NHTSA ODI #11615856 — An owner described a situation where an independent mechanic used a scanner and found the code "U0100 Lost Communication With ECM/PCM" after the vehicle experienced issues.
- NHTSA ODI #11210296 — A report describes a vehicle being diagnosed with U0100 "Lost Communication with the Engine Control Module" after it was driven to a local shop for service.
OEM Part Supersession History
68050322AF→68244852AA, RL692236AI (remanufactured)— Internal design improvements to address common failure points of the original TIPM units.
Heads up: While many TIPMs look physically similar, they are programmed for specific vehicle options (engine, trim, etc.). Using the wrong TIPM can cause features to not work or introduce new DTCs. The part must be cross-referenced with the vehicle's VIN.
Model Year Variations Within This Range
- 2008-2010: Initial models used the 6.1L Hemi (SRT8) and 5.7L Hemi with slightly different power outputs and electronics than later years. The base audio system was a 4-speaker setup.
- 2011: A significant update occurred. The SRT8 received the new 6.4L (392) Hemi. All models received revised suspension geometry and steering (electro-hydraulic power steering). The interior also saw updates. These changes can affect wiring and module locations slightly compared to earlier models.
- 2012-2014: Introduced paddle shifters for automatic models in 2012 and new option packages like the Super Track Pack and Redline appearance group. While mechanically similar to 2011, software revisions in the PCM and other modules continued. A user on Reddit noted potential for more electronic issues on higher-mileage 2014 models.
Diagnostic Flowchart
Other Known Issues on This Vehicle
Issues unrelated to this code that are worth knowing about as an owner of this generation:
- Premature Alternator Failure 🔴 High → Shop Alternator — Very common, especially on 2011-2013 models, often failing around 50,000 miles. Can cause a wide range of electrical issues or a no-start condition. (Ref: NHTSA Recall 14V-634 (for 2011-2014 models))
- Front Suspension Clunk/Rattle 🟠 Medium — Common after 50,000-70,000 miles. Typically caused by worn sway bar links, control arm bushings, or ball joints.
- Water Leaks into Trunk 🟠 Medium — Frequently reported issue. Leaks originate from failed taillight seals, spoiler mounting holes, or rear window seals, potentially damaging the battery and electronics.
- 'Hemi Tick' (Lifter/Camshaft Failure) 🔴 High — A well-known issue on 5.7L Hemi engines, particularly from 2009-2016. Caused by lifter roller failure, which damages the camshaft, leading to a distinct ticking noise and potential engine failure.
- Cracked Exhaust Manifold Bolts 🟡 Low — Common on Hemi engines. The bolts break, causing an exhaust leak and a ticking noise, especially when the engine is cold.
- Faulty Wireless Ignition Node (WIN) Module 🔴 High — A known issue on 2008-2014 models where the vehicle may not start or may stall while driving due to a faulty WIN module. (Ref: NHTSA Recall 14V-373)
Used vs. New Parts: Buying Guide for This Vehicle
When a used part is the smart pick: A used TIPM from a reputable salvage yard can be a cost-effective option, especially if it comes from a low-mileage vehicle that was wrecked due to collision, not electrical failure. It's a viable choice if the part number matches exactly and you have access to a scan tool to perform any necessary configuration/proxy alignment.
Donor-vehicle mileage cap: roughly under 80000 miles for the part to have meaningful remaining life.
What to inspect on the donor part:
- Verify the part number on the used TIPM matches your original unit EXACTLY.
- Inspect the donor vehicle's VIN history if possible to check for flood or fire damage.
- Physically inspect the used TIPM for any signs of corrosion on the external connectors, which could indicate it was exposed to moisture.
- Ask for a short warranty (e.g., 30-90 days) from the seller to protect against receiving a dead-on-arrival part.
OEM-only on this vehicle (don't cheap out):
- Powertrain Control Module (PCM): While used PCMs are available, they are locked to the original vehicle's VIN and anti-theft system. Reprogramming a used PCM for a different vehicle is a highly specialized and often unsuccessful process. It is strongly recommended to buy a new or professionally remanufactured PCM that is programmed to your specific VIN.
Aftermarket brands forum-validated for this vehicle:
- For TIPM repair, companies like 'Vertical Visions' or 'MAK's TIPM Rebuilders' are frequently mentioned on forums for providing repair services or selling rebuilt units that are more reliable than OEM.
- For a full replacement, Dorman offers aftermarket TIPMs, but reviews are mixed. OEM or a specialized rebuilder is often a safer bet.
Brands owners have reported issues with on this vehicle:
- Unbranded, no-name TIPMs or PCMs from online marketplaces like eBay or Amazon should be avoided. They often have high failure rates and no warranty support.
Real Owner Stories
Aggregated from forums and TSBs cited above. Mileages and costs reflect what owners reported in those sources.
2014 Dodge Challenger
Symptoms: Crank but no start condition accompanied by ASD (Auto Shut Down) relay codes and communication issues.
What fixed it: The issue was traced to a loose terminal pin in the TIPM connector, which was preventing proper electrical contact.
Source hint: YouTube: 2014 Dodge Challenger Cranks no Start. ASD Codes
2008-2014 Dodge Challenger
Symptoms: No crank, no start, and no response from the PCM/ECU.
What fixed it: The TIPM was failing to supply power to the PCM; replacing the TIPM resolved the U0100 and P0601 codes.
Source hint: YouTube: No Crank No Start. FIXED. No response from the PCM/ECU. U0100 P0601.
2008-2014 Dodge Challenger
Symptoms: Water leaking into the trunk area near the battery and rear fuse box.
What fixed it: Identifying and sealing leaks from the rear windshield, trunk lid, or tail light seals to prevent electrical corrosion.
Source hint: Reddit r/Challenger: Rear Windshield/Trunk Lid Leaking Water Into Trunk
Documented NHTSA Reports
An owner reported through NHTSA ODI #11153349 that their vehicle displayed multiple errors including U0100 and U0101, referencing communication issues with the TCM and PCM. Another report, NHTSA ODI #11210296, describes a vehicle being diagnosed with U0100 "Lost Communication with the Engine Control Module" during a service visit.
Related OBD-II Codes
Frequently Asked Questions
Why is my 2008-2014 Challenger's fuel gauge reading empty even though I just filled up?
Could a water leak in my trunk be causing the U0100 code?
I have a 'lightning bolt' light on my dash along with U0100; what does that mean?
Is there a specific part number for the TIPM if I need to replace it on my Challenger?
How can I check if my TIPM is failing to power the PCM?
What should the resistance be when testing the CAN bus at the OBD-II port?
Helpful Videos

Used OEM Parts in Stock
New Aftermarket Parts Available


The information in this article is provided for general reference and educational purposes only. Vehicle specifications, procedures, and part compatibility can vary by production date, trim level, and region. Always consult your vehicle's factory service manual and verify part numbers before purchasing or performing repairs. Safety-critical components such as airbags, seat belts, and braking systems should be installed by a qualified professional.
- Dodge Challenger:
- 🧭 Diagnostic Flowchart
- 🎬 Helpful Videos
- 🛍️ Shop This Part
- What's Unique About the 2008-2014 Dodge Challenger
- Symptoms You May Notice
- Most Likely Causes
- Rare But Worth Checking
- Technical Service Bulletins (TSBs) & Recalls
- Diagnosis Steps
- Parts You'll Likely Need
- Related Codes That Often Appear With This One
- Mechanic-Grade Diagnostic Values
- Scan Tool Commands That Help
- Wiring & Ground Locations
- Real Owner Repair Stories
- OEM Part Supersession History
- Model Year Variations Within This Range
- Other Known Issues on This Vehicle
- Used vs. New Parts: Buying Guide for This Vehicle
- Real Owner Stories
- 2014 Dodge Challenger
- 2008-2014 Dodge Challenger
- 2008-2014 Dodge Challenger
- Documented NHTSA Reports
- Related OBD-II Codes
- Frequently Asked Questions
- 🎟️ Get 5% Off