
U1000 on 2006-2010 Hummer H3: Class 2 Communication Failure Causes and Fixes
On a 2006-2010 Hummer H3, code U1000 is almost always caused by poor ground connections, especially corroded under-hood ground splice packs (SP105 & SP106). Cleaning or bypassing these grounds is a very common, low-cost fix (under $50) that resolves a host of bizarre electrical issues. If grounds are good, suspect a water-damaged BCM from clogged sunroof drains or faulty OEM battery terminals.
- Before replacing any parts for a U1000 code, fully inspect, clean, and tighten your battery terminals and all major ground connections, especially the under-hood splice packs.
- If you have a sunroof, checking the BCM for water damage is a mandatory diagnostic step. Clear your sunroof drains to prevent future failures.
- This code indicates an electrical network problem, not a mechanical one. The fix is almost always related to a bad connection, corrosion, or a faulty BCM.
- Do not replace the expensive ECM unless all other possibilities, particularly grounds and the BCM, have been definitively ruled out by proper diagnostics.
What's Unique About the 2006-2010 Hummer H3
The Hummer H3 and its platform siblings (Chevy Colorado/GMC Canyon) are notorious for specific electrical weak points that directly cause the U1000 code. The primary culprits are poorly sealed under-hood ground splice packs (SP105 and SP106) that are highly susceptible to corrosion from moisture and engine heat. Additionally, the H3 is known for clogged sunroof drains that can leak water directly onto the Body Control Module (BCM), causing corrosion and network failure. These well-documented issues make diagnosing a U1000 on an H3 more straightforward than on many other vehicles, as the investigation should always start with these common failure points.
Symptoms You May Notice
- Check Engine Light is on
- Multiple, seemingly unrelated warning lights (ABS, Airbag, etc.)
- Instrument cluster gauges dropping to zero or behaving erratically
- HVAC controls not working
- Power windows, door locks, or radio functioning intermittently or not at all
- Parasitic battery drain leading to a dead battery
- Flashing 'Passlock' or security light on the dash
- In severe cases, a no-start condition (cranks but won't run) or engine stalling
- Replacing the Engine Control Module (ECM) or other expensive modules without first thoroughly checking all grounds, the battery system, and the BCM for water damage. The U1000 code is most often caused by a problem with the network's foundation (power and ground), not a failed high-level module.
Most Likely Causes
- Corroded Under-Hood Ground Splice Packs (SP105/SP106) 🔴 High Probability These splice packs are not weatherproof and are located in the engine bay, making them highly susceptible to moisture and corrosion, which introduces resistance and disrupts network communication. This is the most widely documented failure on the H3/Colorado/Canyon platform.
How to confirm: Locate the splice packs in the engine bay. SP105 is near the underhood fuse box, requiring removal of the battery and tray for access. SP106 is on the passenger inner fender, requiring removal of the airbox. Open the plastic covers and inspect the terminals for green or white corrosion. Wiggling the packs while an electrical issue is present may cause the function to return intermittently.
Typical fix: Remove the 10mm bolt, disassemble the splice, and thoroughly clean all metal contacts and the bolt with a wire brush or sandpaper. For a permanent fix, many owners cut the wires from the splice, crimp them into a single ring terminal, and bolt it directly to a clean chassis ground point after sanding the paint to ensure a bare metal connection. 🎬 Watch: How to fix Chevy Colorado ground issues
Est. part cost: $0-$20 - Water-Damaged or Faulty Body Control Module (BCM) 🟡 Medium Probability → Shop Body Control Module Clogged sunroof drains are a very common H3 issue, and they often route water directly behind the passenger-side kick panel, where the BCM is located. Water damage leads to corrosion on the BCM board and connectors, causing network failure.
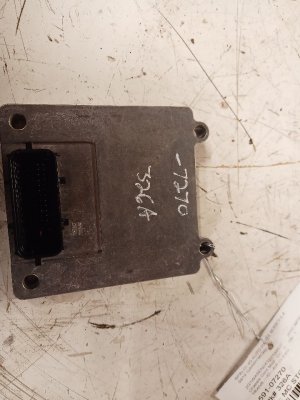
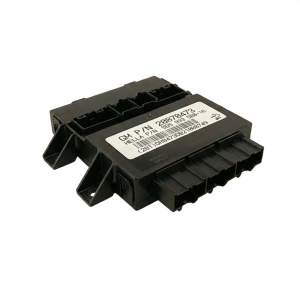
How to confirm: Remove the passenger side kick panel and plastic trim. Unplug the BCM connectors and inspect the module (OEM Part #s include 15886073, 10382479, 15802491) and its connectors for any signs of moisture, rust, or green/blue corrosion. A musty smell or damp carpet in this area is a strong indicator.
Typical fix: If corrosion is minor, cleaning the contacts with an electrical contact cleaner may work. More often, the BCM is internally damaged and must be replaced. A new BCM requires programming by a dealer or a qualified shop with a GM Tech 2 scan tool. 🎬 See this step-by-step BCM repair walkthrough
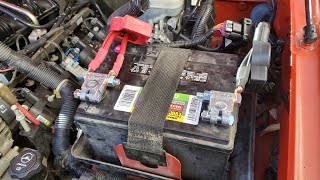
Est. part cost: $200-$400 - Poor Battery Health or Faulty Terminals 🟡 Medium Probability → Shop Vehicle Battery The factory battery terminals are a known weak point that fail to clamp tightly, causing poor connections and voltage drops. The vehicle's modules are sensitive to low voltage, which can trigger a flurry of communication codes, including U1000, especially during engine cranking.
How to confirm: Test the battery with a load tester. Inspect the battery terminals for corrosion or a loose fit. Even if they look clean, try to wiggle them by hand; any movement indicates a poor connection. The OEM clamp design is notoriously bad.
Typical fix: Replace a weak battery. Replace the OEM battery terminals with higher-quality aftermarket terminals. This involves cutting off the old terminals, stripping the wires, and securing them in the new terminals. 🎬 Watch: How to upgrade your battery terminals
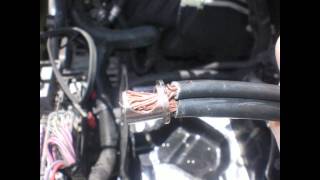
Est. part cost: $20-$250 - Chafed or Damaged Wiring Harness ⚪ Low Probability Engine vibration and heat can cause wiring harnesses to rub against engine components or brackets over time, eventually wearing through the insulation and causing a short or open in the Class 2 data wire (typically a purple wire, circuit 1807).
How to confirm: Visually inspect the wiring harnesses, especially where they run near the A/C compressor, power steering pump, and around the back of the engine. Also, check the trailer wiring harness near the rear bumper for damage, as this is another common chafe point.
Typical fix: Repair the damaged wire by soldering in a new section and protecting it with heat shrink tubing. Secure the harness away from any sharp edges or moving parts.
Est. part cost: $5-$25
Rare But Worth Checking
- Faulty Aftermarket Electronics: Improperly installed aftermarket radios, remote starters, or alarms can interfere with the Class 2 data line. If you have these, they should be a primary suspect. Try disconnecting them completely to see if the issue resolves.
- Failed Ignition Switch or Passlock Sensor: → Shop Ignition Switch A failing ignition switch or the integrated Passlock anti-theft sensor can cause intermittent power loss to various modules or send corrupt data, leading to communication dropouts and a U1000 code.
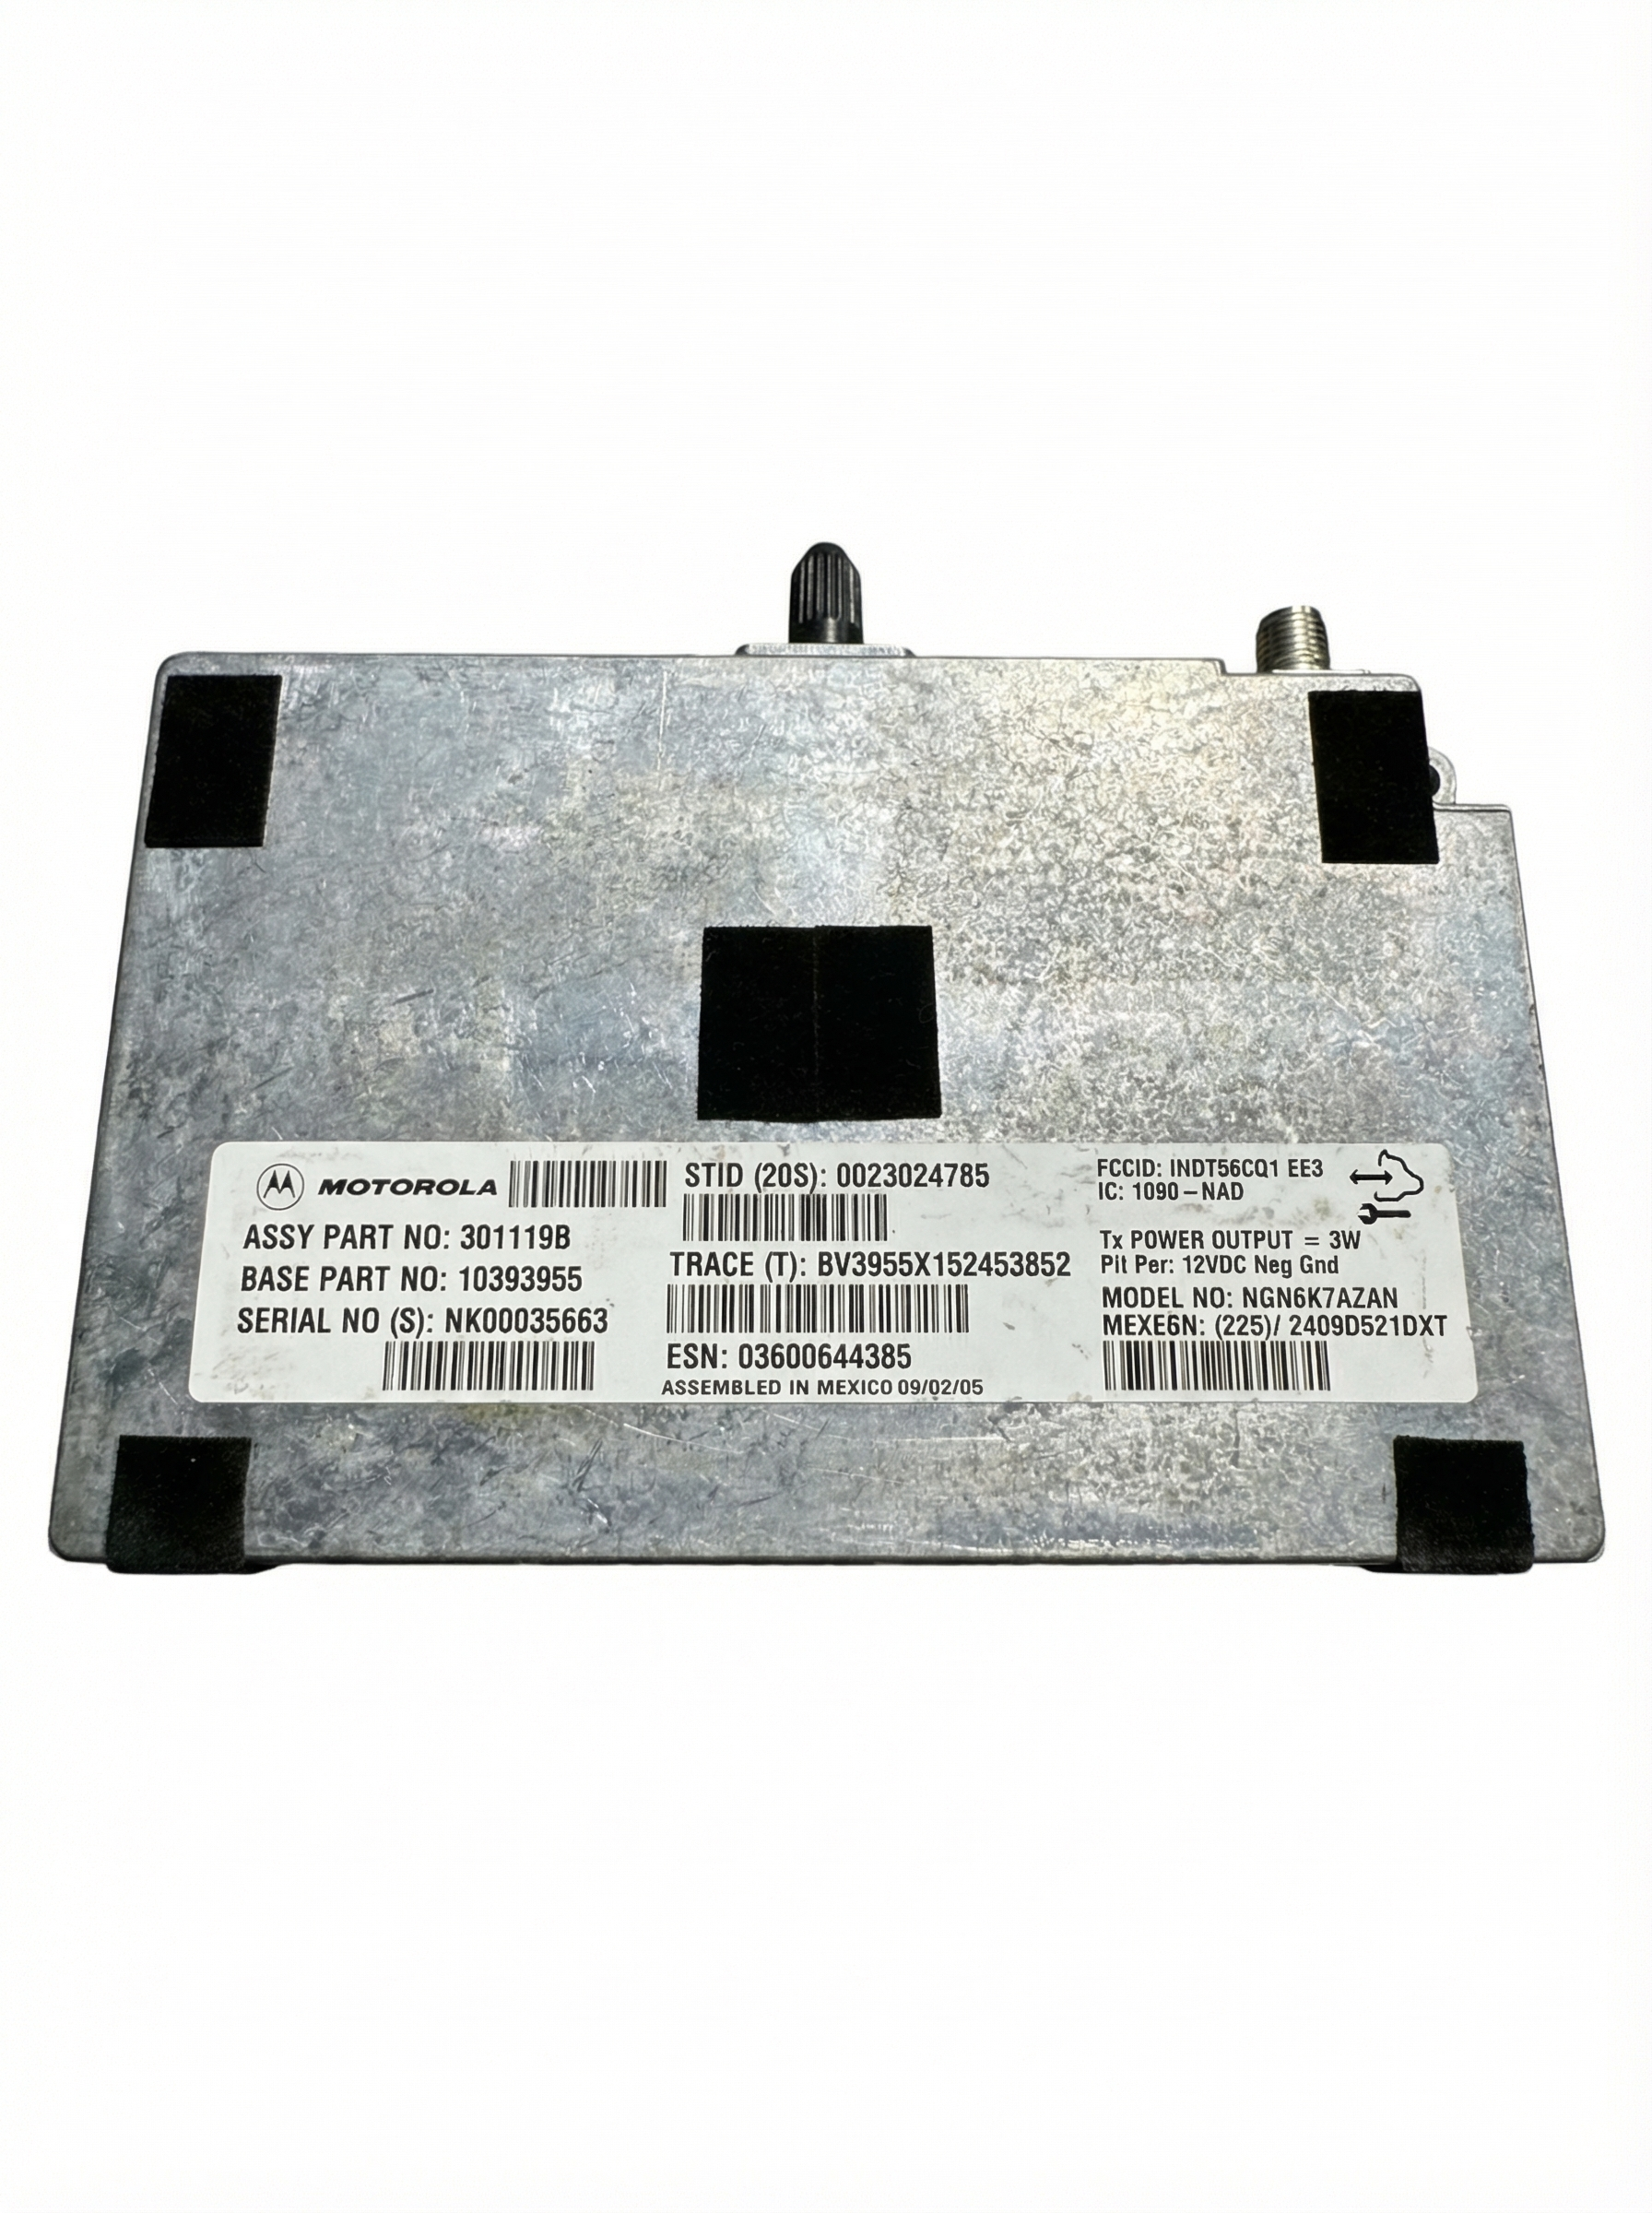
- Faulty OnStar Module (VCIM): A known issue is an internal failure of the OnStar module (VCIM), which can disrupt the entire Class 2 network. This often sets a B1000 code as well. Many owners simply disconnect the faulty module, as OnStar service is obsolete for these vehicles.
Diagnosis Steps
- Check Battery and Terminals: Ensure the battery is fully charged (12.6V+ engine off) and passes a load test. Aggressively attempt to twist the battery terminals by hand. If they move at all, replace them with quality aftermarket units (e.g., Stinger, Fastronix).
- Scan for All Codes: Use a scan tool capable of reading codes from all modules (BCM, ABS, SRS, etc.), not just a basic ECM reader. A GM Tech 2 or equivalent is ideal. Note which modules are logging communication codes and which are not responding at all.
- Inspect Under-Hood Grounds (SP105 & SP106): This is the most critical step. Locate and disassemble the primary ground splice packs. SP105 is under the battery tray, and SP106 is under the airbox. Check for any green/white corrosion. Clean thoroughly or perform the ring-terminal bypass modification for a permanent fix.
- Inspect Body Control Module (BCM): Remove the passenger-side kick panel and inspect the BCM and its three large connectors for any signs of water intrusion or corrosion. If you have a sunroof, pour water into the sunroof tray and confirm it drains properly under the vehicle, not inside the cabin.
- Disconnect Aftermarket Electronics: If any aftermarket stereo, alarm, or remote start systems are installed, disconnect their power and data connections completely to see if the communication issues resolve.
- Inspect Wiring Harnesses: Visually inspect key areas where the wiring harness may chafe, such as around the engine, near the firewall, and the trailer wiring harness at the rear of the vehicle.
- Test the Class 2 Data Line: With a multimeter or oscilloscope, check for activity on the Class 2 data line (Pin 2 of the OBD-II port, typically a purple wire). It should show fluctuating voltage (around 0-7V) when the network is active. A steady high voltage, low voltage, or no voltage indicates a network short or open.
Parts You'll Likely Need
- Body Control Module (BCM)
Related Codes That Often Appear With This One
- U1064 — This code means 'Lost Communication with BCM'. It often appears with U1000 and strongly points to a problem with the Body Control Module itself or its connections, frequently due to water damage.
- U0100 — This code means 'Lost Communication with ECM/PCM'. It indicates the core problem is affecting the entire network, often due to a bad ground or power supply issue that all modules share.
- B1000 — This code indicates an internal failure in a module. On an H3, it's commonly the BCM or the OnStar module (VCIM). A failing module can trigger both a B1000 for its internal fault and a U1000 for disrupting the network.
Technical Service Bulletins (TSBs) & Recalls
- TSB #PIC3278G: Addresses B1000 code caused by an internal OnStar (VCIM) module fault.
- TSB #PIP4013D: Addresses engine misfires at idle caused by premature valve seat wear on I5 engines.
- GM Safety Recall #15299: Pertains to the overheating HVAC blower motor connector, a potential fire hazard.
- TSB #NTB06-009: While originally for other makes, this bulletin is often referenced when a U1000 CAN communication circuit fault puts a vehicle into "limp mode," as described in NHTSA ODI #10150585.
Platform-Specific Known Issues
- Clogged sunroof drains are a notorious problem on the H3, leading to water leaking into the cabin and damaging the Body Control Module (BCM) on the passenger side.
- The factory under-hood ground splice packs (SP105/SP106) are poorly sealed and a primary cause of network communication faults on this platform.
Mechanic-Grade Diagnostic Values
- Class 2 Serial Data Line Voltage (Pin 2 at DLC) — expected: Fluctuating voltage between 0V and 7V with ignition ON.. Failure: Voltage stuck high (near battery voltage) or low (near 0V) indicates a short to power or ground. No voltage indicates an open circuit.
- Ground Circuit Resistance (at DLC Pin 4/5 to chassis ground) — expected: Less than 1.0 ohm.. Failure: Resistance greater than 1.0 ohm indicates a poor ground connection, which can disrupt module communication.
- Battery Voltage (at battery terminals, engine running) — expected: Between 12.6V and 15.0V.. Failure: Voltage outside this range indicates a charging system or battery fault, which can cause modules to drop off the network.
Scan Tool Commands That Help
- GM Tech 2: Diagnostic Circuit Check > Class 2 Message Monitor — To see a list of all modules on the network and their communication status. A module that is not listed or shows as 'Not Communicating' is the likely source of the U1000 code.
- GM Tech 2: BCM Special Functions > Setup SDM Serial Number in BCM — This is a required setup procedure after replacing the Body Control Module (BCM) to ensure it communicates correctly with the airbag system (SDM).
- GM Tech 2: Body > BCM > Special Functions — Used to access various setup and relearn procedures after BCM replacement, including Passlock relearn, key fob programming, and tire pressure sensor learning.
- GM Tech 2: Clear All DTCs — After performing a repair, it is critical to clear codes from ALL modules, not just the ECM. A history U1000 code can remain and cause confusion if not cleared properly.
Wiring & Ground Locations
- SP105 / SP106 — SP105 is under the battery tray near the underhood fuse block. SP106 is on the passenger inner fender, under the airbox assembly.. These are the primary ground splice packs for numerous modules. Corrosion here is the #1 cause of U1000 codes on the H3.
- G218 (or G320 in some diagrams) — Under the driver's side dash, behind the kick panel, sometimes shown under the center console carpet.. This is a main body/instrument panel ground point. A loose connection here can cause a wide range of electrical issues, including communication codes.
- Engine to Chassis/Body Grounds — One strap runs from the negative battery cable to the engine block (in front of the starter). Another runs from the block to the passenger side wheel well area near the engine mount.. These main grounds ensure the engine-mounted modules (like the ECM) have a solid ground reference. A poor connection can cause network-wide voltage issues.
- DLC (OBD-II Port) Pin 2 — Pin 2 of the Data Link Connector under the driver's side dashboard.. This is the Class 2 Serial Data line. It's a Purple wire (Circuit 1807) where you can directly measure network activity.
- Trailer Harness Ground — Attached to the rear crossmember of the frame.. Damage or corrosion to the trailer wiring harness or its ground can short the Class 2 data line, causing communication faults across the entire vehicle.
Real Owner Repair Stories
- Hummer4x4Offroad Forum (2007 Hummer H3) — Crank-but-no-start, intermittent. Flashing Passlock security light. Had to wait 10+ minutes before it would start.
❌ Tried (didn't work) Passlock 30-minute relearn procedure.
✅ What actually fixed it Replaced the ignition switch sensor (Passlock sensor). The owner found the tiny resistor inside the old sensor was cracked, causing an intermittent open circuit. - ScannerDanner YouTube Channel (2007 Hummer H3 3.7L) — Intermittent limp mode, multiple U-codes (U1026, U1016, U1064, U1301, U1305), and throttle/APP sensor codes (P2138).
❌ Tried (didn't work) Inspecting BCM connectors for water intrusion based on a TSB., Swapping relays in the underhood fuse box.
✅ What actually fixed it Found a chafed wiring harness for the secondary air injection system pressure sensor rubbing on a metal bracket. The shorted 5-volt reference wire on this sensor was pulling down the 5V reference circuit shared by the throttle pedal, causing all the communication and sensor codes. - YouTube User Repair Story (Hummer H3 (year not specified)) — Random no-start, dead battery overnight, even with good battery voltage in the cabin.
❌ Tried (didn't work) Inspecting all ground wires and the charging system.
✅ What actually fixed it The owner found a cluster of wires near the firewall was touching the metal body. Although the wires weren't frayed, the proximity was causing a parasitic drain. Pushing the harness away from the body and adding protective tape resolved the issue. The owner also strongly advocates replacing the OEM battery terminals as a primary fix for these electrical issues. - NHTSA ODI #10171770 — An owner reported that when the vehicle stalled, it lost ignition input. Diagnostic scans revealed codes U1000, U1016, U1152, B1372, and U1088. The issue was resolved by replacing the ignition switch.
- NHTSA ODI #10681194 — A report describes a vehicle that would not start even after attempting a jump. A code reader showed U1000, which the owner identified as a ground harness problem. Cleaning battery terminals did not resolve the issue.
Documented NHTSA Reports
- NHTSA ODI #11244385: Describes a condition where the vehicle throws codes P0700, U0073, and U1000, resulting in a loss of engine power, bucking, and erratic behavior of the odometer, RPM gauge, and temperature gauge while the Stabilitrak and Check Engine lights illuminate.
- NHTSA ODI #10970695: Notes a diagnostic failure where the instrument cluster had no communication despite power and ground being present. The report mentions U1000 and a CAN system diagnosis failure where the cluster could not retrieve mileage, requiring replacement of the cluster and BCM retesting.
- NHTSA ODI #10150585: A manufacturer-related report states a vehicle entered "limp mode" due to DTC U1000 (CAN communication circuit) and C1132 (ABS). The technician applied TSB NTB06-009 to resolve the communication fault.
OEM Part Supersession History
15886073→20987862, 24300424— Standard part evolution and consolidation by GM.
Heads up: BCMs are year and option-specific. While a newer part number may supersede an older one, it must be programmed for the specific vehicle's VIN and RPO codes using a Tech 2 scanner. A used BCM from another vehicle will not be plug-and-play and will cause Passlock/security issues and feature malfunctions.15802495, 15845915, 15845922, 15926780, 25830696→25816709— Standard part evolution and consolidation by GM.
Heads up: As with other BCMs, programming is required. Using a part from a vehicle with different options (e.g., with/without sunroof, with/without locking differential) will cause issues even if programmed with the correct VIN.
Model Year Variations Within This Range
- 2006-2007 vs 2008-2010: The introduction of the 5.3L V8 Alpha model in 2008 brought different engine control modules and wiring. While the Class 2 communication architecture and common failure points (grounds, BCM) remained largely the same, diagnosing engine-related communication issues requires selecting the correct engine (I5 vs V8) in the scan tool.
- 2006 only: The 2006 model used the 3.5L L52 engine. From 2007-2010, this was replaced by the 3.7L LLR engine. While very similar, there are minor differences in sensors and engine control software that could be relevant when diagnosing codes that accompany the U1000.
Diagnostic Flowchart
Other Known Issues on This Vehicle
Issues unrelated to this code that are worth knowing about as an owner of this generation:
- Premature Cylinder Head / Valve Seat Failure (3.5L & 3.7L I5) 🔴 High — Very common on 2006 models with the 3.5L L52 engine built before March 31, 2006. Less common but still present on 2007-2008 3.7L LLR engines. Can cause persistent P0300-series misfire codes. (Ref: TSB #PIP4013D, Special Coverage Adjustment #07123)
- Cracked Plastic Radiator End Tanks 🔴 High — Extremely common across all model years, often occurring after 50,000 miles. The plastic end tanks crack at the seam, causing coolant leaks.
- Failed Front Differential Mounting Bushings 🟠 Medium — Common failure leading to clunking noises, especially when shifting into reverse. The main crossmember bushing and side bracket bushings wear out. The bracket itself was discontinued, requiring aftermarket solutions.
- HVAC Blower Motor Resistor & Connector Overheating 🔴 High — Common enough to warrant a safety recall. The connector for the blower motor resistor can overheat and melt, creating a fire risk and causing the fan to work only on high or not at all. (Ref: GM Safety Recall #15299)
- Faulty Passlock Anti-Theft Sensor 🟠 Medium — A common cause for a no-start or start-and-stall condition, accompanied by a flashing security light. The sensor in the ignition lock cylinder fails, requiring replacement and a 30-minute relearn procedure.
- Erratic Fuel Level Sensor 🟡 Low — Common on 2006-2008 models, causing the fuel gauge to read incorrectly. The fix typically requires replacing the entire fuel pump module assembly.
Used vs. New Parts: Buying Guide for This Vehicle
When a used part is the smart pick: A used Body Control Module (BCM) can be a cost-effective option IF you have access to a GM Tech 2 scanner or a shop that can program it. Used mechanical parts like ignition lock cylinders or wiring harnesses are also viable choices.
Donor-vehicle mileage cap: roughly under 120000 miles for the part to have meaningful remaining life.
What to inspect on the donor part:
- For a BCM, ensure the donor vehicle did NOT have a sunroof, or if it did, thoroughly inspect the BCM and its connectors for any hint of green/blue corrosion before purchase.
- Verify the part number on the used BCM matches the original or is a known compatible replacement.
- When buying a used wiring harness, inspect all connector pins to ensure they are not corroded, bent, or spread open. Check for any previous repairs (e.g., splices wrapped in electrical tape).
OEM-only on this vehicle (don't cheap out):
- Ignition Switch / Passlock Sensor: While aftermarket versions exist, owner reports suggest higher reliability with the OEM part for resolving security-related no-start issues.
Aftermarket brands forum-validated for this vehicle:
- Battery Terminals: Stinger, Fastronix, and other high-quality marine-style or audio-grade terminals are widely recommended by owners as a permanent upgrade over the faulty OEM design.
Brands owners have reported issues with on this vehicle:
- Generic, unbranded BCMs from online marketplaces are risky as they may not program correctly or have a high failure rate.
Real Owner Stories
Aggregated from forums and TSBs cited above. Mileages and costs reflect what owners reported in those sources.
2006 Hummer H3
Symptoms: Check engine light on, multiple warning lights like ABS and Airbag, and the instrument cluster gauges were dropping to zero or behaving erratically.
What fixed it: Located the under-hood ground splice packs (SP105 and SP106). Found green and white corrosion inside. Cleaned all metal contacts and the 10mm bolt with a wire brush to restore the connection.
Source hint: https://www.355nation.net/threads/how-to-fix-your-ground-packs.36920/
2007 Hummer H3
Symptoms: The vehicle's modules were sensitive to low voltage, triggering a flurry of communication codes during engine cranking. The factory battery terminals were loose and could be wiggled by hand.
What fixed it: Replaced the notoriously bad OEM battery clamp terminals with higher-quality aftermarket terminals after cutting off the old ones and stripping the wires.
Source hint: https://www.hummerforums.com/forum/hummer-h3-12/h3-battery-terminal-upgrade-25259/
2008 Hummer H3
Symptoms: Water leaking into the cabin, damp carpet on the passenger side, and a musty smell. This was followed by the HVAC controls failing and power windows working only intermittently.
What fixed it: Cleared clogged sunroof drains and replaced the water-damaged Body Control Module (BCM) located behind the passenger-side kick panel, followed by programming with a GM Tech 2 tool.
Source hint: vehicle_specific_issues
Related OBD-II Codes
Frequently Asked Questions
Could my H3's sunroof be the reason I'm seeing a U1000 code and erratic electronics?
Is there a TSB for the internal module faults that might cause communication codes on the Hummer H3?
I've heard the battery terminals on the 2006-2010 H3 are problematic; should I replace them to fix U1000?
Where are the ground splice packs located on the H3, and why do they cause U1000?
Is there a recall for electrical issues that might be related to my HVAC controls failing?
Can I fix the corroded ground packs myself without buying expensive parts?
Helpful Videos

Used OEM Parts in Stock
New Aftermarket Parts Available


The information in this article is provided for general reference and educational purposes only. Vehicle specifications, procedures, and part compatibility can vary by production date, trim level, and region. Always consult your vehicle's factory service manual and verify part numbers before purchasing or performing repairs. Safety-critical components such as airbags, seat belts, and braking systems should be installed by a qualified professional.
- Hummer H3:
- 🧭 Diagnostic Flowchart
- 🎬 Helpful Videos
- 🛍️ Shop This Part
- What's Unique About the 2006-2010 Hummer H3
- Symptoms You May Notice
- Most Likely Causes
- Rare But Worth Checking
- Diagnosis Steps
- Parts You'll Likely Need
- Related Codes That Often Appear With This One
- Technical Service Bulletins (TSBs) & Recalls
- Platform-Specific Known Issues
- Mechanic-Grade Diagnostic Values
- Scan Tool Commands That Help
- Wiring & Ground Locations
- Real Owner Repair Stories
- Documented NHTSA Reports
- OEM Part Supersession History
- Model Year Variations Within This Range
- Other Known Issues on This Vehicle
- Used vs. New Parts: Buying Guide for This Vehicle
- Real Owner Stories
- 2006 Hummer H3
- 2007 Hummer H3
- 2008 Hummer H3
- Related OBD-II Codes
- Frequently Asked Questions
- 🎟️ Get 5% Off