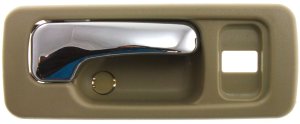
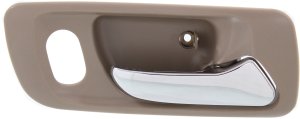
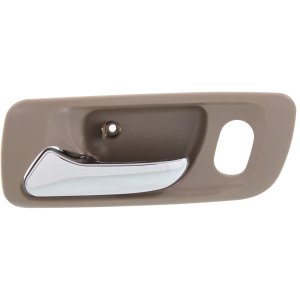
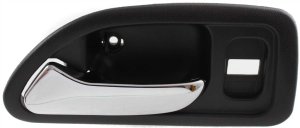
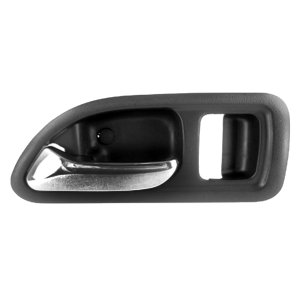
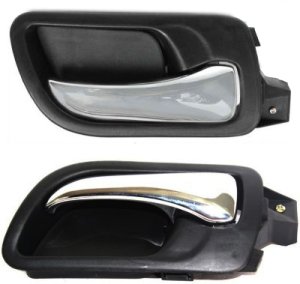
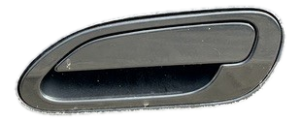
This interior handle features a chrome lever with beige housing.
It is designed for the Sedan model.
The handle includes a lock hole.
OEM #: 72125-SM4-003ZE
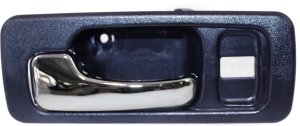
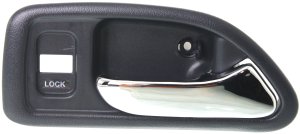
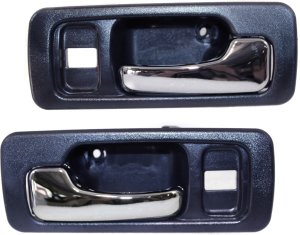
This handle features a Chrome Lever and Dark Blue Housing.
It includes a Door Lock Hole.
It fits Sedan models.
OEM #: 72165-SM4-003ZA
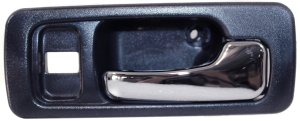
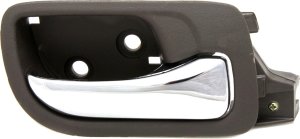
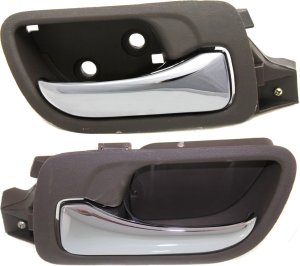
This handle features a Chrome Lever and Dark Blue Housing.
It includes a Door Lock Hole.
It fits Sedan models.
The OEM # is 72125-SM4-003ZA.

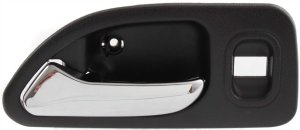
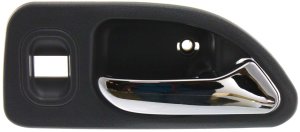
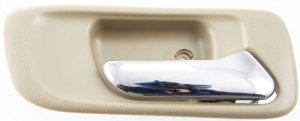
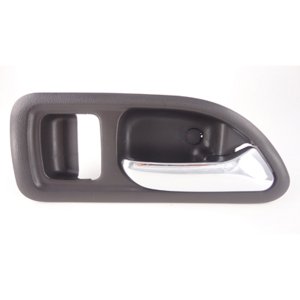
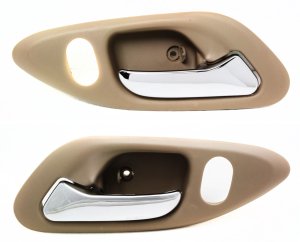
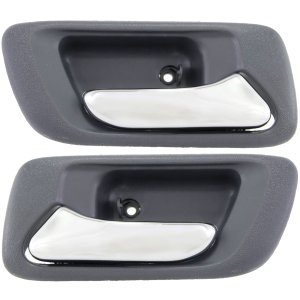
This handle features a Chrome Lever and Beige Housing.
It includes a Lock Hole.
It fits Sedan models.
OEM #: 72165-SM4-003ZE

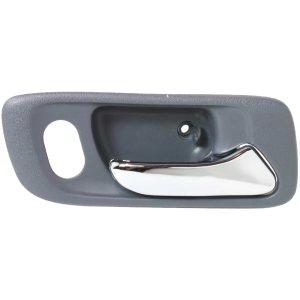
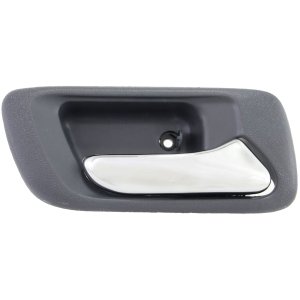
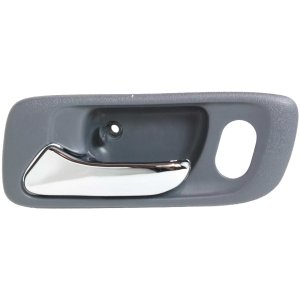
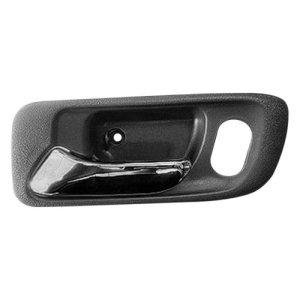
This handle is for the Left (Driver) side.
It features a Chrome Lever and Gray Housing.
It fits Sedan models and is Without a Hole.
The OEM part number is 72665SV4013ZC.
The OEM part number is 72625SV4013ZC.
This interior handle features a Chrome Lever and a Brown (Taupe) Bezel.
It is constructed from Plastic.
It is designed for Sedan models.
OEM #: 72620-SDA-A02ZB
The housing color is Beige.
The OEM part number is 72125S84A01ZC.
The housing color is Quartz Gray.
The OEM number is 72125S84A01ZB
The housing color is Beige.
The OEM part number is 72620S84A01ZC.

The housing color is Beige.
The OEM part number is 72660S84A01ZC.
The color is Gray.
The OEM part number is 72125SV4013ZC.
The OEM number is 72620S84A01ZB
This part is suitable for vehicles that are USA Built.
The finish is Black and Prime.
The OEM # is 72140S84A11.
The OEM number is 72165S84A01ZC
The housing color is Quartz Gray.
The OEM number is 72165S84A01ZB
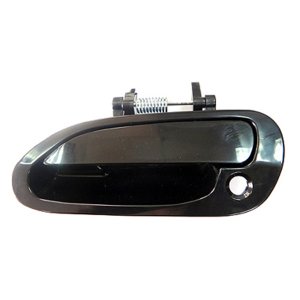
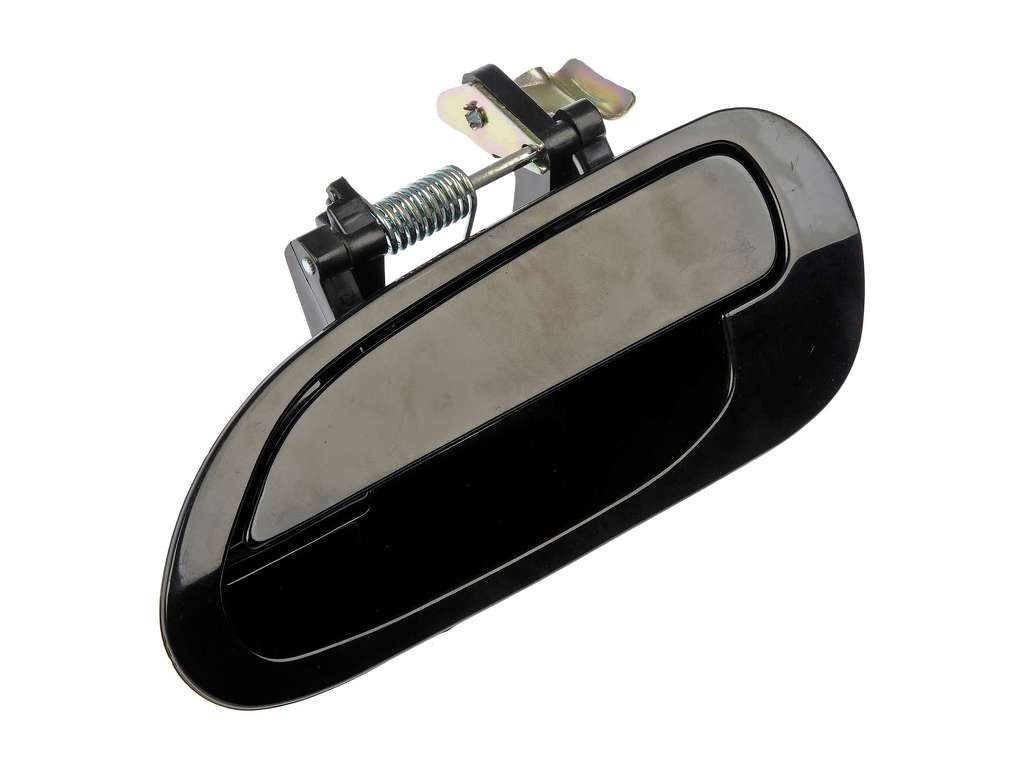
This handle is designed for the Sedan body style.
It is for models that were Japan Built.
It is designed to be Painted to Match the vehicle color.
OEM #: 72680-S86-K11
This part is suitable for vehicles that are USA Built.
The finish is Black and Prime.
The OEM # is 72640S84A11.
This part is suitable for vehicles that are USA Built.
The finish is Black and Prime.
The OEM # is 72680S84A11.
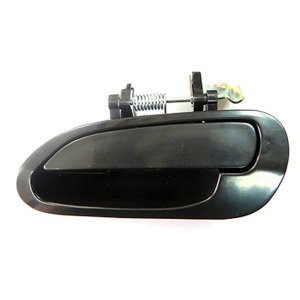
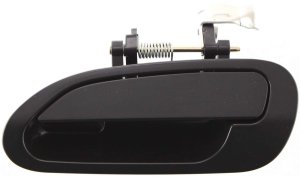
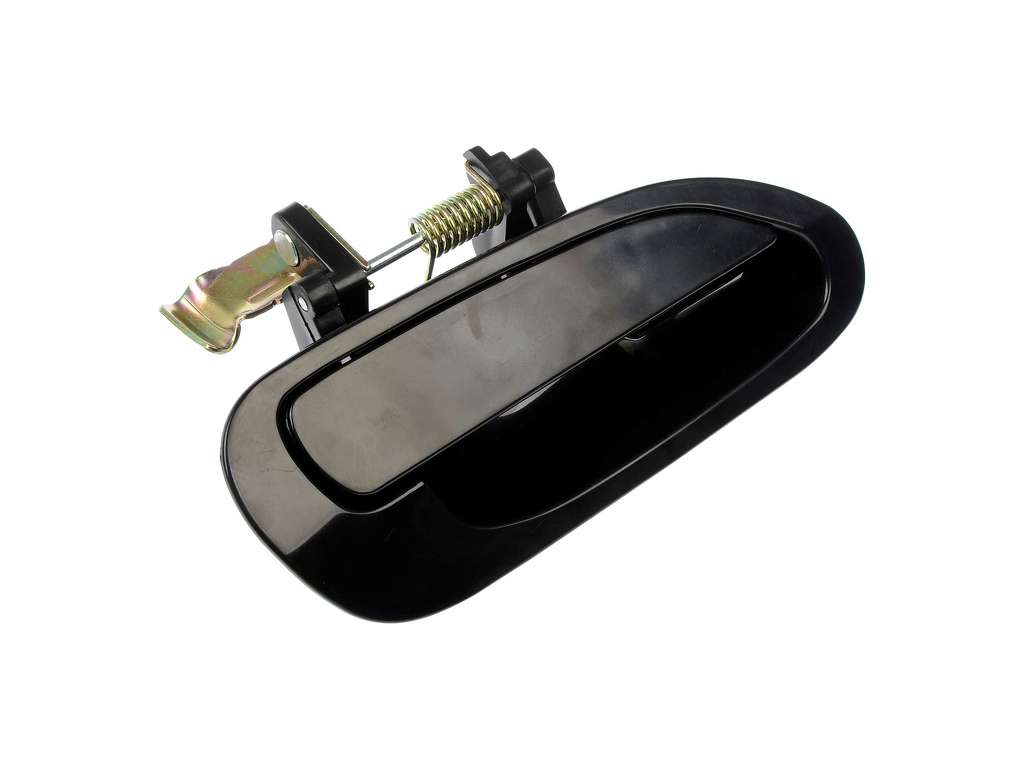
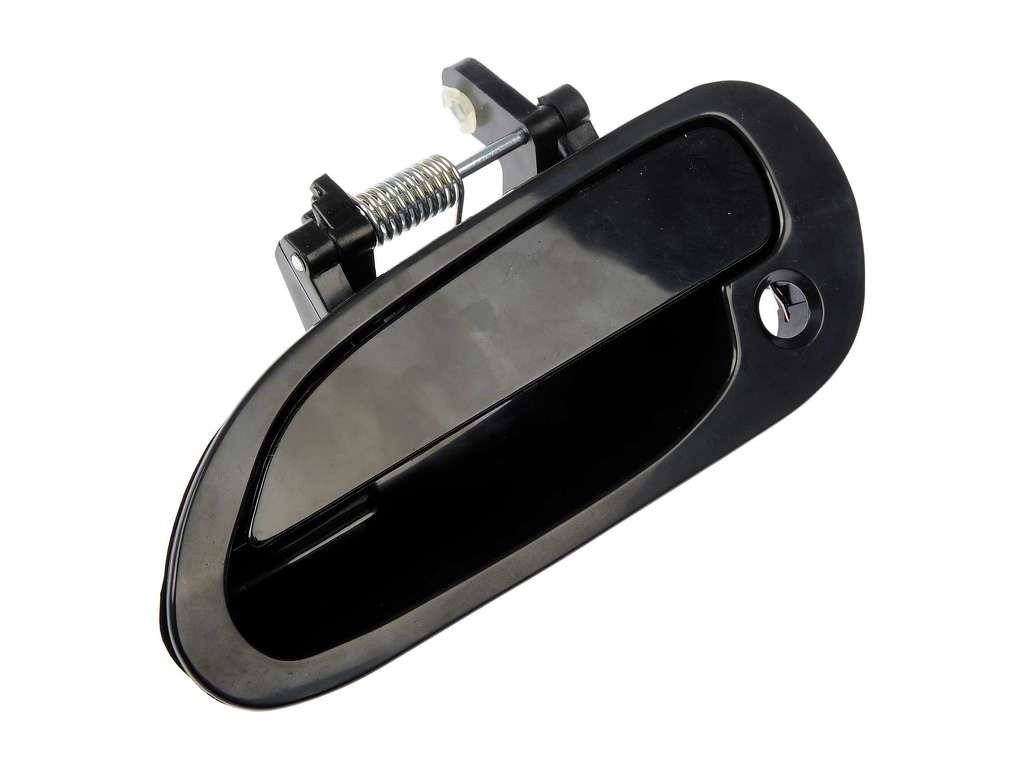
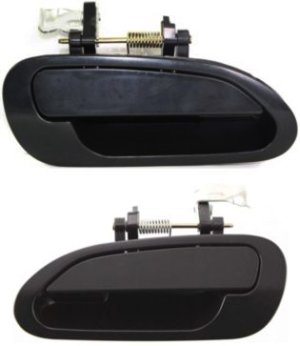
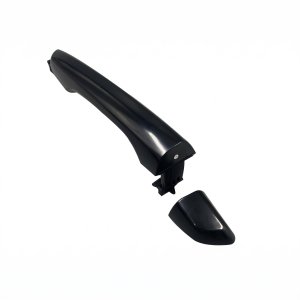
This handle is Smooth Black and includes a Keyhole.
It fits Sedan models built in Japan or the USA.
OEM #: 72140-S86-K12
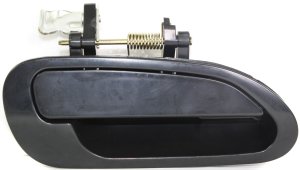
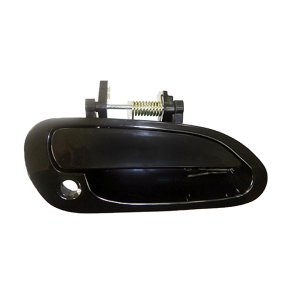
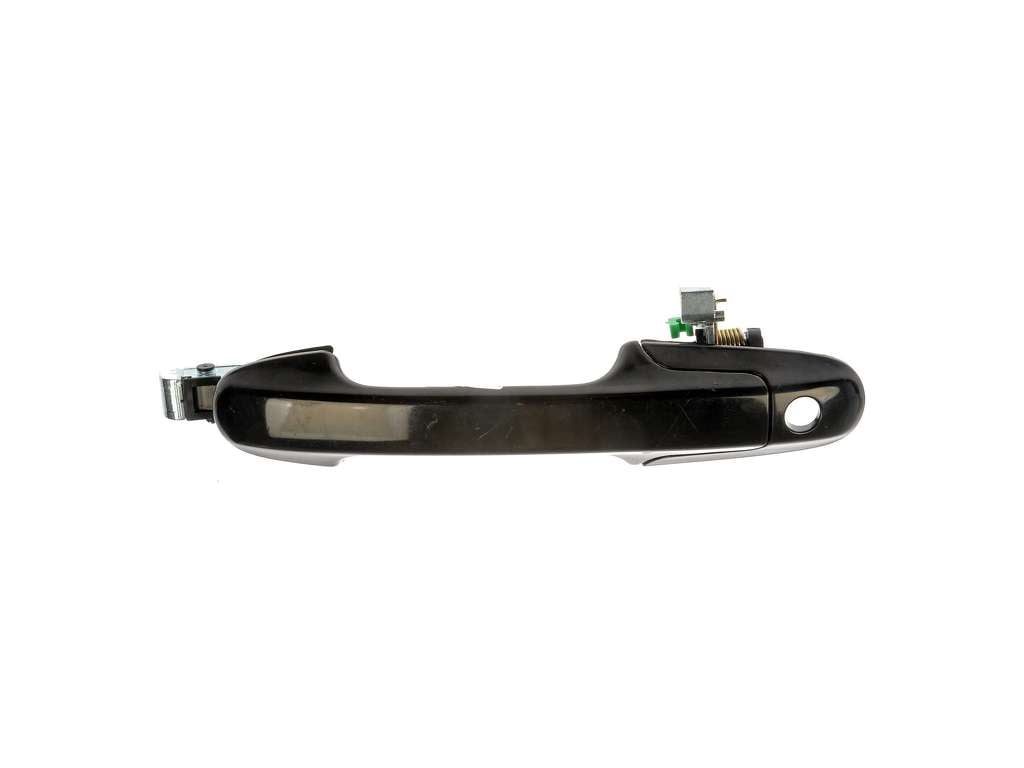
This handle is Smooth Black and includes a Keyhole.
It is designed for Sedan models built in Japan or the USA.
OEM #: 72180-S86-K12
The color is Gray.
The OEM part number is 72165SV4A02ZC.
This part is suitable for vehicles that are USA Built.
The finish is Black and Prime.
The OEM # is 72180S84A11.
This interior handle is chrome gray.
It is designed for models built in Canada.
It fits the Coupe body style and DX or LX trim levels.
OEM #: 72125-SV2-A11ZB
The color is Chrome Gray.
This handle fits Canada Built models.
It is compatible with the Coupe body style and DX or LX trim models.
OEM #: 72165-SV2-A11ZB
This handle is gray.
It is designed for the DX Sedan model.
The OEM number is 72660S84A01ZB

Black; Built in U.S.A. Packaging Type: Box Color: Smooth Black
Black; Built in U.S.A. Packaging Type: Box Color: Smooth Black
Black; Built in U.S.A. Packaging Type: Box Color: Smooth Black
Black; Built in U.S.A. Packaging Type: Box Color: Smooth Black
Nighthawk Blk
Black; Built in U.S.A. Packaging Type: Box Color: Smooth Black
& Lx, Japan Built Nighthawk Blk
Black; w/Manual Locks Packaging Type: Card Color: Textured Black
Black; Packaging Type: Box Color: Smooth Black
Black; Built in Japan Packaging Type: Box Color: Smooth Black
Black; Packaging Type: Card Color: Textured Black
Black; Packaging Type: Box Color: Smooth Black
Black; Built in U.S.A. Packaging Type: Box Color: Smooth Black
Black; Packaging Type: Box Color: Smooth Black
Black; Packaging Type: Box Color: Smooth Black
Black; Built in U.S.A. Packaging Type: Card Color: Smooth Black
Black; Built in U.S.A. Packaging Type: Card Color: Smooth Black
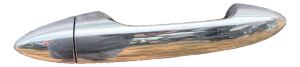
Chrome; Built in U.S.A. Packaging Type: Box Color: Chrome
Graphite Prl
Chrome; wo/Keyhole wo/Smart Key Entry Packaging Type: Box Finish: Chrome Color: Chrome
Chrome; Packaging Type: Box Finish: Chrome Color: Chrome
Chrome; Packaging Type: Box Finish: Chrome Color: Chrome
Chrome; Built in U.S.A. w/Keyhole Packaging Type: Box Color: Chrome
Paint to Match Packaging Type: Box Color: Smooth Black
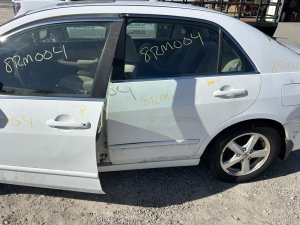
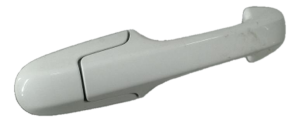
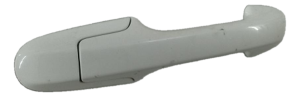
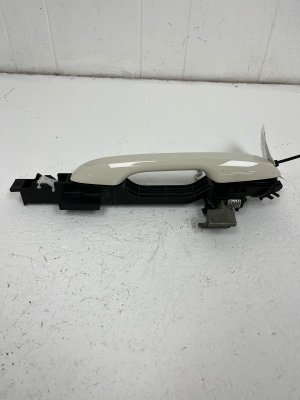
It is finished in white (paint code TFW). This part fits 4-door vehicles.
Condition: Excellent (A)
Mileage: 148,000 miles
Black; Packaging Type: Box Color: Smooth Black
Paint to Match wo/Keyhole wo/Smart Key Entry Packaging Type: Box Finish: Smooth Color: Primed Black
Chrome; w/Keyhole wo/Smart Key Entry Packaging Type: Box Finish: Chrome Color: Chrome
Paint to Match wo/Keyhole Packaging Type: Box Finish: Primed Black Color: Black
Paint to Match w/Keyhole wo/Smart Key Entry Packaging Type: Box Finish: Smooth Color: Primed Black

It is finished in black and fits 4-door vehicles.
Condition: Excellent (A)
Mileage: 156,900 miles

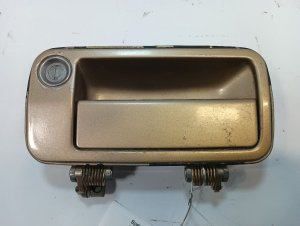
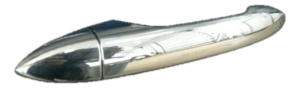
It is a tan exterior door handle for a 4-door vehicle.
Condition: Excellent (A)
Mileage: 107,400 miles
Black; Packaging Type: Box Color: Smooth Black

It is a maroon exterior door handle for 4-door vehicles.
Condition: Excellent (A)
Mileage: 177,400 miles
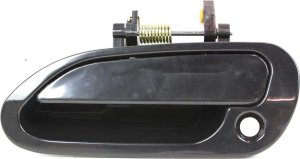
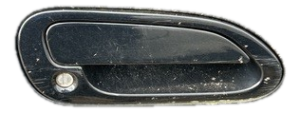
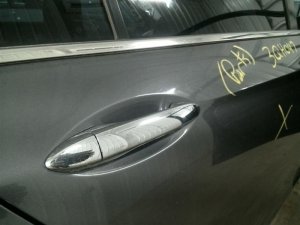
It is finished in black (paint code KH3). This part has a small scratch.
Condition: Excellent (A)
Mileage: 128,300 miles
Chrome; w/Smart Key Entry wo/Keyhole Packaging Type: Box Finish: Chrome Color: Chrome

It is finished in blue (paint code RBP). This part is for a 4-door vehicle.
Condition: Excellent (A)
Mileage: 209,000 miles
Chrome; w/Keyhole w/Smart Key Entry Packaging Type: Box Finish: Chrome Color: Chrome
It is for a 4-door vehicle.
Condition: Excellent (A)
Mileage: 225,500 miles
w/o Smart Entry
The OEM #s are: 72125SV4013ZC, 72625SV4013ZC.
The Partslink #s are: HO1353101, HO1553101
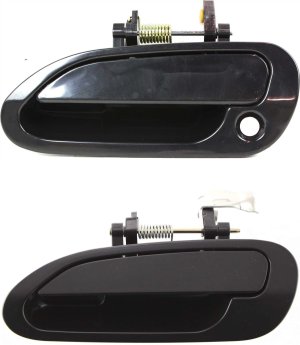
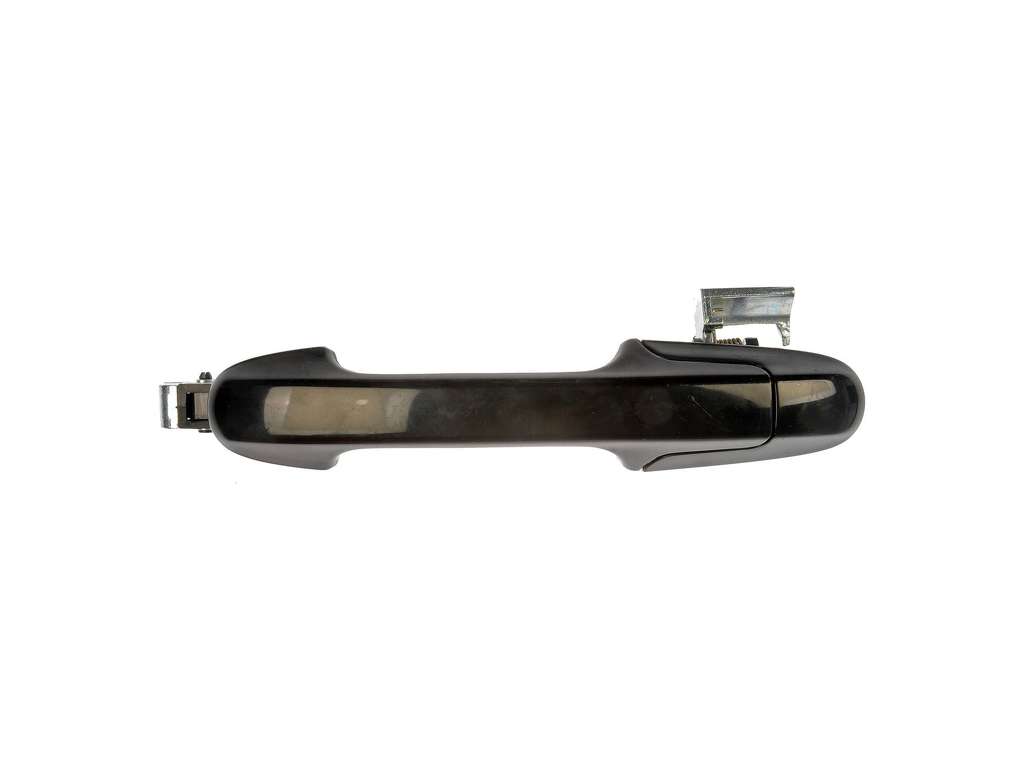
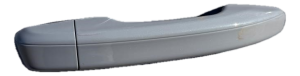
This is an Outside door handle set.
This is a set of 2 handles.
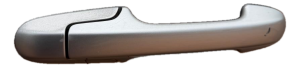
The finish is Smooth Black.
It is for the Sedan model.
It fits vehicles that were Japan Built or USA Built.
OEM #s: 72180S84A11, 72680S84A11
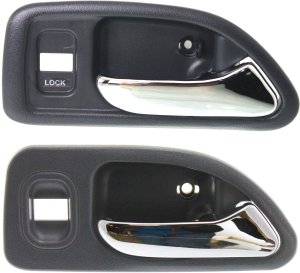
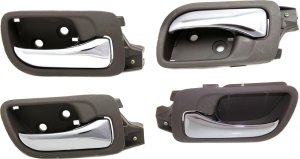
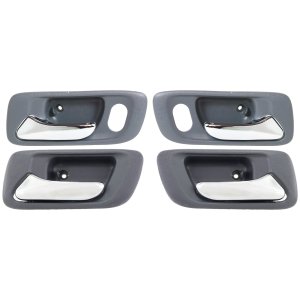
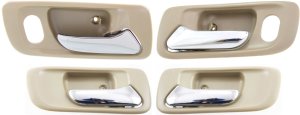
This is a pair of Front Interior door handles for the Right (Passenger) and Left (Driver) sides.
The handles feature a Chrome Lever and Beige Housing, and include a Hole.
OEM #s: 72165S84A01ZC, 72125S84A01ZC
This is an inside door handle set.
The finish is Chrome Beige.
It is designed for the Coupe body style.
The OEM #s are: 72165S82A01ZC, 72125S82A01ZC.
This handle set is designed for the Sedan body style.
OEM #s: 72165SM4003ZA, 72125SM4003ZA
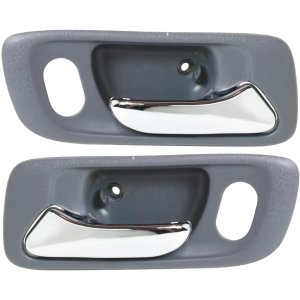
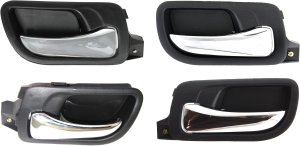
This set is for the Inside Front Door.
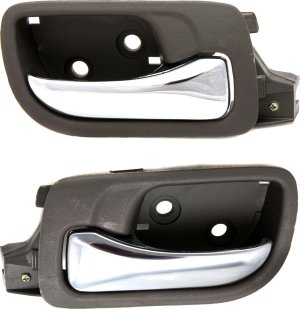
It features a Chrome Lever and Gray Housing, and includes a Hole.
OEM #s: 72165S84A01ZB, 72125S84A01ZB | Partslink #s: HO1353124, HO1352124
The OEM numbers for this pair are 72660SDAA02ZB and 72620SDAA02ZB.
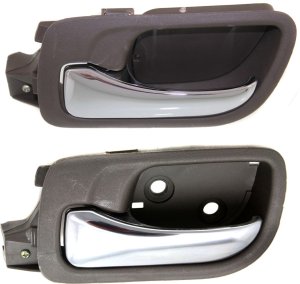
This is an Inside Rear Door Handle set for the Sedan model.
It features a Chrome Lever and Gray Housing.
It is designed without a hole.
OEM #: 72620S84A01ZB
This is the Front Interior Door Handle set.
It features a Chrome Lever and a Brown (Taupe) Bezel.
The material is Plastic.
This set is for the Sedan model.
OEM #s: 72160SDAA02ZD, 72120SDAA02ZD
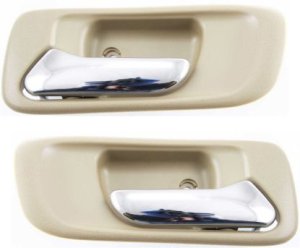
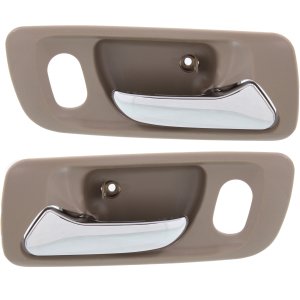
This is an interior rear door handle set for the Sedan body style.
It features a Chrome Lever and Beige Housing.
The handle is supplied without a hole.
OEM #s: 72660S84A01ZC, 72620S84A01ZC

This is the Inside door handle.
It features a Chrome Lever and a Brown (Taupe) Bezel.
The handle is made of Plastic.
This fits the Sedan model.
OEM #s: 72120SDAA02ZD, 72620SDAA02ZB
This is a set of 4 handles for the Front and Rear doors, covering the Left (Driver) side only.
These are interior handles featuring a Chrome Lever and Brown (Taupe) Bezel, made of Plastic.
This fits the Sedan model.
OEM #s: 72160SDAA02ZD, 72660SDAA02ZB
This replacement pair is for the Sedan model and features a Chrome Lever and Black Bezel made of Plastic.
OEM #s: 72160SDAA02ZC, 72120SDAA02ZC
OEM #: 72680S84A11, 72640S84A11
This is an interior door handle set for the front and rear, right (Passenger) and left (Driver) sides.
The handle features a Chrome lever and a Brown (Taupe) bezel.
The material is Plastic.
Fitment is for Sedan models only.
OEM #s: 72160SDAA02ZD, 72120SDAA02ZD, 72660SDAA02ZB, 72620SDAA02ZB
It is for a 4-door vehicle. The part is finished in white (paint code NH578).
Condition: Excellent (A)
Mileage: 233,900 miles

It is finished in white (paint code TFW). This part is for 4-door vehicles.
Condition: Excellent (A)
Mileage: 148,000 miles

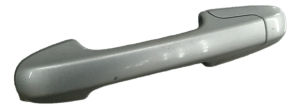
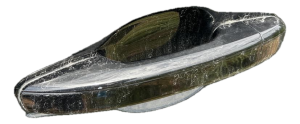
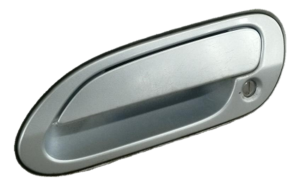
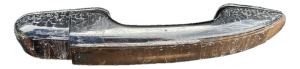
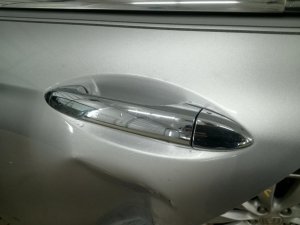
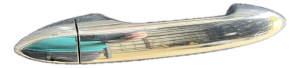
It is for a 4-door vehicle. The part is finished in silver (paint code 700MX).
Condition: Good (B)
Mileage: 224,100 miles
It is a black exterior door handle for a 4-door vehicle.
Condition: Excellent (A)
Mileage: 288,900 miles
It is for a 4-door vehicle. The part is finished in blue (paint code 130R).
Condition: Excellent (A)
Mileage: 183,100 miles
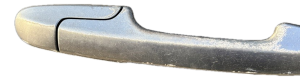
It is finished in silver (paint code 700MX). This part has a moderate paint problem.
Condition: Good (B)
Mileage: 224,100 miles
It is for a 4-door vehicle. Finished in black (paint code NH731P).
Condition: Excellent (A)
Mileage: 85,300 miles

It is a black exterior door handle for 4-door vehicles.
Condition: Excellent (A)
Mileage: 183,100 miles
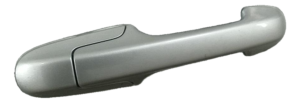
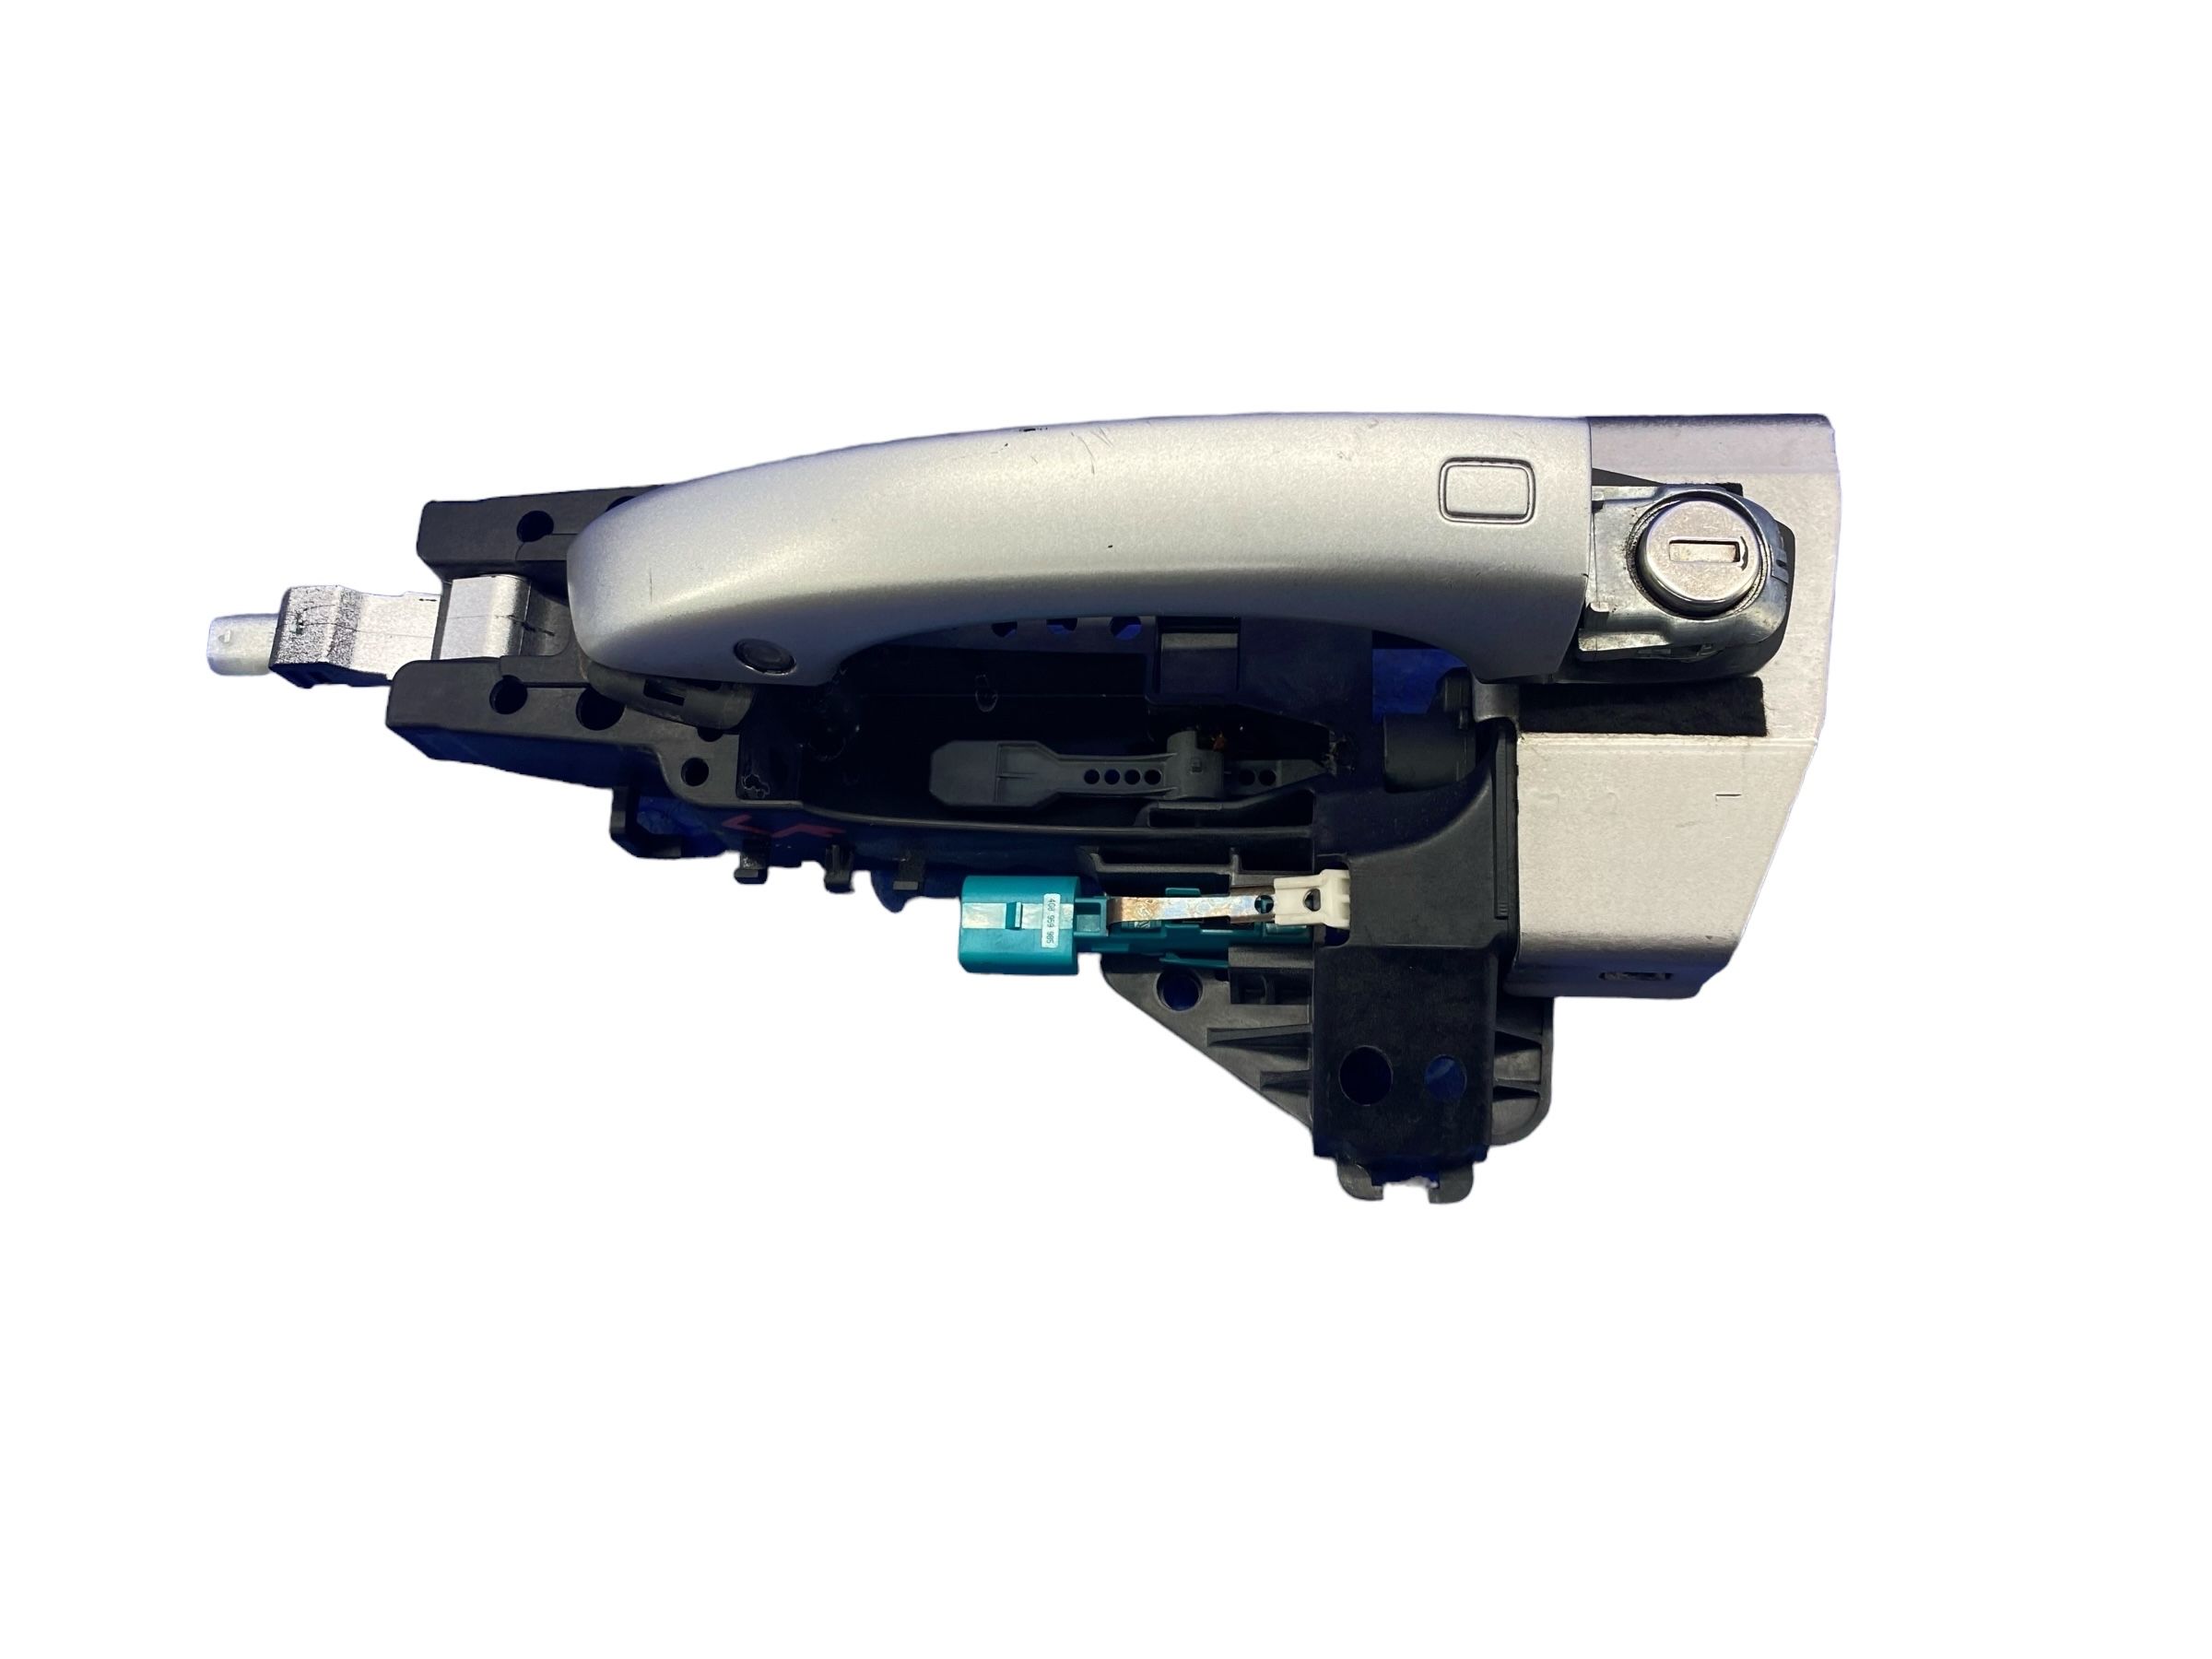
It is for a 4-door vehicle. The part is finished in Alabaster Silver Metallic (paint code NH700M).
Condition: Excellent (A)
Mileage: 252,600 miles
It is finished in Crystal Black Pearl (paint code NH731P). This part fits 4-door vehicles and is for the rear door.
Condition: Excellent (A)
Mileage: 85,300 miles
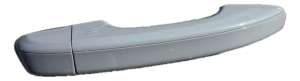
It is a rear exterior door handle for 4-door vehicles. Finished in Sonic Gray Pearl (paint code NH877P).
Condition: Excellent (A)
Mileage: 98,200 miles
OEM #s: 72165S84A01ZB, 72620S84A01ZB, 72125S84A01ZB
This is an interior door handle set for the front and rear, right (Passenger) and left (Driver) sides.
The handle features a Beige bezel with a Chrome lever.
OEM #s: 72660S84A01ZC, 72165S84A01ZC, 72620S84A01ZC, 72125S84A01ZC
OEM #s: 72160SDAA02ZC, 72120SDAA02ZC, 72660SDAA02ZA, 72620SDAA02ZA
Partslink #s: HO1353132, HO1352132, HO1553106, HO1552106
It is finished in white (paint code NH578). This part is for a 4-door vehicle.
Condition: Excellent (A)
Mileage: 233,900 miles

It is finished in black (paint code NBP). This part is for a 4-door vehicle.
Condition: Excellent (A)
Mileage: 288,900 miles
It is finished in black (paint code NBP). This part fits 4-door vehicles.
Condition: Excellent (A)
Mileage: 288,900 miles
It is finished in silver (paint code 612M). This part fits 4-door vehicles.
Condition: Excellent (A)
Mileage: 172,500 miles
It is finished in silver (paint code 700MX). This part has a moderate paint problem. It is for a 4-door vehicle.
Condition: Good (B)
Mileage: 224,100 miles
It is for a 4-door vehicle. The part is finished in blue (paint code RBP).
Condition: Excellent (A)
Mileage: 209,000 miles
It is for the front door of a 4-door vehicle. Finished in gray (paint code NH877P).
Condition: Excellent (A)
Mileage: 98,200 miles
It is finished in black (paint code NH731P). This part fits 4-door vehicles.
Condition: Excellent (A)
Mileage: 85,300 miles
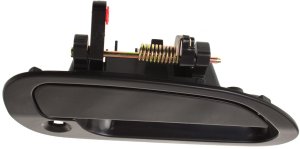
This is a BRAND NEW part. This is an exterior door handle.
Condition: Excellent (A)
This is a BRAND NEW part. This is an outside door handle finished in Victory Red (paint code 130R).
Condition: Excellent (A)
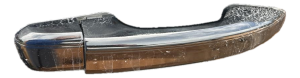
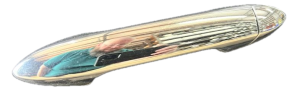
It is a rear exterior door handle finished in chrome. It fits 4-door vehicles.
Condition: Excellent (A)
Mileage: 169,000 miles
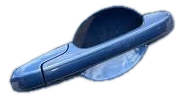
It is for a 4-door vehicle and is finished in blue (paint code B588PX).
Condition: Excellent (A)
Mileage: 199,000 miles
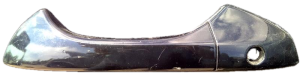
It is a rear exterior door handle assembly for 4-door vehicles. The part is black and has a small finish issue.
Condition: Excellent (A)
Mileage: 128,100 miles
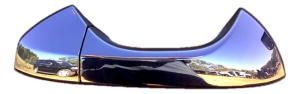
It is a chrome exterior door handle for a 4-door vehicle.
Condition: Excellent (A)
Mileage: 139,700 miles
It is a chrome exterior door handle for a 4-door vehicle.
Condition: Excellent (A)
Mileage: 145,900 miles
It is a rear exterior door handle for 4-door vehicles. It is finished in blue (paint code B588PX).
Condition: Excellent (A)
Mileage: 199,000 miles
It is finished in red (paint code R548P). This part is for the front door of a 4-door vehicle.
Condition: Excellent (A)
Mileage: 156,000 miles
It is a chrome exterior door handle for a 4-door vehicle.
Condition: Excellent (A)
Mileage: 120,800 miles
It is a front exterior door handle for 4-door vehicles. Finished in blue (paint code B588PX).
Condition: Excellent (A)
Mileage: 199,000 miles
This is a rear outer door handle assembly. It is finished in Championship White.
Condition: Excellent (A)
Mileage: 22,000 miles


Browse our selection of quality exterior door handle parts designed specifically for your Honda Accord. We carry options across multiple trim levels, body styles, and engine configurations to ensure a perfect fit.
10th Anniversary · 25th Anniversary Edition · Base · DX · EX · EX-L · EX-R · EXI · HFP · Hybrid · Hybrid EX · Hybrid EX-L · Hybrid Sport · Hybrid Sport-L · Hybrid Touring · LX · LX SE · LX Special Edition · LX-P · LX-S · LXi · Plug-In · Prime · S · SE · SEi · Special Edition · Sport · Sport Plus · Sport SE · Sport Special Edition · Touring · Value Package
Coupe · Hatchback · Sedan · Wagon
2.2L L4 · 2.3L L4 · 2.4L L4 · 2.7L V6 · 3.0L V6 · 3.5L V6 · L4 1.5L · L4 2.0L · L4 2.2L · L4 2.3L · L4 2.4L · V6 2.7L · V6 3.0L · V6 3.5L
Automatic · Automatic CVT · Manual · U/K