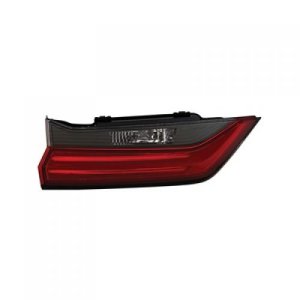
Fits EX-L and SPORT trims.
OEM # 34155-3A0-A01

Applicable to EX-L and SPORT trims.
Confirmed fitment for model years 2023 through 2024.
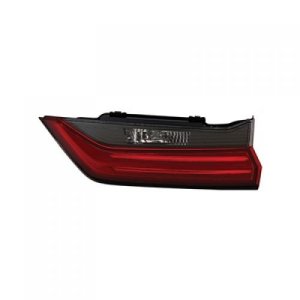
OEM # 34150-3A0-A01
Applicable for model year 2023.
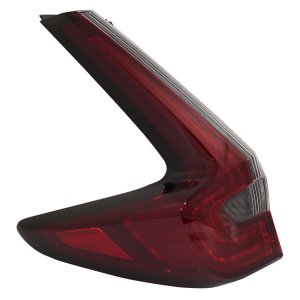
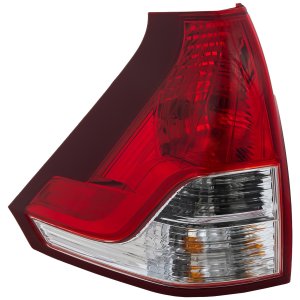
Fits EX and LX models.
OEM # 33550-3A0-A01
Applicable for model year 2023.
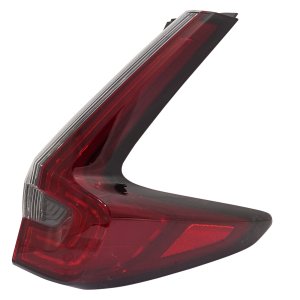
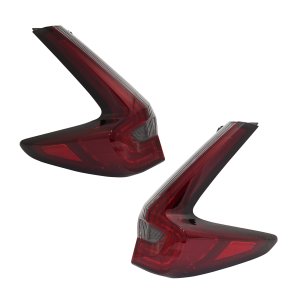
Fits EX, EX-L, LX, and Sport models.
OEM # 33500-3A0-A01
Fits EX-L and SPORT trims.
OEM # 33550-3A0-A11
This includes the Lens and Housing.
It uses Halogen bulbs.
This part is specifically for vehicles built in the United Kingdom (UK).
The OEM # is 33551-SCA-A11.
This includes the Lens and Housing.
It uses a Halogen bulb type.
This part is for a UK Built Vehicle.
OEM #: 33501-SCA-A11
This is a high-quality TYC/DEPO-brand item.
The OEM number is 33555SWAA01.
This is a high-quality TYC/DEPO-brand item.
The OEM number is 33505SWAA01.
This is a high-quality TYC/DEPO-brand item.
OEM Part Number: 33500T0AA01
This is a high-quality TYC or DEPO brand item.
This is designed for vehicles that were built in the U.K.
OEM Part Number: 33551SCAA00
This is a high-quality TYC/DEPO-brand item.
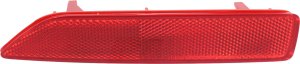
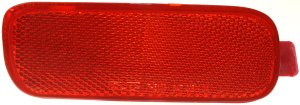
It is mounted on the bumper.
The OEM # is 33555S9A003.
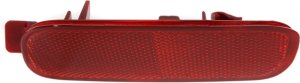
This is a high-quality TYC/DEPO-brand item.
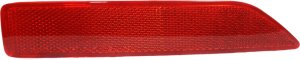
It is mounted on the bumper.
The OEM # is 33505S9A003.
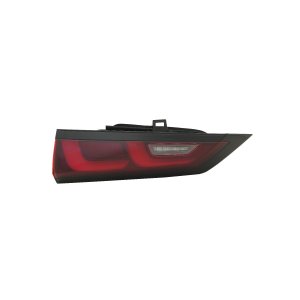
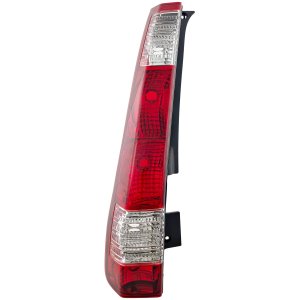
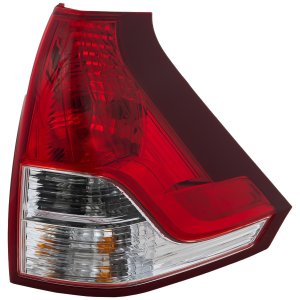
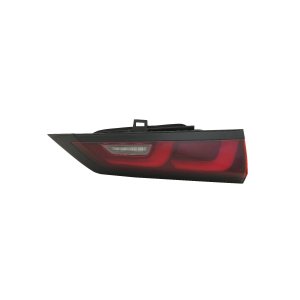
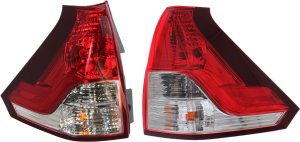
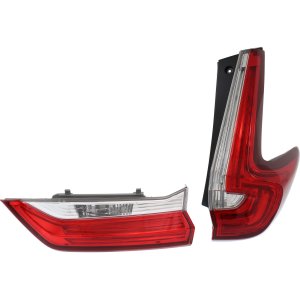
This is the Inner Tail Light Assembly.
It uses LED lighting.
The OEM # is 34155-TLA-A01.
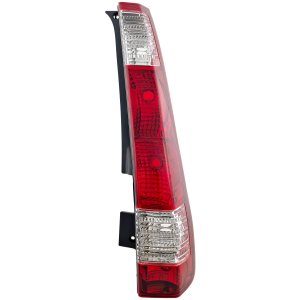
This is the Inner tail light assembly.
It uses an LED light source.
OEM #: 34150-TLA-A01
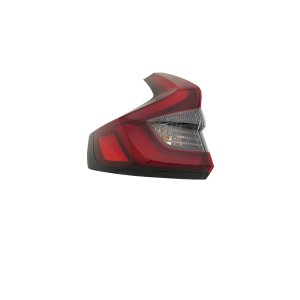
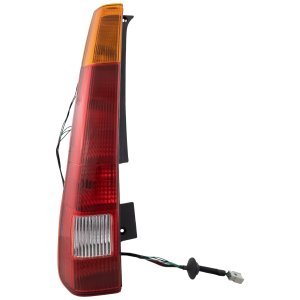
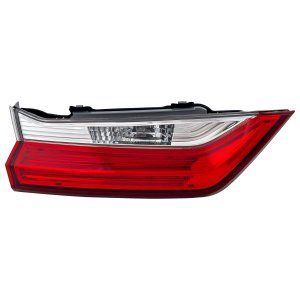
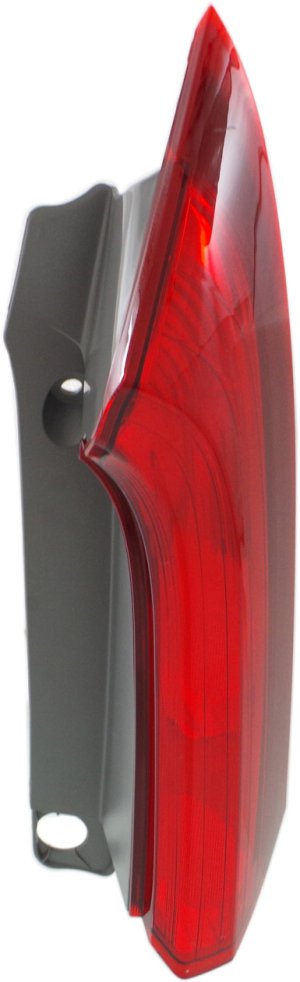
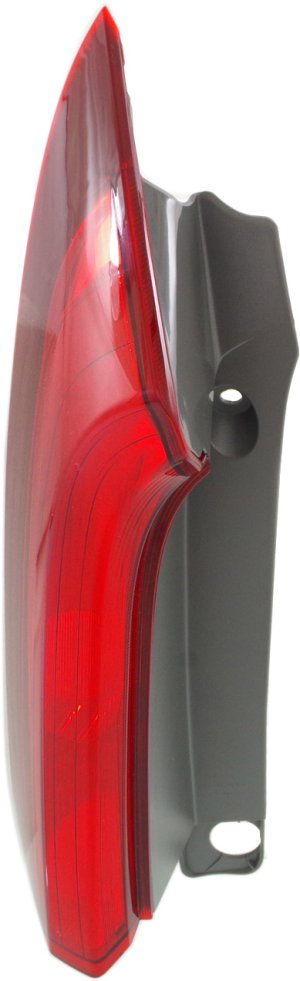
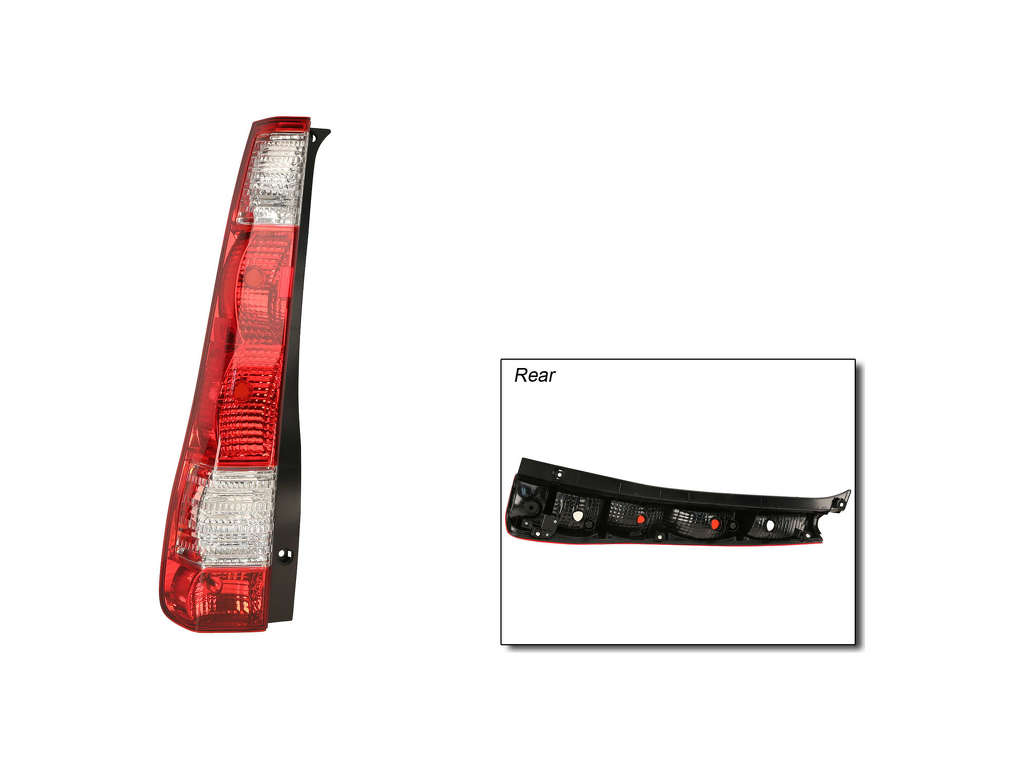
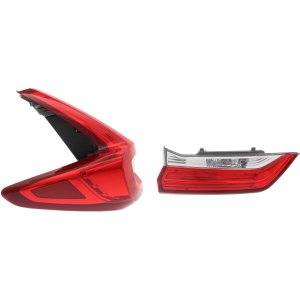
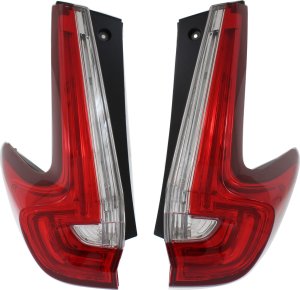
Outer tail light assembly.
Uses Halogen bulbs.
Suitable for vehicles built in Japan or North America.
Replacement OEM #: 33550-TLA-A01
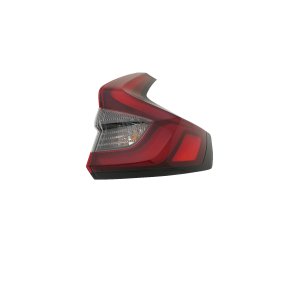
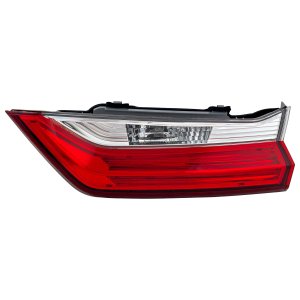
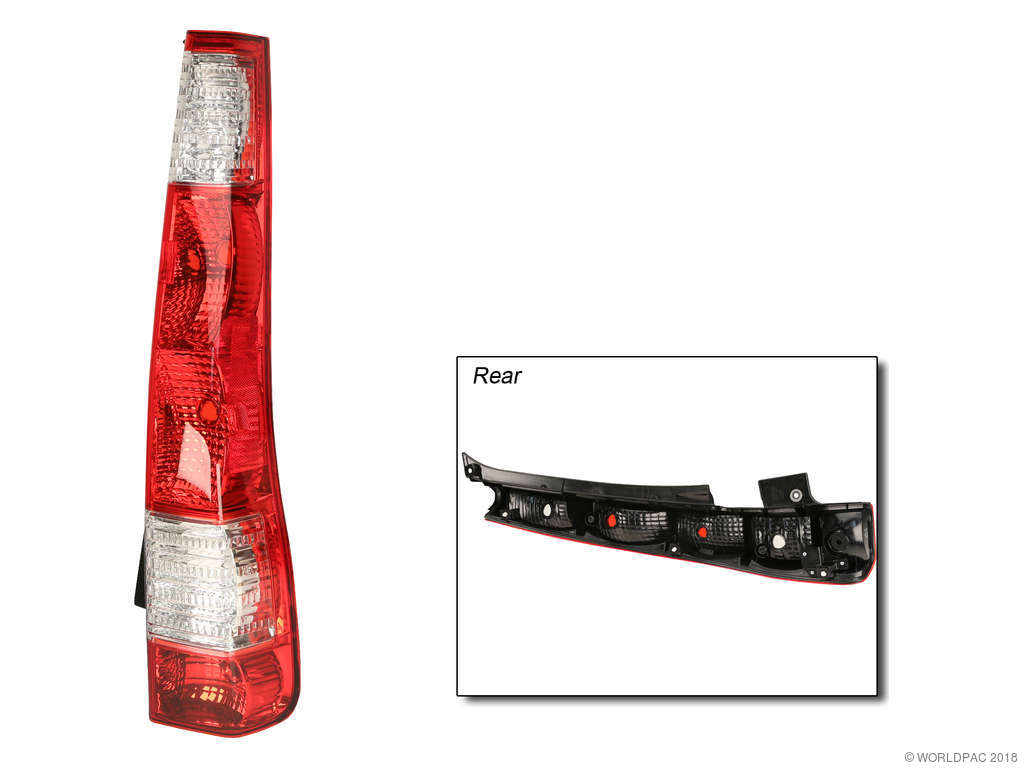
This is the Outer Halogen Tail Light Assembly.
It is suitable for vehicles built in Japan or North America.
Halogen OEM #: 33500-TLA-A01
OEM # 34155-TLA-A11
OEM # 34150-TLA-A11
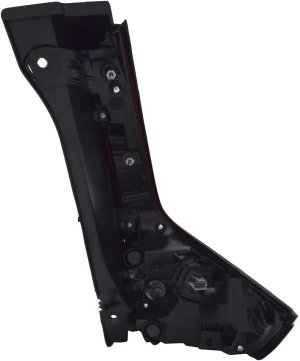
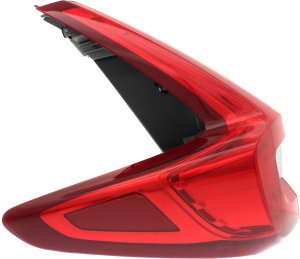
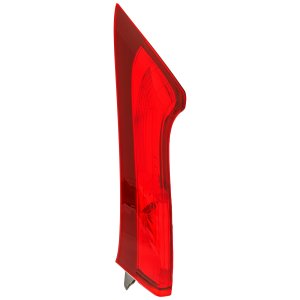
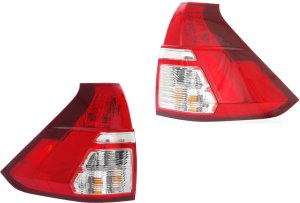
This is the Outer light assembly.
Fits Non-Hybrid models only.
Designed for North America Built Vehicles.
OEM # 33550-TLA-A21
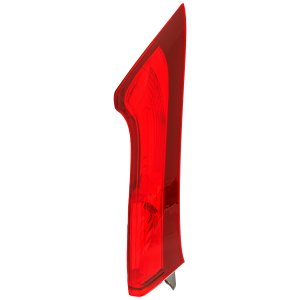
This is the Outer lamp.
This part is for Non-Hybrid models.
This is for vehicles built in North America.
OEM # 33500-TLA-A21

Fits EX and LX trims.
OEM # 34155-3A0-A11
Compatible with EX and LX trim models.
OEM # 34150-3A0-A11
This is a high-quality TYC/DEPO-brand item.
OEM Part Number: 34170T0AA01
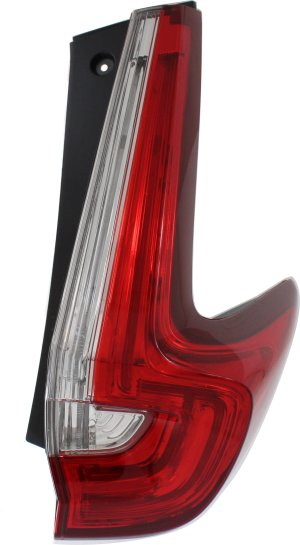
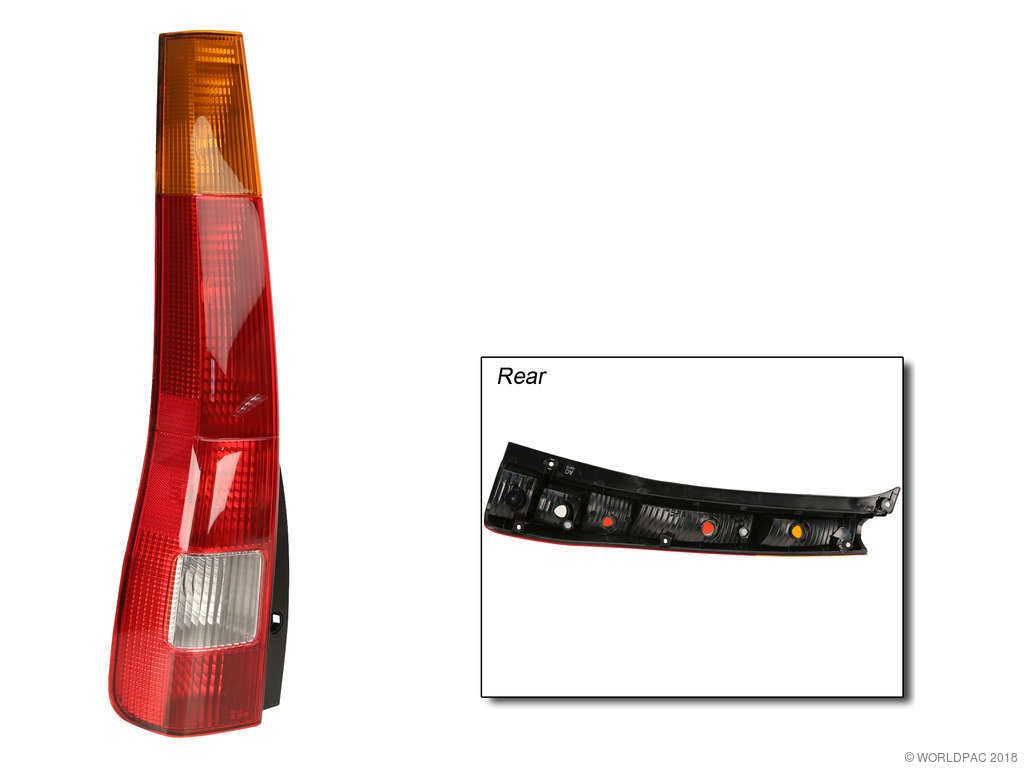
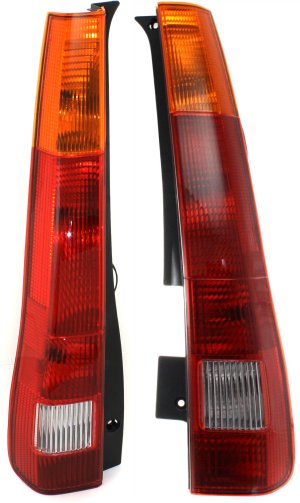
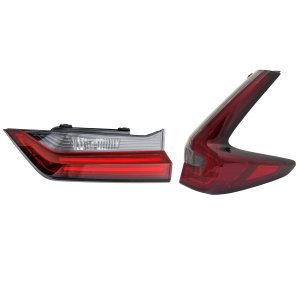
This is the Upper Section Assembly.
OEM #: 34175-T1W-A01
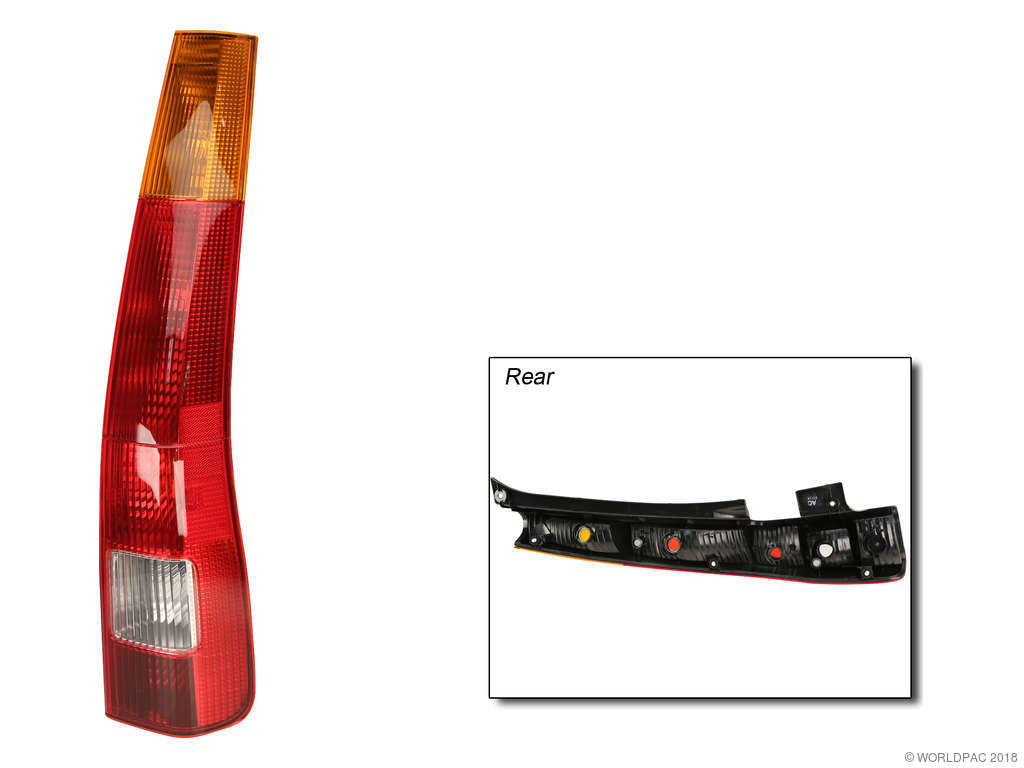
This is the Upper Tail Light Assembly.
OEM #: 34170-T1W-A01
This is a high-quality TYC/DEPO-brand item.
OEM Part Number: 34175T0AA01
This is a high-quality TYC/DEPO-brand item.
OEM Part Number: 33550T0AA01
This is a high-quality TYC or DEPO brand item.
This is designed for vehicles that were built in Japan.
OEM Part Number: 33551S9AA00
This is a high-quality TYC or DEPO brand item.
This is designed for vehicles that were built in the U.K.
OEM Part Number: 33501SCAA00
This is a high-quality TYC or DEPO brand item.
This is designed for vehicles that were built in Japan.
OEM Part Number: 33501S9AA00
This is a high-quality TYC or DEPO brand item.
OEM Part Number: 33550T1WA01
This is a high-quality TYC or DEPO brand item.
OEM Part Number: 33500T1WA01
This is a high-quality TYC/DEPO-brand item.
Includes the lens, cover, and housing.
Designed for vehicles built in Japan.
The OEM reference number is 33501S9AA11.
This is a high-quality TYC/DEPO-brand item.
The OEM reference number is 33551S9AA11.
This is the Inner Tail Lamp Assembly for the Right (Passenger) and Left (Driver) sides.
OEM #s: 34155TLAA01, 34150TLAA01
Partslink #s: HO2802116, HO2803116
This is a high-quality TYC/DEPO-brand item.
The OEM number is 33551SWAA02.
This is a high-quality TYC/DEPO-brand item.
The OEM number is 33501SWAA02.

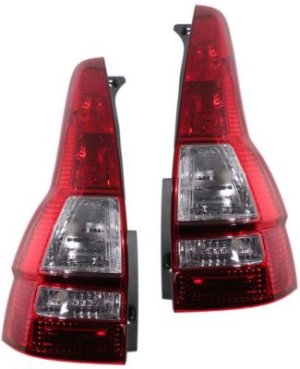
Models made in Japan
Models made in Japan
Japan made Models
Japan made Models
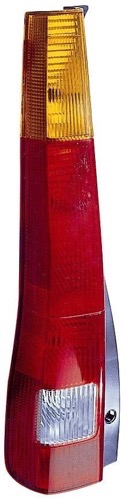
This Tail Light is the Lower assembly and uses Halogen bulbs.
The OEM #s are 33550T0AA01 and 33500T0AA01.
The OEM #s are 33551SCAA00 and 33501SCAA00.
The Partslink #s are HO2819127 and HO2818127.
This set includes both the Inner and Outer Tail Lamp components.
OEM #s: 34155TLAA01, 33550TLAA01
OEM #s: 33550T1WA01, 33500T1WA01
This is an assembly.
OEM #s: 34150TLAA01, 33500TLAA01
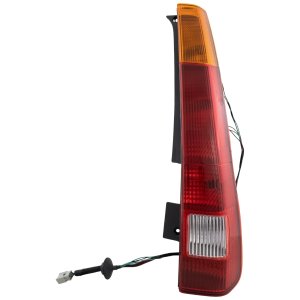
The OEM # is 33500TLAA21.
The Partslink # is HO2805122.
OEM #s: 33551SWAA02, 33501SWAA02
This is an Outer Assembly that uses Halogen bulbs.
Suitable for Japan or North America Built Vehicles.
OEM #s: 33550TLAA01, 33500TLAA01
OEM #s: 33550TLAA21, 33500TLAA21


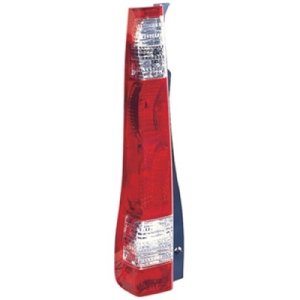
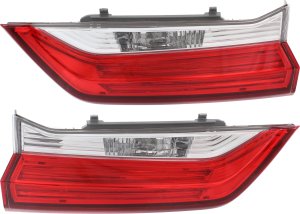
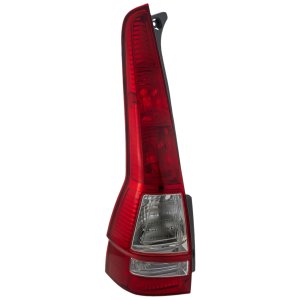
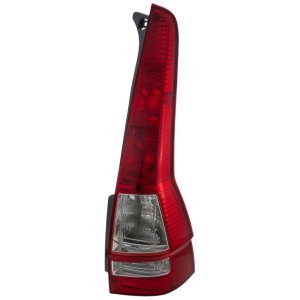
Browse our selection of quality tail light assembly parts designed specifically for your Honda CR-V. We carry options across multiple trim levels, body styles, and engine configurations to ensure a perfect fit.
Base · EX · EX-L · Hybrid EX · Hybrid EX-L · Hybrid LX · Hybrid Sport · Hybrid Sport Touring · Hybrid Sport-L · Hybrid Touring · LX · SE · Special Edition · Touring
Sport Utility
1.5L L4 · 2.0L L4 · 2.4L L4 · L4 2.4L
Automatic · Manual