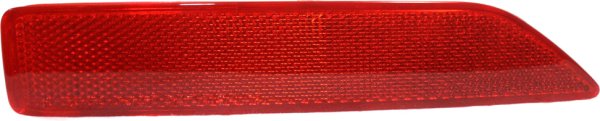
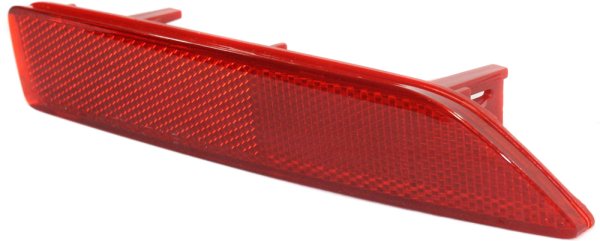
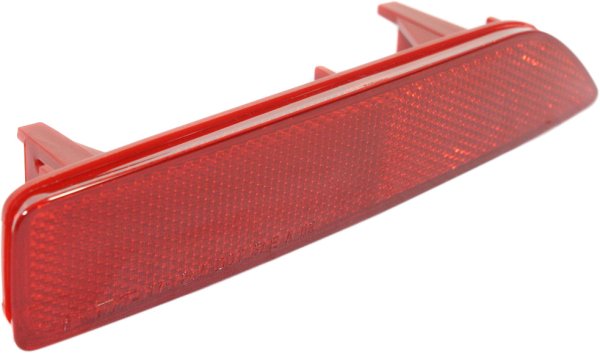
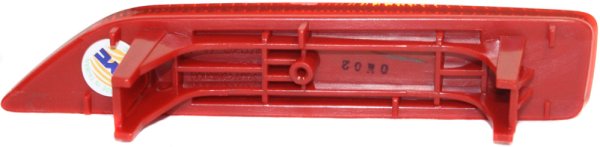

Rear Bumper Reflector Light, Right (Passenger) for Honda CR-V 2007-2009, Acura RDX 2010-2015, Replacement NEW
Product Notes
The OEM number is 33505SWAA01.
TIME

Meet Wrenchy - The Amazing Parts Assistant!
Voice or type your vehicle details and Wrenchy will confirm fitment in seconds.
 Ask Wrenchy →
Vehicle Fitment Guide
This part fits the following vehicles:
| SubmodelSUB- MODEL |
Body Style | Years | Engine | Attributes |
|---|---|---|---|---|
| EX | SUV | 2007 - 2009 | 2.4L L4 | Automatic 4WD/FWD |
| EX-L | SUV | 2007 - 2009 | 2.4L L4 | Automatic 4WD/FWD |
| LX | SUV | 2007 - 2009 | 2.4L L4 | Automatic 4WD/FWD |
Miscellaneous Information
PartsLink #: HO2831102
OEM Part Numbers: 33505-SWA-A01, 33505SWAA01
Other identifiers for this part: PerfectFit #: RBH731901
Shipping Information
We offer fast, reliable shipping on all orders:
- Ships to all countries via US Postal Service Priority Mail.
- Most orders ship within 1 business day.
- Delivery time: 1-4 business days after shipment.
- International shipping available, including APO/FPO addresses.
- Tracking information provided for all shipments.
- Additional handling fees may apply for oversized/overweight packages.
Return Policy
We want you to be 100% satisfied with your purchase. That's why we offer:
- 120-Day Returns - Return any part within 120 days from date of receipt.
- Must obtain RMA (Return Merchandise Authorization) number before returning.
- Parts must be in original condition, uninstalled, unaltered, and in original packaging.
- Important: Electrical parts are not returnable if unsealed.
- Please inspect parts upon arrival and notify us within 5 days of receiving incorrect or damaged parts.
- Refunds processed after warehouse receives return and credited to original payment method.
Warranty
This part comes with a limited lifetime warranty. Warranty begins on the original purchase date.
Warranty does NOT cover:
- Shipping costs or labor expenses.
- Installation errors.
- Parts used for racing.
- Commercial vehicle parts.
Your Go-To Place
for auto parts.
In operation since 2007. Trusted by over a million DIYers, mechanics, and body shops across all 50 states.
Shop With Total Confidence
If it doesn't fit, we make it right. No gimmicks, no fine print.
4× the Industry Standard
Most retailers stop at 30 days. We give you a full four months to install, test, and return for a 100% refund — return shipping on us.
Engineered To OEM Specs
Brand-new aftermarket parts from trusted suppliers — built to original-equipment specifications so they fit and function like the factory unit, at a fraction of the price.
What buyers are saying.
Racing Partner Videos


