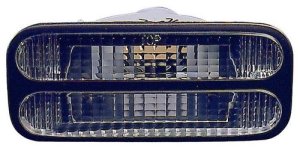
This is a high-quality TYC/DEPO-brand item.
It is sold as an assembly.
It is supplied without the socket or the bulb.
OEM #NI2882102
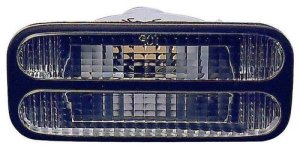
This is a high-quality TYC/DEPO-brand item.
It is supplied without the socket or the bulb.
It is sold as an assembly.
OEM #NI2883102

This is a high-quality TYC or DEPO brand item.
OEM Reference: 26555ZM10A
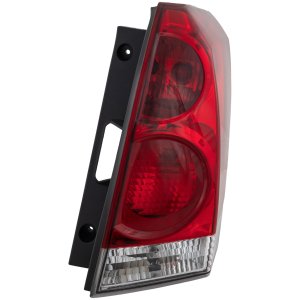
This is a high-quality TYC or DEPO brand item.
OEM Reference: 26550ZM10A
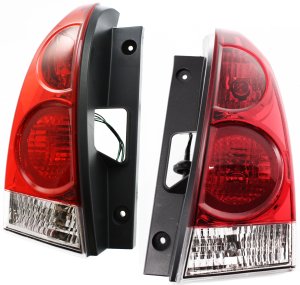
This is a Tail Lamp Assembly pair for the Right (Passenger) and Left (Driver) sides.
OEM #s: 26555ZM10A, 26550ZM10A


Browse our selection of quality tail light assembly parts designed specifically for your Nissan Quest. We carry options across multiple trim levels, body styles, and engine configurations to ensure a perfect fit.
Base · GXE · S · SE · SL · XE
Mini Passenger Van
3.0L V6 · 3.5L V6