
U0140 on 2006-2010 Hummer H3: Lost Communication With Body Control Module Causes and Fixes
On a 2006-2010 Hummer H3, code U0140 is most often caused by a faulty Body Control Module (BCM), frequently due to water damage from a clogged sunroof drain tube that leaks directly onto the module. A replacement BCM and professional programming are typically required for the fix. Other potential but less common causes include corroded ground wires or damaged wiring harnesses.
- U0140 on an H3 strongly points to a problem with the Body Control Module (BCM), not the individual components it controls.
- The root cause is almost always water intrusion from clogged sunroof drains or a leaky windshield seal, which requires a physical inspection of the BCM for corrosion.
- Simply replacing the BCM is not enough; the water leak must be permanently fixed to prevent repeat failure.
- A replacement BCM, new or used, absolutely requires programming to the vehicle's VIN with a professional scan tool to function.
What's Unique About the 2006-2010 Hummer H3
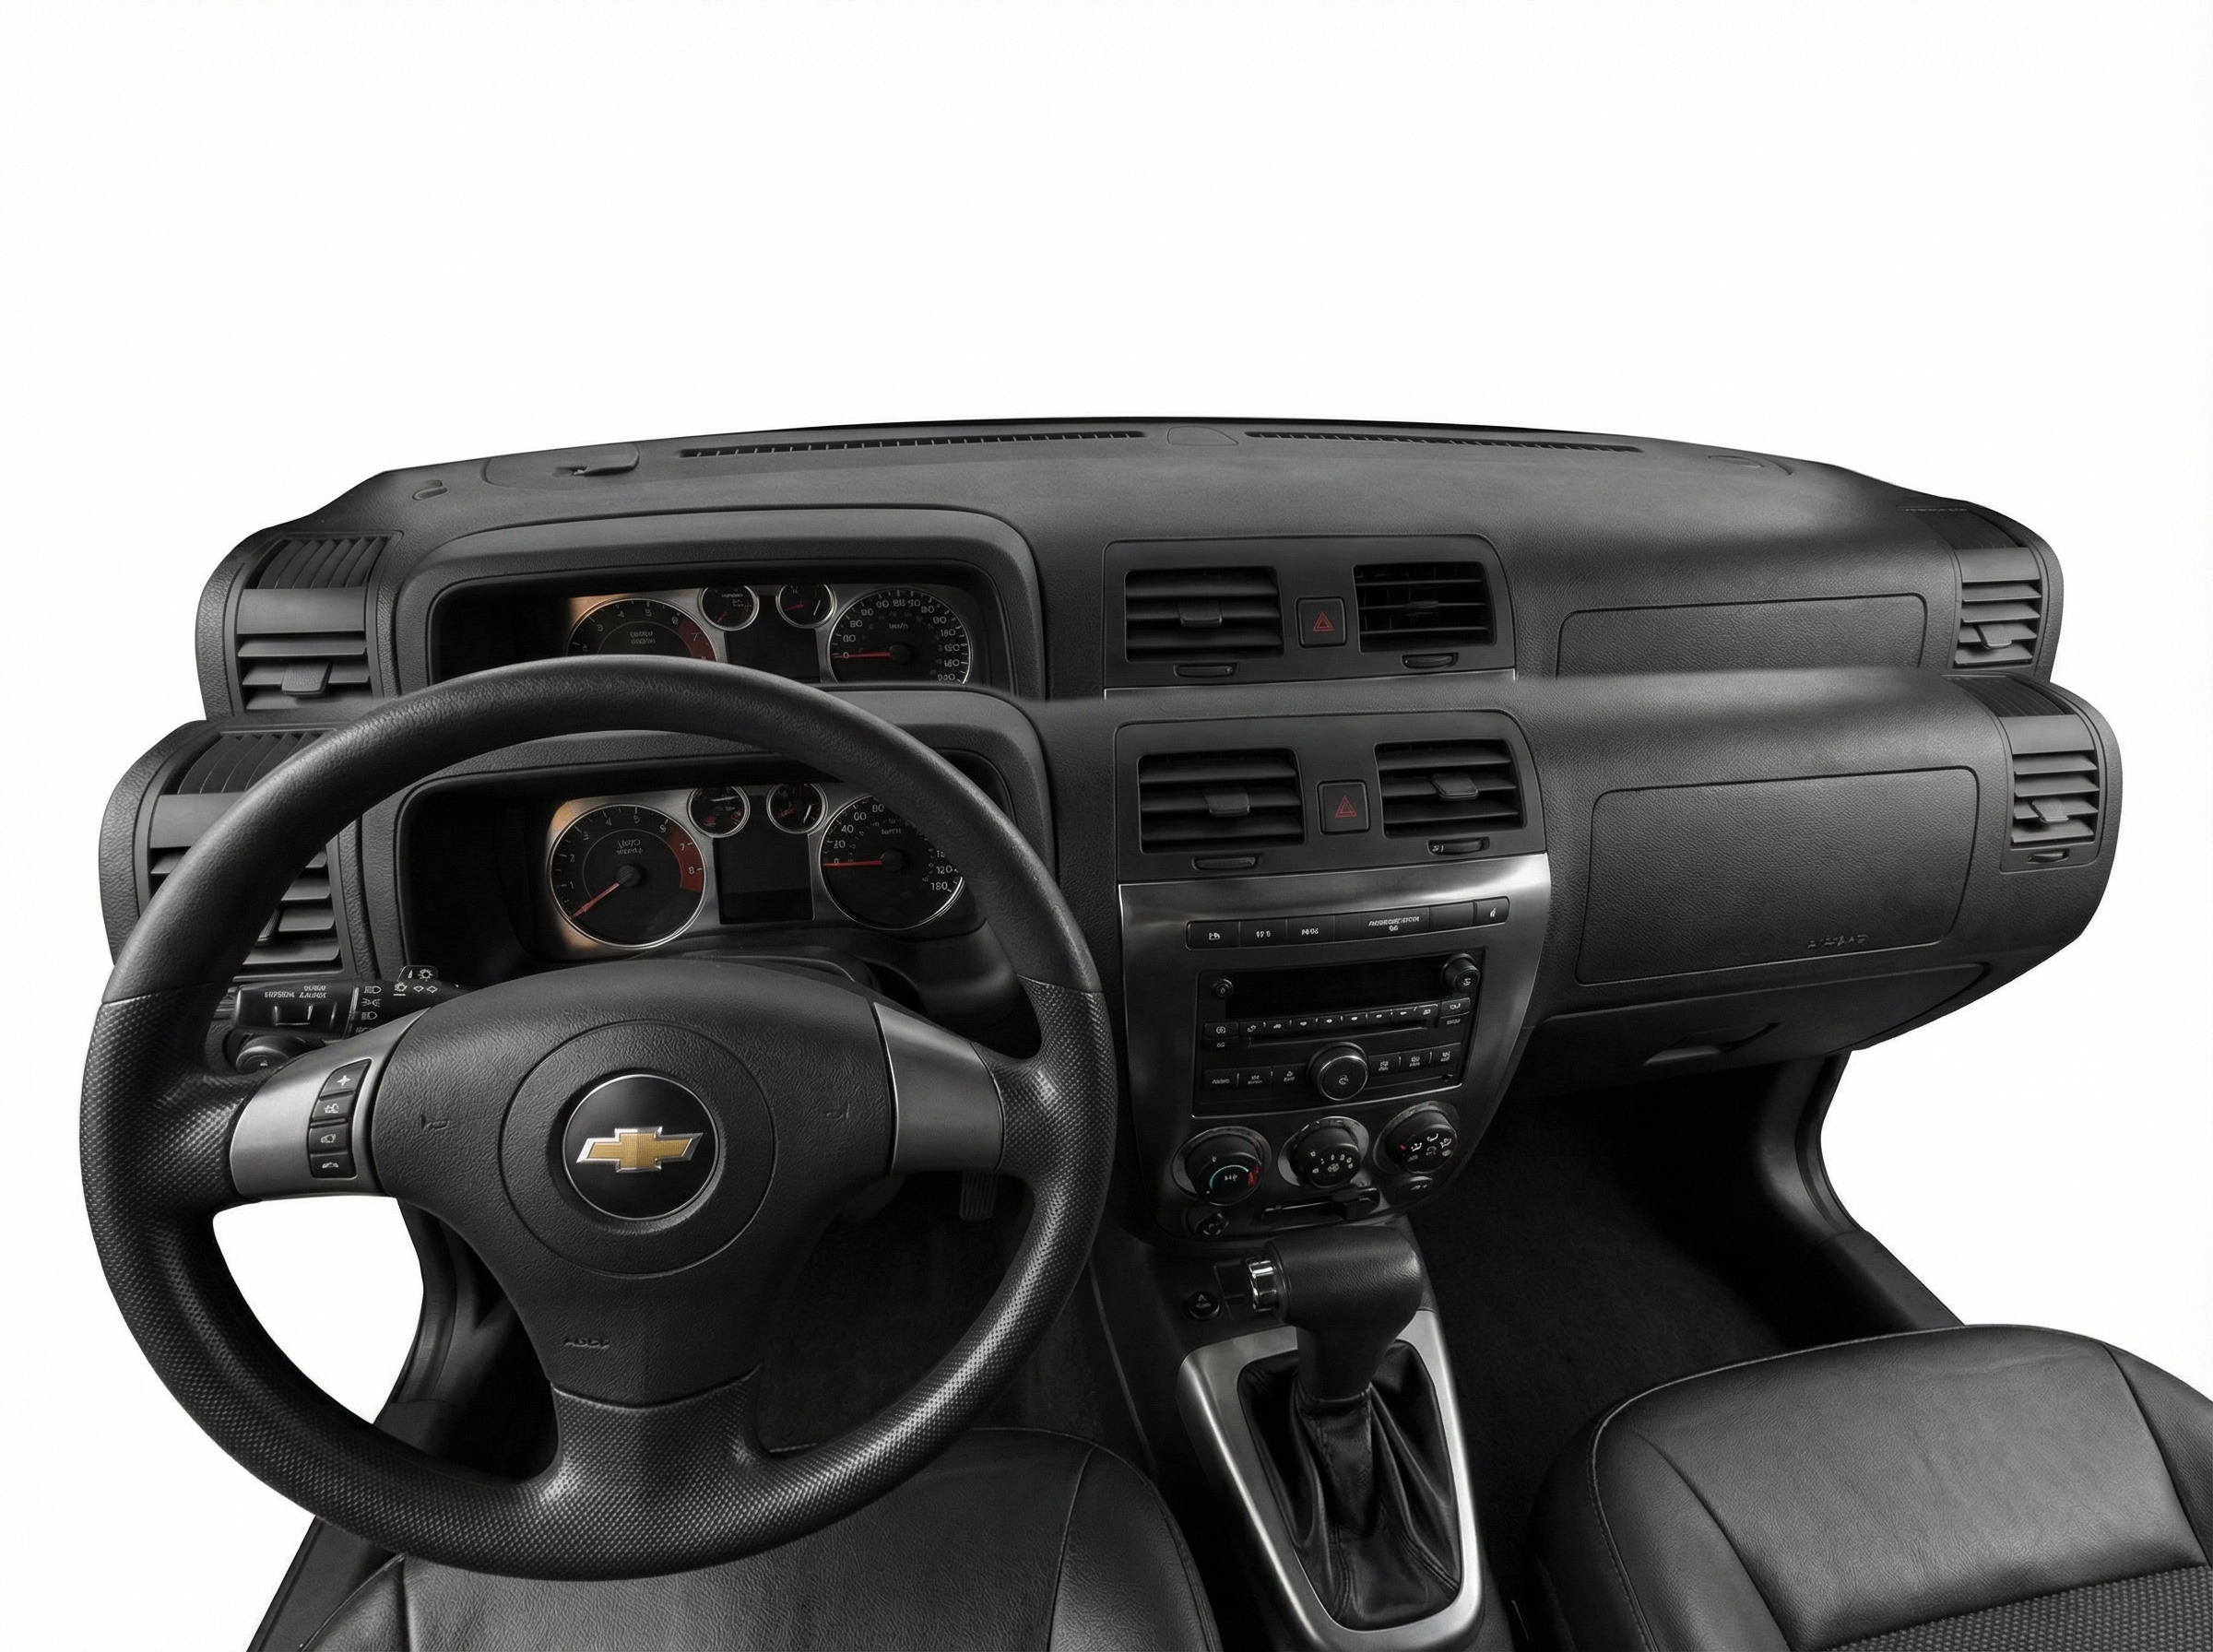
The Hummer H3 has a well-documented design flaw that makes it particularly susceptible to this code. The drain tubes for the factory sunroof are prone to clogging with mud and debris. These tubes are routed down the A-pillars, and when clogged, water backs up and overflows, leaking from the headliner or running down the inside of the A-pillar directly onto the Body Control Module (BCM). The BCM is located in a vulnerable position under the passenger side of the dashboard, behind the kick panel. This water intrusion corrodes the BCM's circuit board and connectors, leading to intermittent or complete failure and triggering the U0140 code. While sunroof drains are the primary culprit, leaks from a poorly sealed windshield can also cause the same water damage.
Symptoms You May Notice
- Inoperative power windows, door locks, or mirrors.
- Exterior or interior lights flickering, staying on, or not working at all (e.g., fast-flashing turn signal).
- Security or anti-theft light illuminated on the dash.
- Vehicle will not crank or start (no-start condition).
- Warning for "Service TPMS" (Tire Pressure Monitoring System).
- Keyless entry remote (fob) stops working.
- ABS and Brake warning lights may illuminate.
- Wipers operating erratically or not at all.
- Battery draining overnight due to the BCM not going to sleep.
- Replacing the battery without first checking for a parasitic drain from a faulty, wet BCM.
- Replacing individual components like light bulbs, window motors, or switches when the controlling module (BCM) is the actual point of failure.
- Assuming a used BCM from a junkyard will work without programming. It is VIN-locked and must be programmed to the vehicle to function correctly.
- Blaming the BCM before thoroughly checking all related fuses and ground connections.
Most Likely Causes
- Faulty Body Control Module (BCM) due to Water Damage 🔴 High Probability → Shop Body Control Module The sunroof drain tube commonly clogs and leaks directly onto the BCM, causing corrosion and short circuits on the module's circuit board. A poorly sealed windshield can also be a source of the leak.
How to confirm: Visually inspect the BCM, located behind the passenger side kick panel, for signs of water tracks, blue/green corrosion on the connectors, or a burnt electronic smell. 🎬 See this walkthrough on inspecting and repairing a water-damaged BCM. Check the passenger floor carpet for dampness, even if it seems dry on top. Pour water into the sunroof tray and see if it drains quickly onto the ground behind the front wheel; if not, the drain is clogged.
Typical fix: First, the source of the water leak must be fixed by clearing or modifying the sunroof drains. The BCM must then be replaced. The new module will need to be professionally programmed to the vehicle's VIN and specific options using a GM Tech II or similar tool. Some mail-in services can clone the original BCM data to a replacement unit.
Est. part cost: $150-$350 - BCM Power or Ground Circuit Fault 🟡 Medium Probability Like any vehicle, fuses can blow and ground connections can become loose or corroded over time. Key ground points for the H3 are located behind the battery box and under the center console carpet, which can be exposed to moisture or vibration.
How to confirm: Check all BCM-related fuses in the under-hood and interior fuse panels. Use a multimeter to verify stable 12V+ at the BCM's power pins (e.g., Orange wire at pin A7) and check for near-zero resistance to ground on the ground pins (e.g., Black/White wires). A wiring diagram is essential for this. Important ground locations include G100/G105 near the battery and G120 on the wheel well.
Typical fix: Replace any blown fuses. Disassemble, clean, and tighten any loose or corroded ground connections. Ensure battery terminals are clean and tight, as low system voltage can trigger communication codes.
Est. part cost: $1-$25 - Damaged Wiring or Loose BCM Connectors ⚪ Low Probability
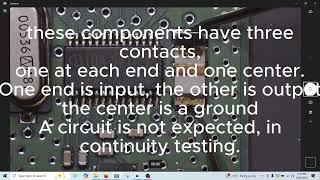
How to confirm: Visually inspect the wiring harnesses going to the BCM for any signs of chafing, breaks, or rodent damage. Ensure all connectors are fully seated and the pins within them are not bent, pushed out, or corroded. Check the CAN bus wiring (twisted pair, often green and yellow) for continuity and shorts.
Typical fix: Repair the damaged section of wiring. Clean corroded pins or re-pin connectors as needed. Apply dielectric grease to protect the connection.
Est. part cost: $10-$100
Rare But Worth Checking
- Failed Multifunction / Turn Signal Switch: A faulty multifunction switch can cause a cascade of strange electrical issues, including power loss to interior components and lighting problems, which could be mistaken for a BCM failure.
- Faulty Aftermarket Electronics: Improperly installed aftermarket alarms, remote starters, or LED lighting can interfere with the CAN bus network, causing communication dropouts and triggering a U0140 code.
Diagnosis Steps
- Check for other stored DTCs. Multiple 'U' codes (e.g., U0101, U0121) point towards a network-wide issue.
- Check the battery state of charge and terminal connections. System voltage below 9V can cause modules to drop offline.
- Inspect the BCM-related fuses in both the under-hood and interior fuse boxes.
- Gain access to the BCM under the passenger side dashboard, behind the kick panel. Visually inspect the module, its connectors, and the surrounding area for any signs of water damage, staining, or blue/green corrosion.
- If water damage is evident, the BCM is the primary suspect and the water leak must be found and repaired. The sunroof drains are the most likely cause.
- If no water damage is found, disconnect the BCM connectors and inspect the pins for corrosion or a loose fit. Clean and apply dielectric grease as needed.
- Using a multimeter and wiring diagram, verify that the BCM has proper power (constant 12V+) and ground (less than 0.1 Ω resistance) at the connector.
- If power and ground are good, the next step requires a high-end scan tool to see which modules are online and to attempt to communicate directly with the BCM.
- If the BCM is offline, test the CAN bus wiring. Check for ~60 ohms of resistance between CAN High (Pin 6) and CAN Low (Pin 14) at the DLC with the battery disconnected. A reading of 120 ohms suggests a break in the circuit or a missing termination resistor, while a reading near 0 ohms indicates a short.
- If the wiring and network resistance are good but the BCM will not communicate, the BCM has failed and needs replacement and programming.
Parts You'll Likely Need
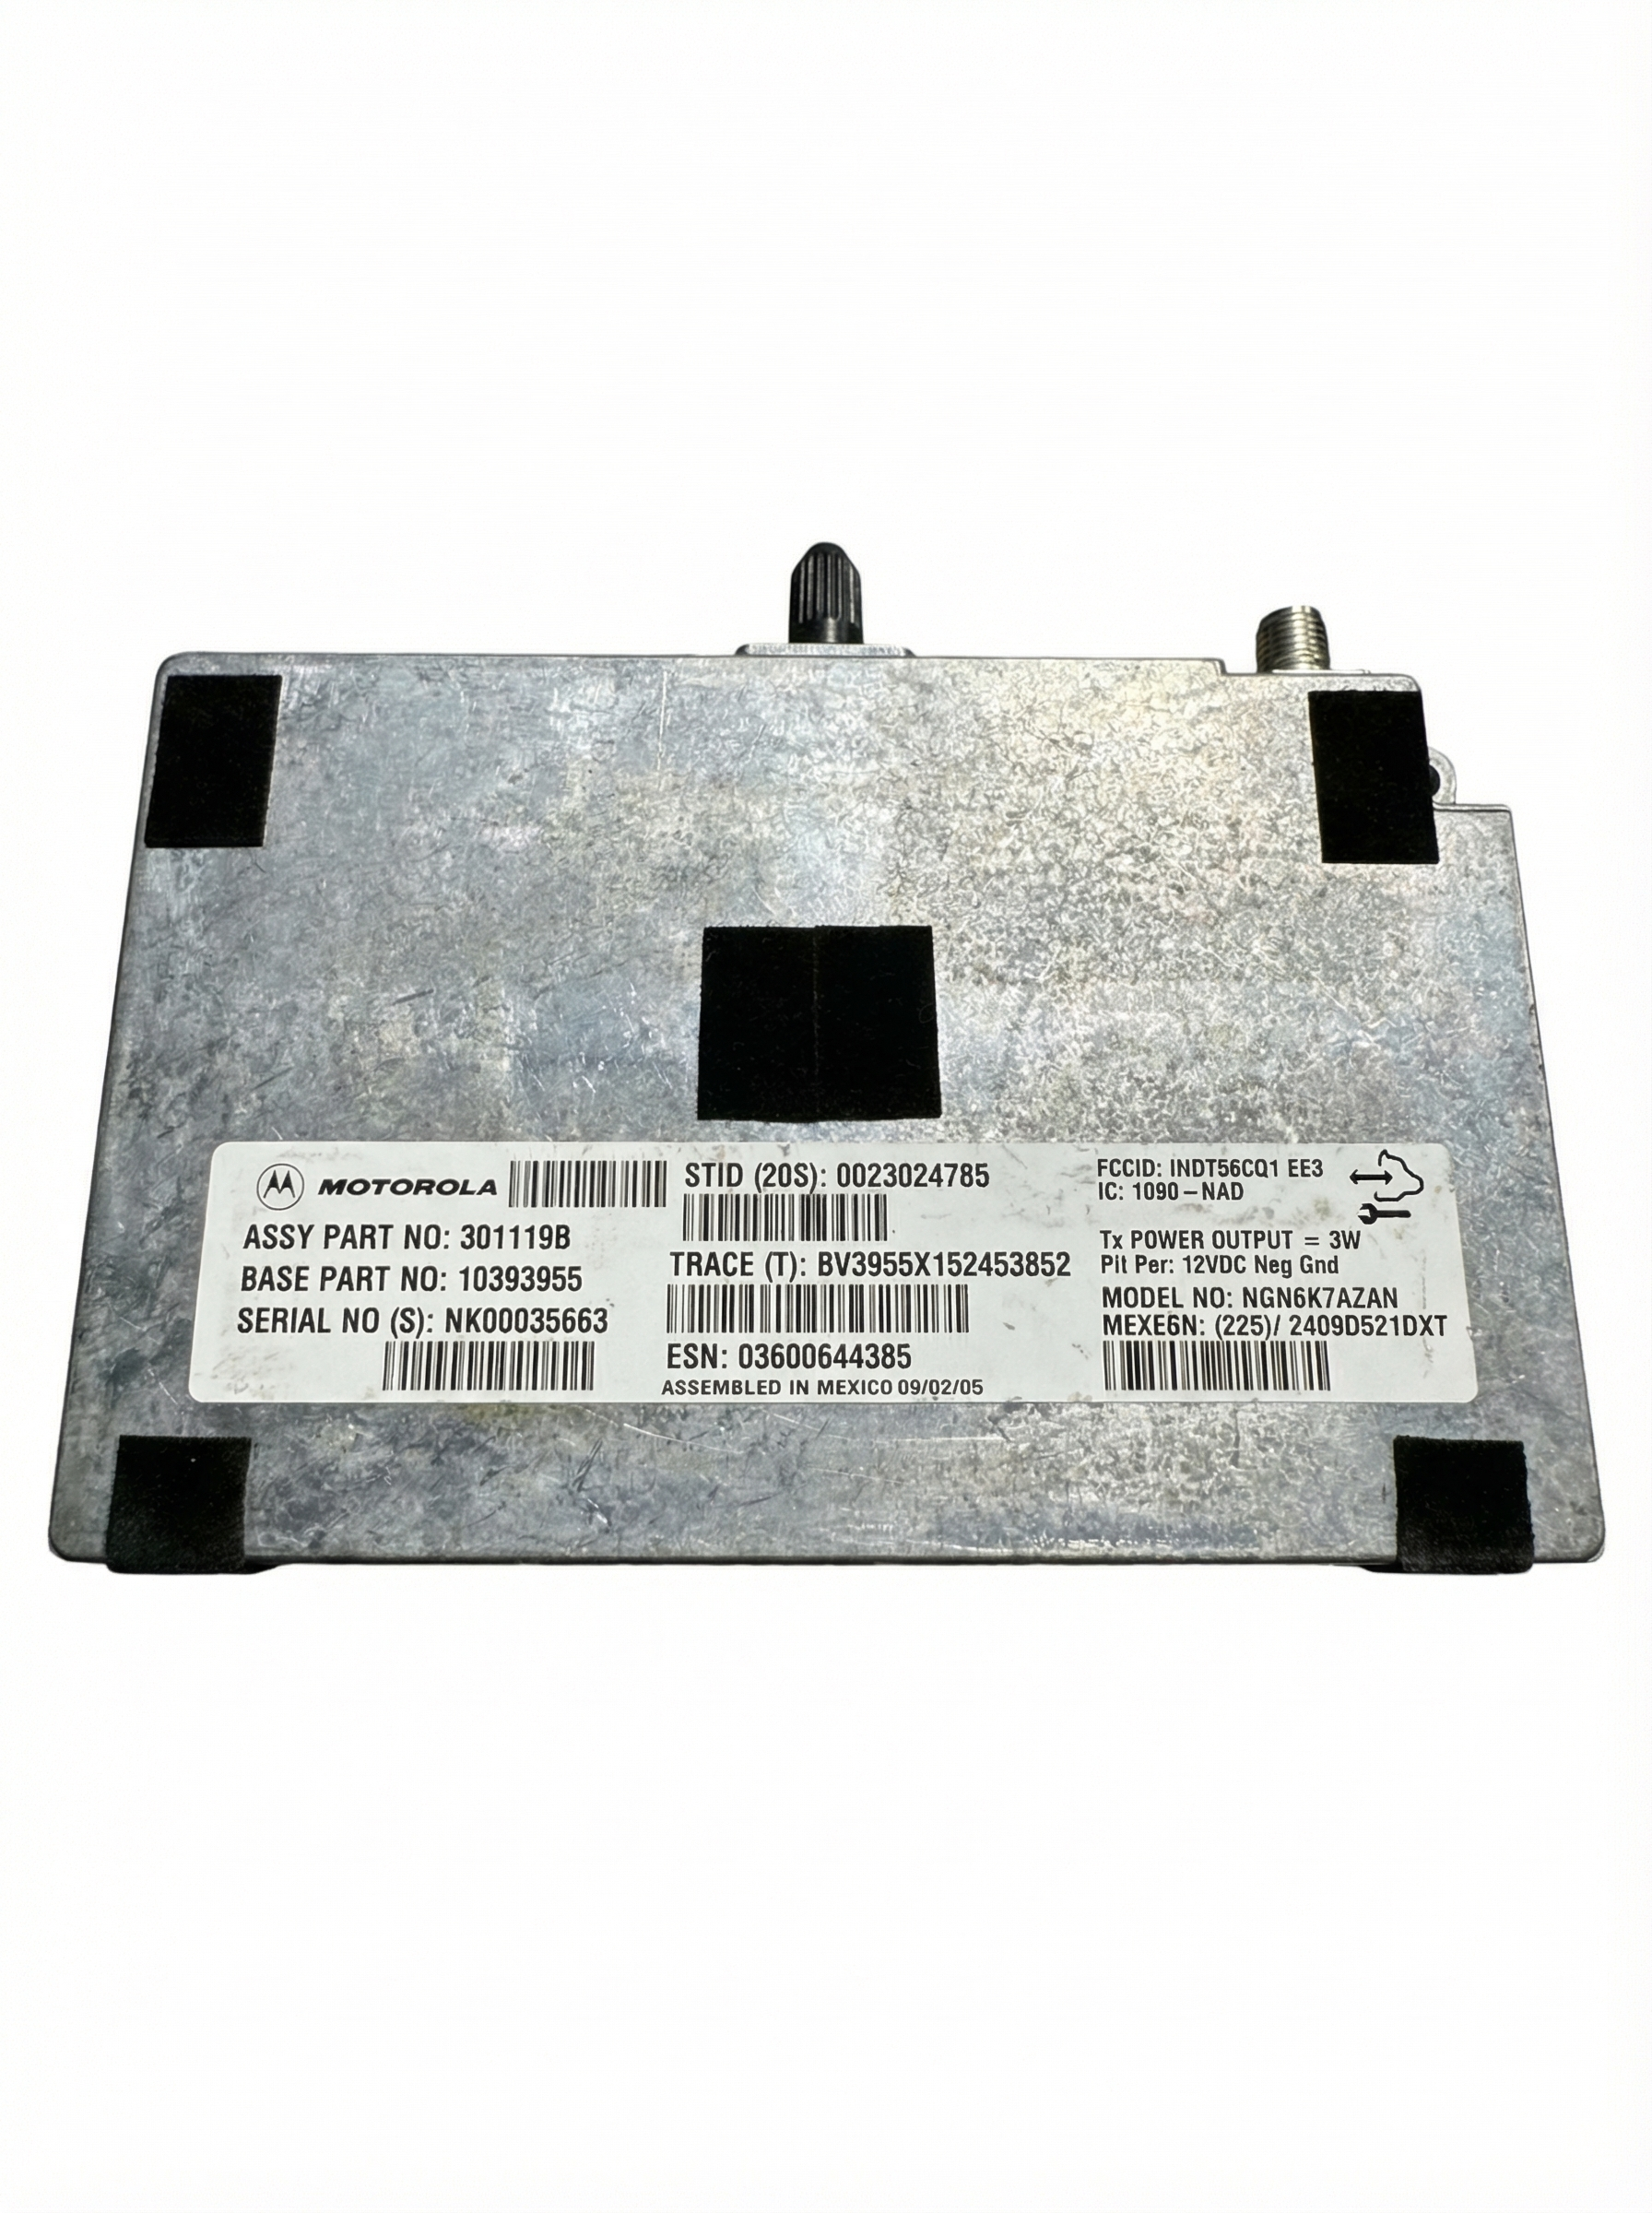
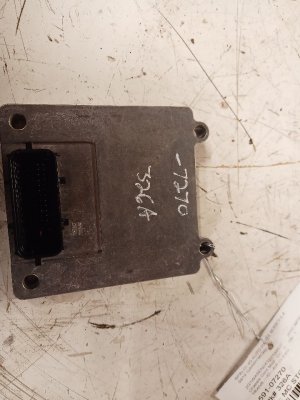
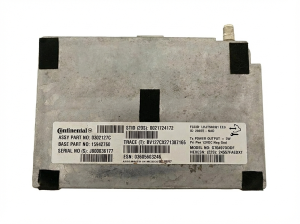
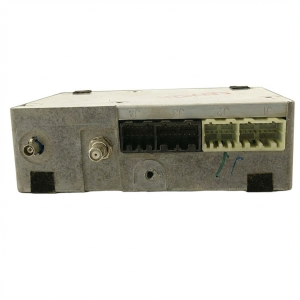
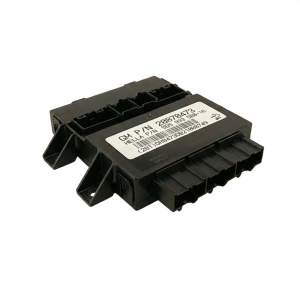
- Body Control Module (BCM)
(OEM #25816709)— This module is the most common point of failure for this code on the H3, primarily due to its vulnerability to water damage from the sunroof drain. This part number fits 2006-2008 models. Later models (2009-2010) may use a different part number like 15886074.
Trusted brands: ACDelco (OEM), Dorman, Cardone
OEM price range: $230-$425
Aftermarket price range: $150-$300
Related Codes That Often Appear With This One
- U0073 — This code, 'Control Module Communication Bus 'A' Off,' is a general network failure code that is often set alongside U0140 when a major module like the BCM drops off the network.
- B1000 — This code can indicate an internal electronic failure within a control unit. If the BCM is failing, it may set a B1000 code in addition to the communication loss reported by other modules.
- B3055 — This code relates to the key transponder system. Since the BCM manages the anti-theft system, a failing BCM can cause this code to appear along with a no-start condition.
Technical Service Bulletins (TSBs) & Recalls
- TSB 08-08-57-003F: Addresses water leaks at the right side A-pillar from sunroof drains or windshield seals causing electrical issues in the Instrument Panel Bussed Electrical Center (IP BEC), which is analogous to the BCM failure on the H3.
- TSB Bulletin #08-07-30-021H: While issued for the H2, this manufacturer bulletin notes that communication DTCs including U0140 can set alongside various instrument panel warning lamps and transmission shifting issues.
Platform-Specific Known Issues
- The sunroof drain tube design is the most significant vehicle-specific issue. The tubes clog with debris, and the firewall grommet has internal flaps that worsen the clog. Water then backs up and overflows inside the A-pillar, dripping directly onto the BCM. Many owners modify the drain grommets by cutting out the internal flaps or re-routing the drain hose entirely to prevent recurrence.
- GM issued Technical Service Bulletin (TSB) 08-08-57-003F, which addresses water leaks in the A-pillar area affecting the fuse box (referred to as IP BEC) and causing various electrical concerns, including communication loss. While not exclusively for the H3, it describes the same failure pattern of water from drains or windshield seals causing these exact issues on related platforms.
Mechanic-Grade Diagnostic Values
- High-Speed GMLAN Bus Resistance — expected: 58-64 Ohms. Failure: A reading of 116-128 Ohms indicates an open in the bus wiring. A reading near 0 Ohms indicates the CAN High and CAN Low wires are shorted together.
- Low-Speed GMLAN Bus Voltage (at rest) — expected: ~0.2V (Logic '1'). Failure: Voltage stuck high or at 0V indicates a bus fault.
- High-Speed GMLAN Bus Voltage (Key On) — expected: CAN High (Pin 6) should be ~2.6V; CAN Low (Pin 14) should be ~2.3V.. Failure: Voltages that are stuck high, low, or equal to each other indicate a short or open on the bus.
- BCM Ground Circuit Resistance — expected: < 1.0 Ohm. Failure: Resistance higher than 1.0 Ohm indicates a poor ground connection, which can cause module communication issues.
Scan Tool Commands That Help
- GM Tech II: BCM Module Setup — This function is required after installing a new BCM to configure it to the vehicle's options.
- GM Tech II: Setup SDM Serial Number in BCM — This step is mandatory after BCM replacement to link the new BCM with the existing Sensing and Diagnostic Module (airbag module). Failure to do this will set airbag-related fault codes.
- GM Tech II: Immobilizer System Component Programming — Required to program the vehicle's keys to the new BCM. Without this step, the vehicle will not start due to the anti-theft system.
- GM Tech II: Tire Type/Pressure Selection — Used to configure the Tire Pressure Monitoring System (TPMS) settings within the newly installed BCM.
Wiring & Ground Locations
- BCM Location — Behind the passenger side front kick panel, under the dashboard.. This is the physical location of the module itself, which is highly susceptible to water intrusion from clogged sunroof drains routed down the adjacent A-pillar.
- Primary Engine Bay Ground — On the body, behind the battery box toward the passenger compartment firewall.. This is a main battery ground point. A poor connection here can cause low system voltage and widespread communication issues.
- Engine Block to Wheel Well Ground — A strap connecting the engine block to the wheel well, near the engine mount on the battery side.. Ensures the engine block has a solid ground reference, which is critical for various sensors and modules to communicate correctly with the BCM.
- BCM Connector C1 — The largest of the three main connectors on the Body Control Module.. This connector carries many of the power, ground, and low-speed data lines. It is the most common site for corrosion from water damage.
Real Owner Repair Stories
- YouTube user 'Fix it Angel' (2008 Hummer H3) — Odometer stopped working, which is a function controlled by the BCM.
❌ Tried (didn't work) The user knew the BCM had been exposed to water and went straight for component-level diagnosis rather than replacing the whole unit.
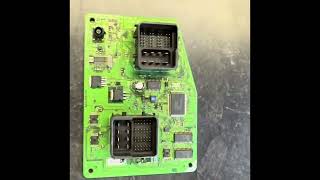
✅ What actually fixed it The user identified a faulty ceramic interference filter (marked LT 10.7M) on the BCM circuit board next to the TDA5211 receiver chip. This component failed due to the known water intrusion issue. He ordered a replacement filter and planned to replace it using a hot air rework station to restore BCM function without replacing the entire module. - Hummer Forums user (2007 Hummer H3) — Randomly blowing fuse #33 (IGN 1), leading to intermittent electrical problems.
❌ Tried (didn't work) Replacing the fuse would temporarily fix the issue, but it would blow again after a few days.
✅ What actually fixed it The owner discovered that the trailer wiring harness, routed between the rear bumper and the body, had chafed through its insulation. The exposed wires were shorting to ground, causing the ignition fuse to blow, which in turn would cut power to modules like the BCM and cause communication issues. Repairing the damaged wires permanently solved the problem.
OEM Part Supersession History
Multiple (e.g., 15785617, 15802491, 15926780)→25816709— Part consolidation and revision by GM.
Heads up: Part number 25816709 is generally cited for 2006-2008 Hummer H3 models.Unknown→15886074— Updated part for later model years.
Heads up: Part number 15886074 is cited for 2009-2012 models (including the H3's sister platforms, the Colorado/Canyon). These later-year BCMs are not interchangeable with the earlier 25816709 modules.
Model Year Variations Within This Range
- 2006-2008: These model years primarily use BCM part number 25816709 and its predecessors.
- 2009-2010: These model years use a different BCM, part number 15886074. The modules are not cross-compatible between the two ranges.
Diagnostic Flowchart
Used vs. New Parts: Buying Guide for This Vehicle
When a used part is the smart pick: A used BCM is a viable option ONLY if you plan to use a mail-in cloning service. These services copy all critical data (VIN, keys, mileage, options) from your original (even if water-damaged) BCM to the used donor unit, making it plug-and-play. This avoids expensive dealer programming.
What to inspect on the donor part:
- Match the OEM part number EXACTLY. There are different versions for early (2006-08) and late (2009-10) models that are not interchangeable.
- Inspect the connectors on the donor BCM for any signs of blue/green corrosion or water stains. A donor from a vehicle with the same water leak issue is useless.
- Ask the seller if the donor vehicle had a sunroof. A BCM from a non-sunroof model has a much lower chance of having been exposed to water.
OEM-only on this vehicle (don't cheap out):
- Body Control Module (BCM) - While aftermarket brands exist, the complexity of programming and high failure rate from water damage makes a cloned OEM unit or a new, properly programmed OEM unit the most reliable choices. Aftermarket units may have compatibility issues with GM-specific programming.
Aftermarket brands forum-validated for this vehicle:
- ACDelco (This is the OEM supplier)
Brands owners have reported issues with on this vehicle:
- No specific brands are consistently cited as problematic, but the primary risk with any non-OEM BCM is programming and software compatibility, not necessarily hardware quality.
Real Owner Stories
Aggregated from forums and TSBs cited above. Mileages and costs reflect what owners reported in those sources.
2008 Hummer H3
Symptoms: The owner reported their BCM went 'haywire' after a rainstorm, and noted that the leak path from the clogged sunroof drain allowed the BCM to get wet even when the passenger floorboard felt dry.
What fixed it: The underlying fix required clearing the clogged sunroof drain tube and replacing the water-damaged Body Control Module (BCM).
Source hint: HummerForums.com - 'BCM getting wet' (2021)
2007 Hummer H3
Symptoms: An owner was chasing down a BCM failure and related electrical issues.
What fixed it: The owner was advised to check a less common but possible cause: inspecting the trailer wiring harness located near the muffler for any signs of melted or shorted wires that could damage the BCM.
Source hint: Hummer4x4Offroad.com - 'BCM failure and diagnosis' (2019)
2009 Hummer H3
Symptoms: Owner was experiencing persistent, difficult-to-diagnose electrical issues related to the BCM.
What fixed it: The problem was resolved by locating, disassembling, cleaning, and tightening corroded BCM ground connections. One was located behind the battery box and another was found under the carpet at the rear of the center console.
Source hint: HummerForums.com - 'H3 Electrical Issue' (2019)
2006 Hummer H3
Symptoms: The vehicle had a leaky sunroof, which is the primary root cause for BCM failure and the U0140 code on the H3.
What fixed it: The owner fixed the leak by removing the side dash panel to access the front sunroof drain hose, disconnecting it, and clearing the clog using compressed air.
Source hint: Schwarttzy.com - 'Leaky Sunroof' (2016)
Related OBD-II Codes
Frequently Asked Questions
My Hummer H3's passenger floor is wet and the electronics are acting up. Are these related?
Can I just install a used BCM from another H3 to fix my U0140 code?
What's the first thing I should check if I get a U0140 code but don't see any water damage?
How can I prevent the BCM water damage from happening again on my H3?
Does GM have a Technical Service Bulletin (TSB) for this water leak issue?
My key fob and TPMS system stopped working at the same time I got the U0140 code. Why?
Helpful Videos
Used OEM Parts in Stock
New Aftermarket Parts Available


The information in this article is provided for general reference and educational purposes only. Vehicle specifications, procedures, and part compatibility can vary by production date, trim level, and region. Always consult your vehicle's factory service manual and verify part numbers before purchasing or performing repairs. Safety-critical components such as airbags, seat belts, and braking systems should be installed by a qualified professional.
- Hummer H3:
- 🧭 Diagnostic Flowchart
- 🎬 Helpful Videos
- 🛍️ Shop This Part
- What's Unique About the 2006-2010 Hummer H3
- Symptoms You May Notice
- Most Likely Causes
- Rare But Worth Checking
- Diagnosis Steps
- Parts You'll Likely Need
- Related Codes That Often Appear With This One
- Technical Service Bulletins (TSBs) & Recalls
- Platform-Specific Known Issues
- Mechanic-Grade Diagnostic Values
- Scan Tool Commands That Help
- Wiring & Ground Locations
- Real Owner Repair Stories
- OEM Part Supersession History
- Model Year Variations Within This Range
- Used vs. New Parts: Buying Guide for This Vehicle
- Real Owner Stories
- 2008 Hummer H3
- 2007 Hummer H3
- 2009 Hummer H3
- 2006 Hummer H3
- Related OBD-II Codes
- Frequently Asked Questions
- 🎟️ Get 5% Off