


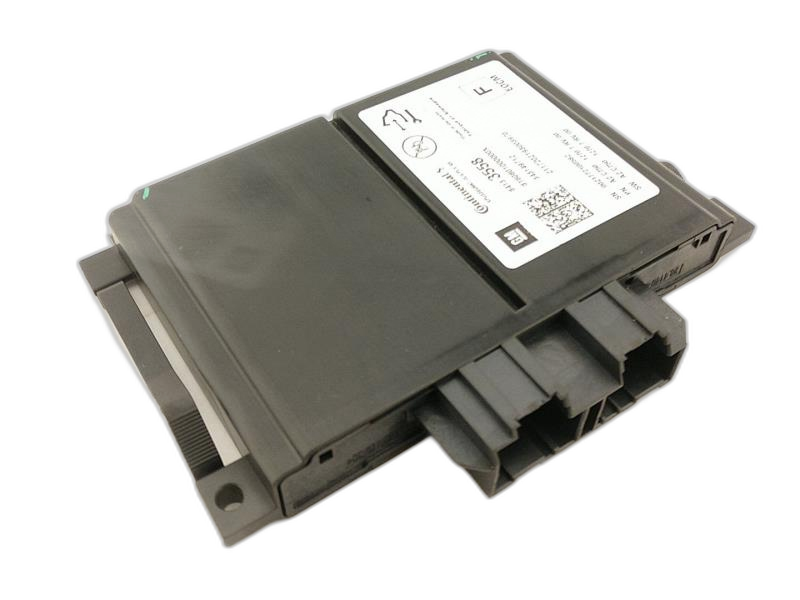
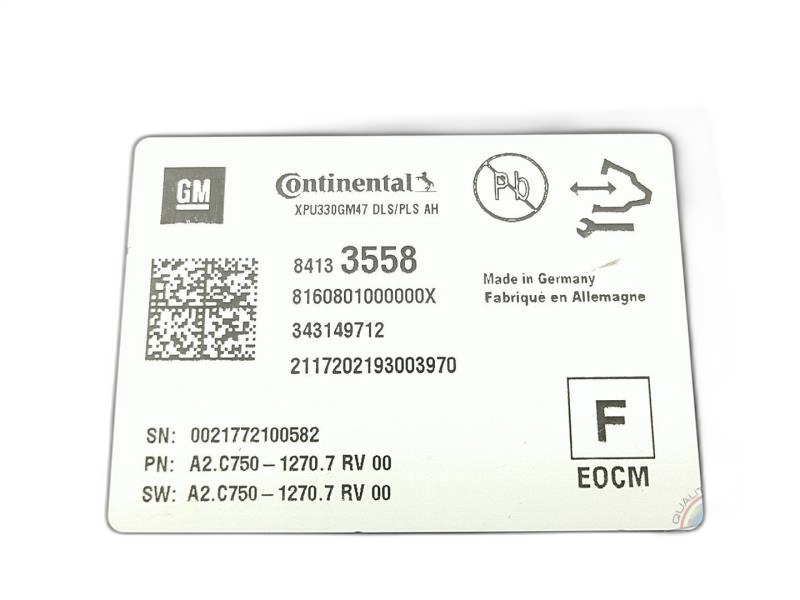

Warning Signs the Chassis Control Module is Failing
- Your vehicle's ride feels rough or unstable.
- You see warning lights on your dashboard related to stability control or suspension.
- The vehicle drifts or pulls to one side while driving.
- You hear unusual noises from the suspension, like clunking or squeaking.
- The electronic suspension system isn't working correctly.
How to Test if This Part is the Problem
- First, have a mechanic scan your vehicle's computer for error codes. This can point to the Chassis Control Module or other related issues.
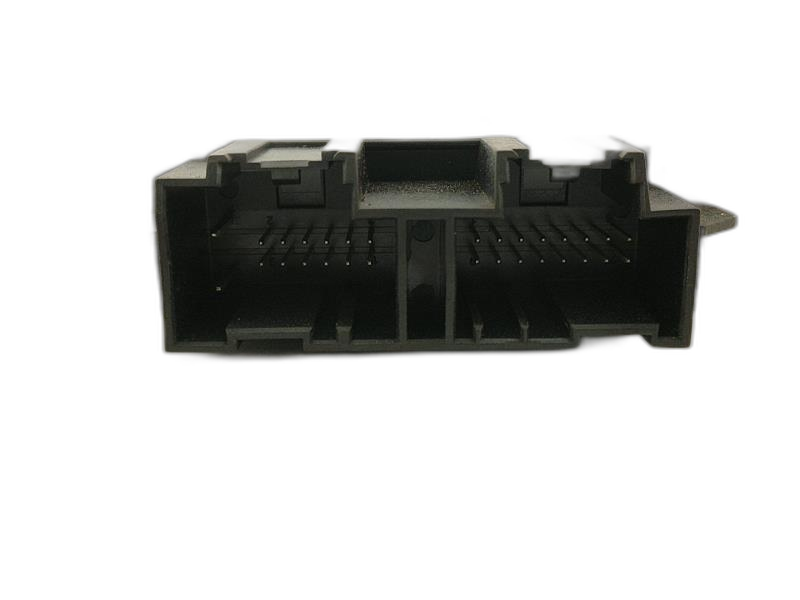
- Check the wiring and connections to the module for any damage or corrosion.
- Use a multimeter to test the power and ground circuits to the module.
- A professional mechanic can use a diagnostic tool to monitor the module's data and see if it's communicating correctly.
- Sometimes, temporarily swapping in a known good module can help determine if the original one is faulty.
Common Failure Causes for This Part
- Water or moisture damage can corrode the internal components.
- Electrical surges or voltage spikes can damage the module's circuits.
- Physical damage from accidents or impacts can cause the module to fail.
- Normal wear and tear over time can lead to component failure.
- Problems with other related components, like sensors or actuators, can overload the module.


