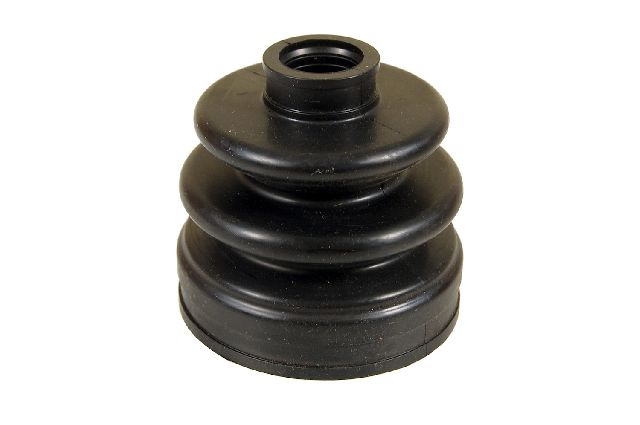
Contact Us
USA Flag
SUPPORT
SMALL BUSINESS
📦 My Cart
- OR -

Buy Mitsubishi 3000GT CV Joint Boots

1
SELECT Year

Understanding CV Joint Boots

A CV joint boot, also known as a constant velocity joint boot or axle boot, is a protective cover made of rubber or plastic that encases the CV joint in a vehicle's drivetrain. The CV joint allows power to be transmitted smoothly to the wheels while accommodating the up-and-down motion of the suspension and steering movements. The boot's primary function is to retain the special grease inside the joint and prevent contaminants like dirt, water, and debris from entering.

Common Symptoms of a Damaged CV Joint Boot

Recognizing the signs of a failing CV joint boot is essential for maintaining vehicle performance:

Grease Splatter: One of the first signs is grease splattered on the inside of the wheel rim or around the suspension components, indicating a torn boot.
Cracks or Tears: Visible cracks, splits, or tears in the boot material upon inspection.
Clicking Noises: A clicking or popping sound when turning the vehicle, particularly during sharp turns, may suggest CV joint issues due to boot failure.
Vibrations: Excessive vibration during acceleration can be a symptom of a compromised CV joint resulting from a damaged boot.

Importance of Timely Maintenance

Maintaining the integrity of the CV joint boot is crucial for several reasons:

Prevents Contamination: The boot keeps harmful particles out of the CV joint, preventing wear and corrosion.
Ensures Proper Lubrication: It retains the necessary grease that allows the joint to operate smoothly.
Extends Component Life: A well-maintained boot prolongs the lifespan of the CV joint and related drivetrain components.

Inspection and Maintenance Tips

Regular inspection can help identify issues early:

Routine Checks: During oil changes or tire rotations, examine the boots for signs of damage.
Feel for Damage: Gently squeeze the boot to check for cracks not visible to the eye.
Monitor Grease Levels: Ensure there is no grease leakage which could indicate a breach in the boot.

Replacement and Installation Guidelines

When replacement is necessary, consider the following:

Use Quality Parts: Select high-quality CV joint boots compatible with your vehicle's make and model.
Professional Installation: Unless experienced, have a qualified technician perform the replacement to ensure proper installation.
Complete CV Joint Inspection: If the boot has been damaged for some time, inspect the CV joint itself for wear and replace if necessary.
Proper Greasing: Apply the correct type of grease to the joint before installing the new boot to ensure optimal performance.

Risks of Ignoring a Damaged Boot

Failure to address a compromised CV joint boot can lead to significant problems:

CV Joint Wear: Contaminants entering the joint can cause rapid deterioration.
Costly Repairs: Ignoring boot damage can result in the need to replace the entire CV joint or axle shaft.
Safety Hazards: A failing CV joint can lead to loss of vehicle control due to axle breakage.

Benefits of Regular CV Joint Boot Care

Proper maintenance offers several advantages:

Enhanced Longevity: Extends the service life of the CV joint and related components.
Improved Performance: Ensures smooth power delivery to the wheels for optimal handling.
Cost Savings: Prevents expensive repairs by addressing issues early.

Conclusion

The CV joint boot plays a vital role in the overall functionality of a vehicle's drivetrain. Regular inspection and timely replacement of damaged boots are essential practices for any vehicle owner. By maintaining the CV joint boot, you safeguard the CV joint itself, ensure a smooth driving experience, and avoid unnecessary repair costs.

Why Millions Choose Go-Parts

Your Go-To Place for Auto Parts!

100% Money-Back Guarantee

Shop with confidence and peace of mind

🏆

Trusted Since 2007

Over 18 years of excellence

🏅

OEM Quality

Meets or exceeds OE standards

🚚 Fast Shipping • ↩️ 90-Day Returns • 🎯 Perfect Fit Guaranteed

Racing Partner Videos

×

Search by Vehicle

1
2
3