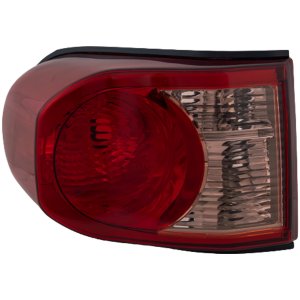
OEM #8156135301
OEM #8155135341
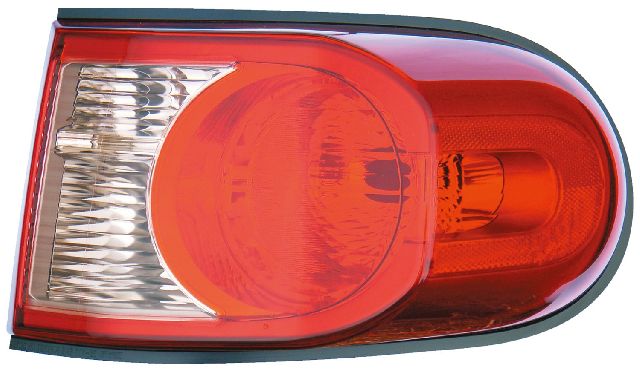
This is a high-quality TYC/DEPO-brand item.
It includes the lens, cover, and housing.
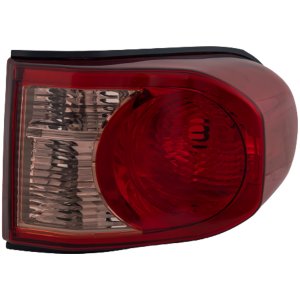
The OEM number is 8155135380.
This is a high-quality TYC/DEPO-brand item.
It includes the lens, cover, and housing.
The OEM number is 8156135310.

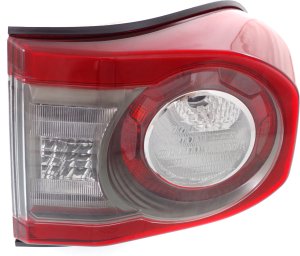
OEM #s: 8156135301, 8155135341
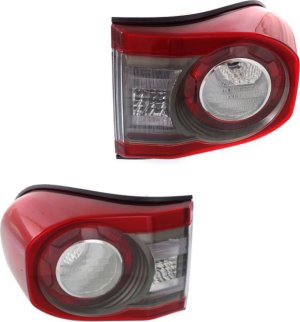
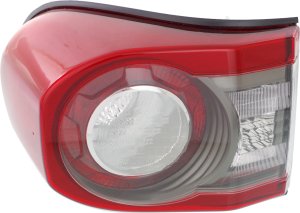
This set includes the Lens and Housing.
OEM #s: 8156135310, 8155135380


Browse our selection of quality tail light assembly parts designed specifically for your Toyota FJ Cruiser. We carry options across multiple trim levels, body styles, and engine configurations to ensure a perfect fit.
Base · Core · Premium · TRD Special Edition · Trail Teams Special Edition
Sport Utility
4.0L V6 · V6 4.0L
Automatic · Manual