
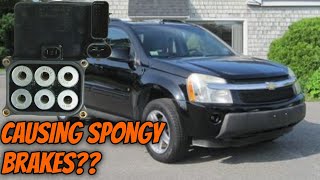
U1000 on 2006-2009 Pontiac Torrent: Causes and Fixes for Communication Failure
On a 2006-2009 Pontiac Torrent, code U1000 indicates a communication network failure. The most likely causes are a faulty Electronic Brake Control Module (EBCM/ABS module), a failed Instrument Panel Cluster (IPC), or a wiring issue at a splice pack. Expect to pay $150-$300 for a module repair service or $500-$900+ for a full module replacement. A used EBCM from a junkyard may be an option but will require reprogramming by a dealer to match the vehicle's VIN.
- U1000 is a network code; do not replace any parts without performing a proper electrical diagnosis first.
- The most likely culprits on a 2006-2009 Torrent are the ABS module (EBCM) or the instrument cluster (IPC).
- Having a failed module repaired by a specialist service is often much cheaper ($150-$300) than buying a new one ($600+).
- Check for signs of water leaks inside the cabin, as this can lead to the corroded wiring that causes this code.
- A scan tool that can perform a network test is essential for an accurate diagnosis.
What's Unique About the 2006-2009 Pontiac Torrent
The Pontiac Torrent and its direct platform mate, the Chevrolet Equinox, are known for specific weak points that can trigger a U1000 code. Failures of the Electronic Brake Control Module (EBCM) and the Instrument Panel Cluster (IPC) are particularly common on this platform, where an internal fault in the module can disrupt the entire data network. Additionally, like many GM vehicles of this era, the wiring is centralized at junction points called 'splice packs', which can corrode or have poor connections, leading to widespread communication issues. A common source of this corrosion is water intrusion from a poorly sealed windshield, a known issue discussed by owners.
Symptoms You May Notice
- Multiple warning lights on the dashboard, especially Check Engine, ABS, and Traction Control.
- Instrument cluster gauges (speedometer, tachometer, fuel) stop working or behave erratically.
- Driver Information Center (DIC) may show error messages or be blank.
- Loss of function in electrical systems like the radio, power windows, or climate controls.
- Vehicle may not start, or may stall intermittently.
- ABS and Brake lights illuminate on the dash, sometimes after exceeding a low speed (e.g., 5 mph) as the EBCM performs its self-test.
- Audible chimes operating erratically.
- Replacing the Powertrain Control Module (PCM) or Engine Control Module (ECM). While possible, the PCM is not the most common cause for a U1000 code on its own. The fault is more often in a body or chassis module like the EBCM or IPC. A no-start condition might point to the ECM, but this is often a symptom of the network being down, not the cause.
Most Likely Causes
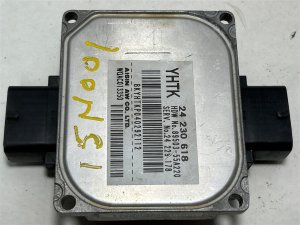
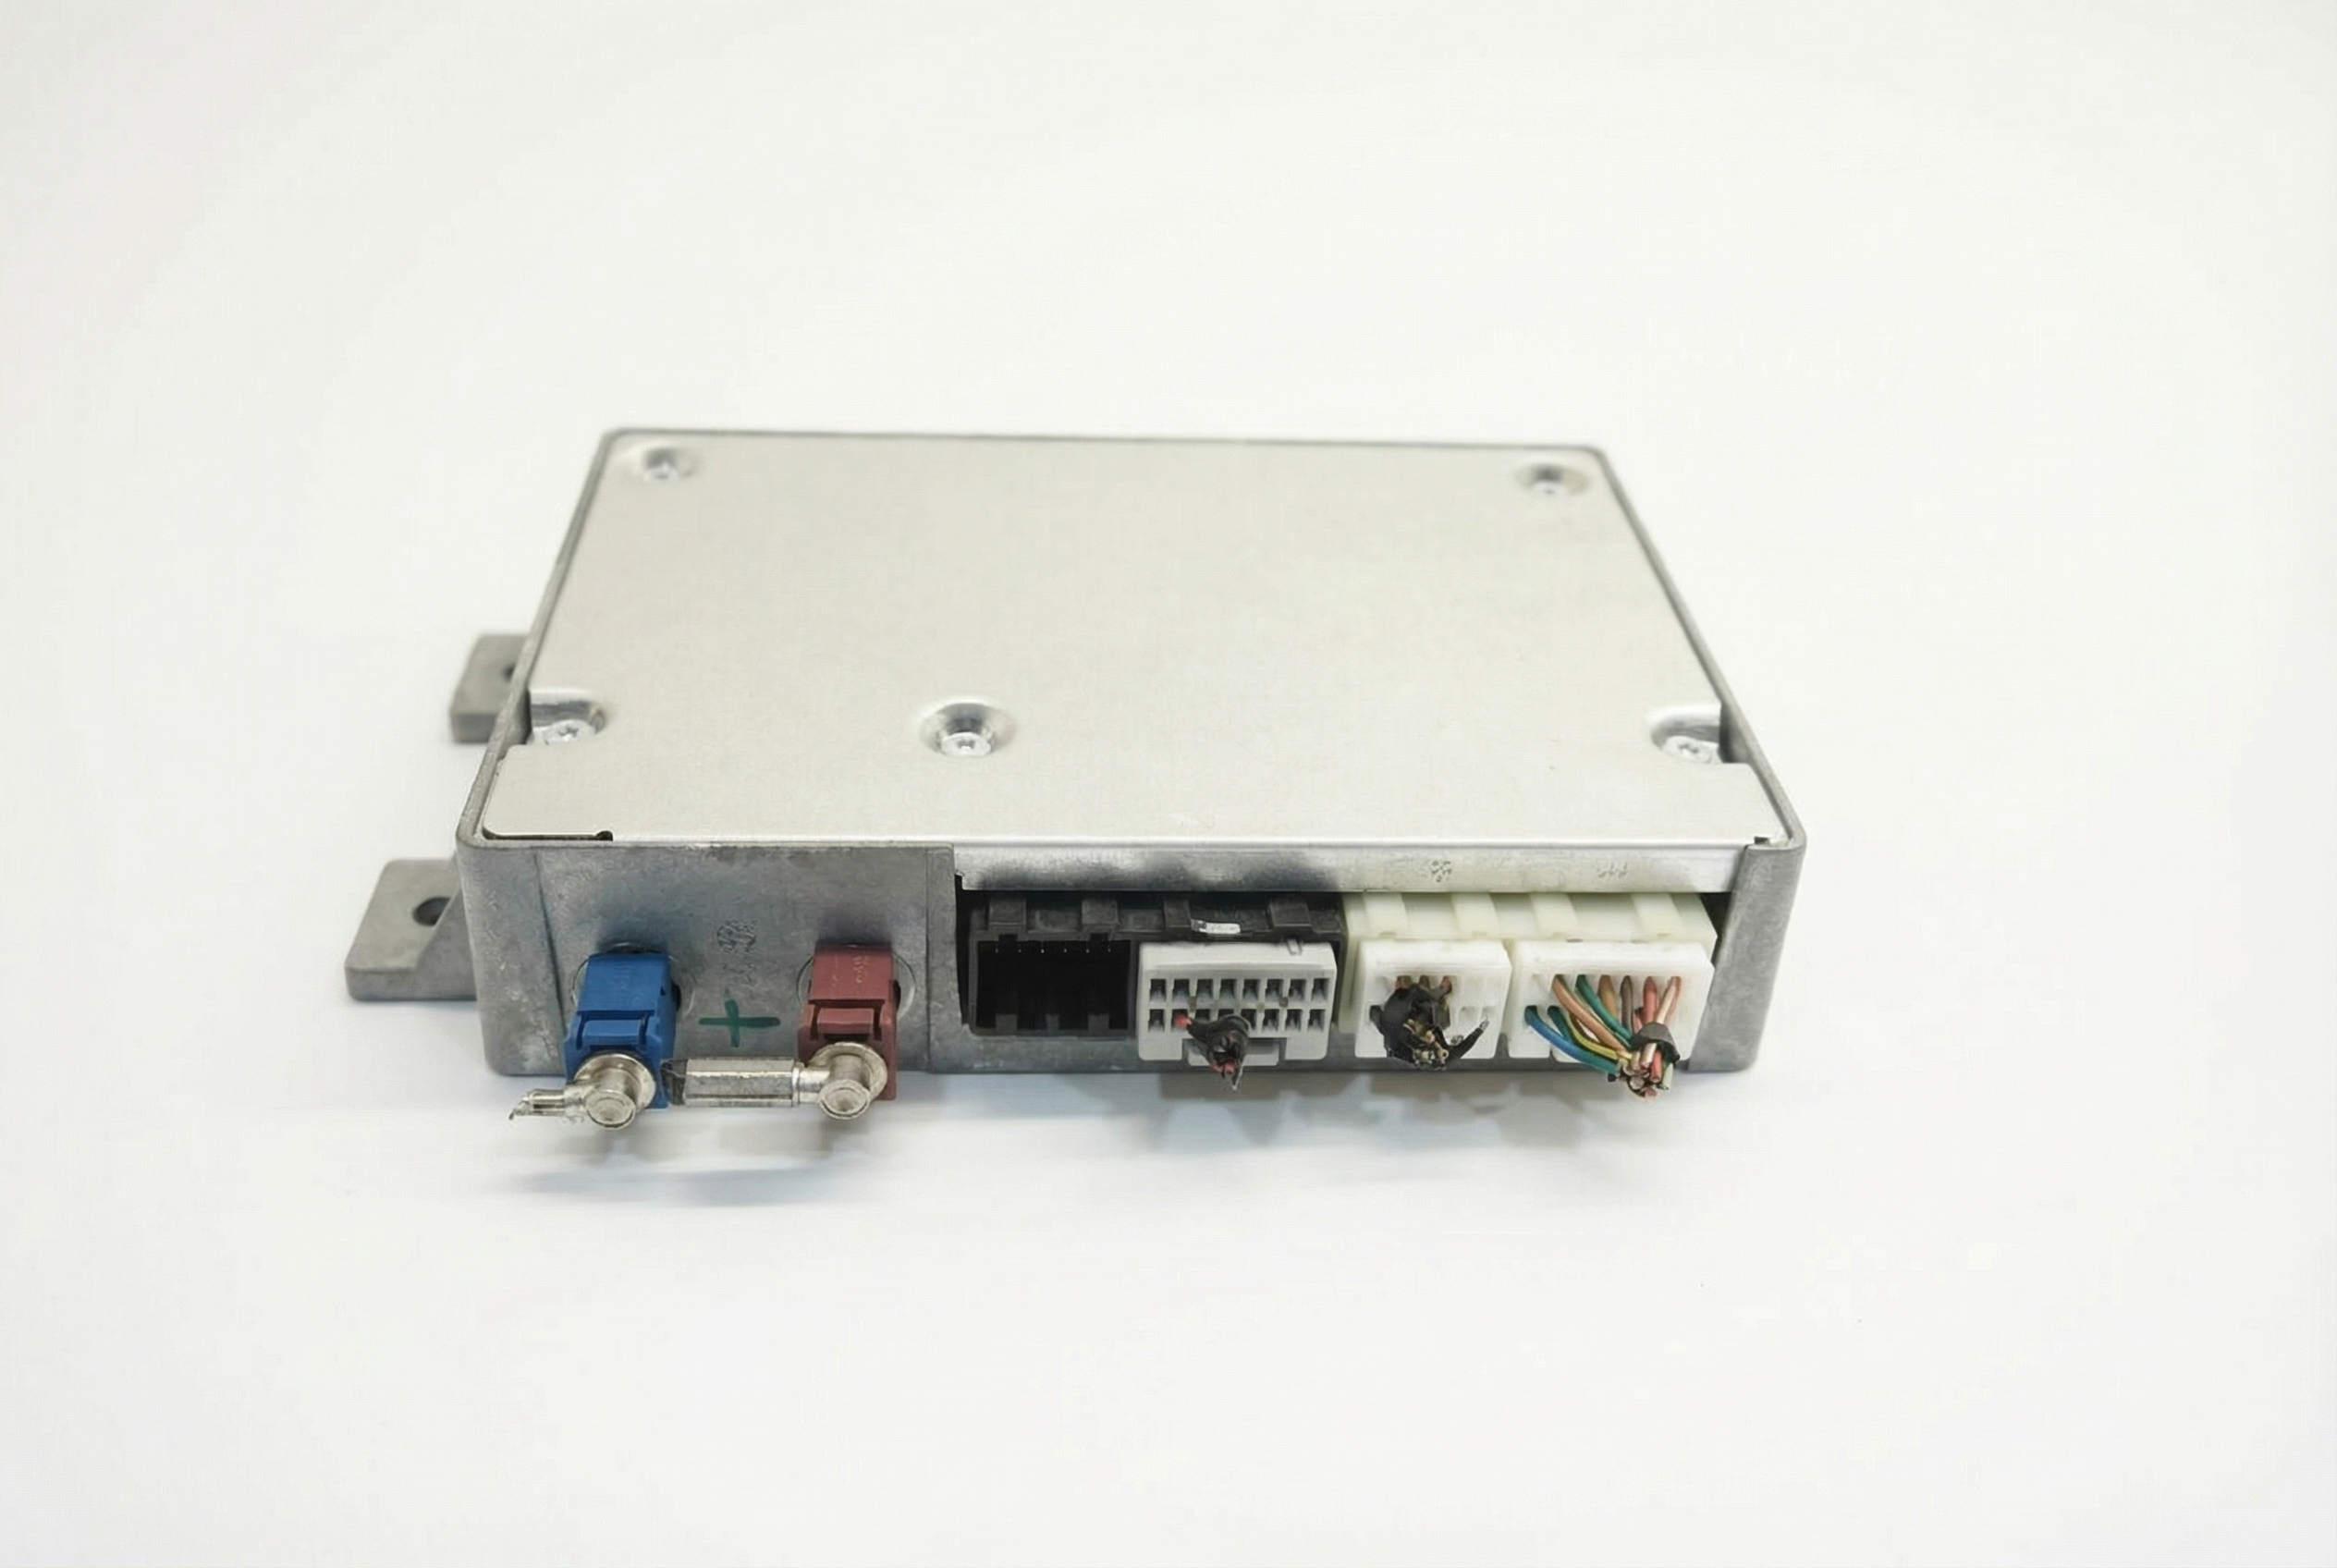
- Faulty Electronic Brake Control Module (EBCM) 🔴 High Probability → Shop ABS Control Module The EBCM on this platform is a known failure point. An internal short circuit in the module, often due to deteriorated solder joints on the internal circuit board, can flood the Class 2 data line with bad data or voltage, preventing other modules from communicating.
How to confirm: With a capable scan tool, check for a loss of communication specifically with the ABS module (often accompanied by code U0121). A common diagnostic step is to unplug the EBCM; if communication with other modules is restored and symptoms like dead gauges disappear, the EBCM is the confirmed culprit. The module is located in the engine bay, attached to the hydraulic brake block. 🎬 See this walkthrough for replacing the ABS module.
Typical fix: Replace the EBCM and have it programmed to the vehicle, or send the original module to a specialist for repair. Repair services often re-solder the known weak points on the circuit board. A used module from a salvage yard is a cheaper option but must be reprogrammed by a dealer or a shop with GM programming tools.
Est. part cost: $600-$900 (New OEM), $150-$300 (Repair Service) - Faulty Instrument Panel Cluster (IPC) 🔴 High Probability → Shop Instrument Cluster The instrument cluster itself is a module on the data network, and internal failures (bad solder joints, faulty stepper motors) are common on these vehicles. A bad cluster can stop communicating and trigger a U1000 code from other modules, or it can be the victim of another module bringing the network down.
How to confirm: This is often diagnosed when the U1000 code is accompanied by dead or erratic gauges while other vehicle functions work. A scan tool will show a loss of communication with the IPC (often with code U0155). Unplugging the cluster may restore communication to the rest of the network if it is the source of the fault.
Typical fix: Replace the instrument cluster or, more commonly, have the original cluster rebuilt by a repair service. Repair services are widely available online and at specialty shops. Since the VIN and mileage are stored in the cluster, repairing the original unit avoids programming issues. 🎬 Watch: How to remove the instrument cluster for repair.
Est. part cost: $200-$500 (New OEM), $130-$185 (Repair Service) - Corroded or Damaged Splice Pack / Wiring 🟡 Medium Probability GM uses splice packs (like SP205, located under the driver's side dash near the steering column) to join the data wires from multiple modules. Water intrusion from a leaky windshield or cowl can cause corrosion in these connectors, breaking the network connection. This is a known issue discussed in owner forums, linking a past windshield replacement to later electrical gremlins.
How to confirm: A technician will locate the splice pack, disconnect its shorting bar, and test the data line from each module individually to find the one that is shorted or open. Visual inspection of the terminals for green or white corrosion is a key first step. The data line is typically a dark green wire.
Typical fix: Clean the corroded terminals in the splice pack or repair the specific wire that is damaged. In severe cases, the connector or a section of the harness may need to be replaced. This is a low-cost parts repair but can be labor-intensive to diagnose.
Est. part cost: $10-$150 - Weak Battery or Poor Ground Connection ⚪ Low Probability → Shop Vehicle Battery Low system voltage can cause unpredictable behavior in electronic modules, leading to temporary communication dropouts and setting a U1000 code. Poor grounds are also a common cause; a YouTube video of a 2009 Torrent with a no-start condition traced the fault to a missing ECM case ground, which was resolved by adding a ground wire from the ECM body to the chassis. 🎬 Watch: Troubleshooting a no-start condition on a 2009 Torrent.
How to confirm: Test the battery and charging system. The battery should have over 12.4 volts at rest and the alternator should charge at 13.7-14.7 volts. Inspect and clean the main battery terminals and chassis ground points, especially the main ECM ground.
Typical fix: Charge or replace the battery and clean all primary ground connections. If a specific ground is found to be faulty, such as the ECM case ground, it may need to be repaired or a new ground strap added.
Est. part cost: $5-$250
Rare But Worth Checking
- Faulty Aftermarket Equipment: An improperly installed aftermarket radio, remote starter, or alarm system can interfere with the Class 2 data line and cause communication faults. If you have any of these, it's worth disconnecting them to see if communication is restored.
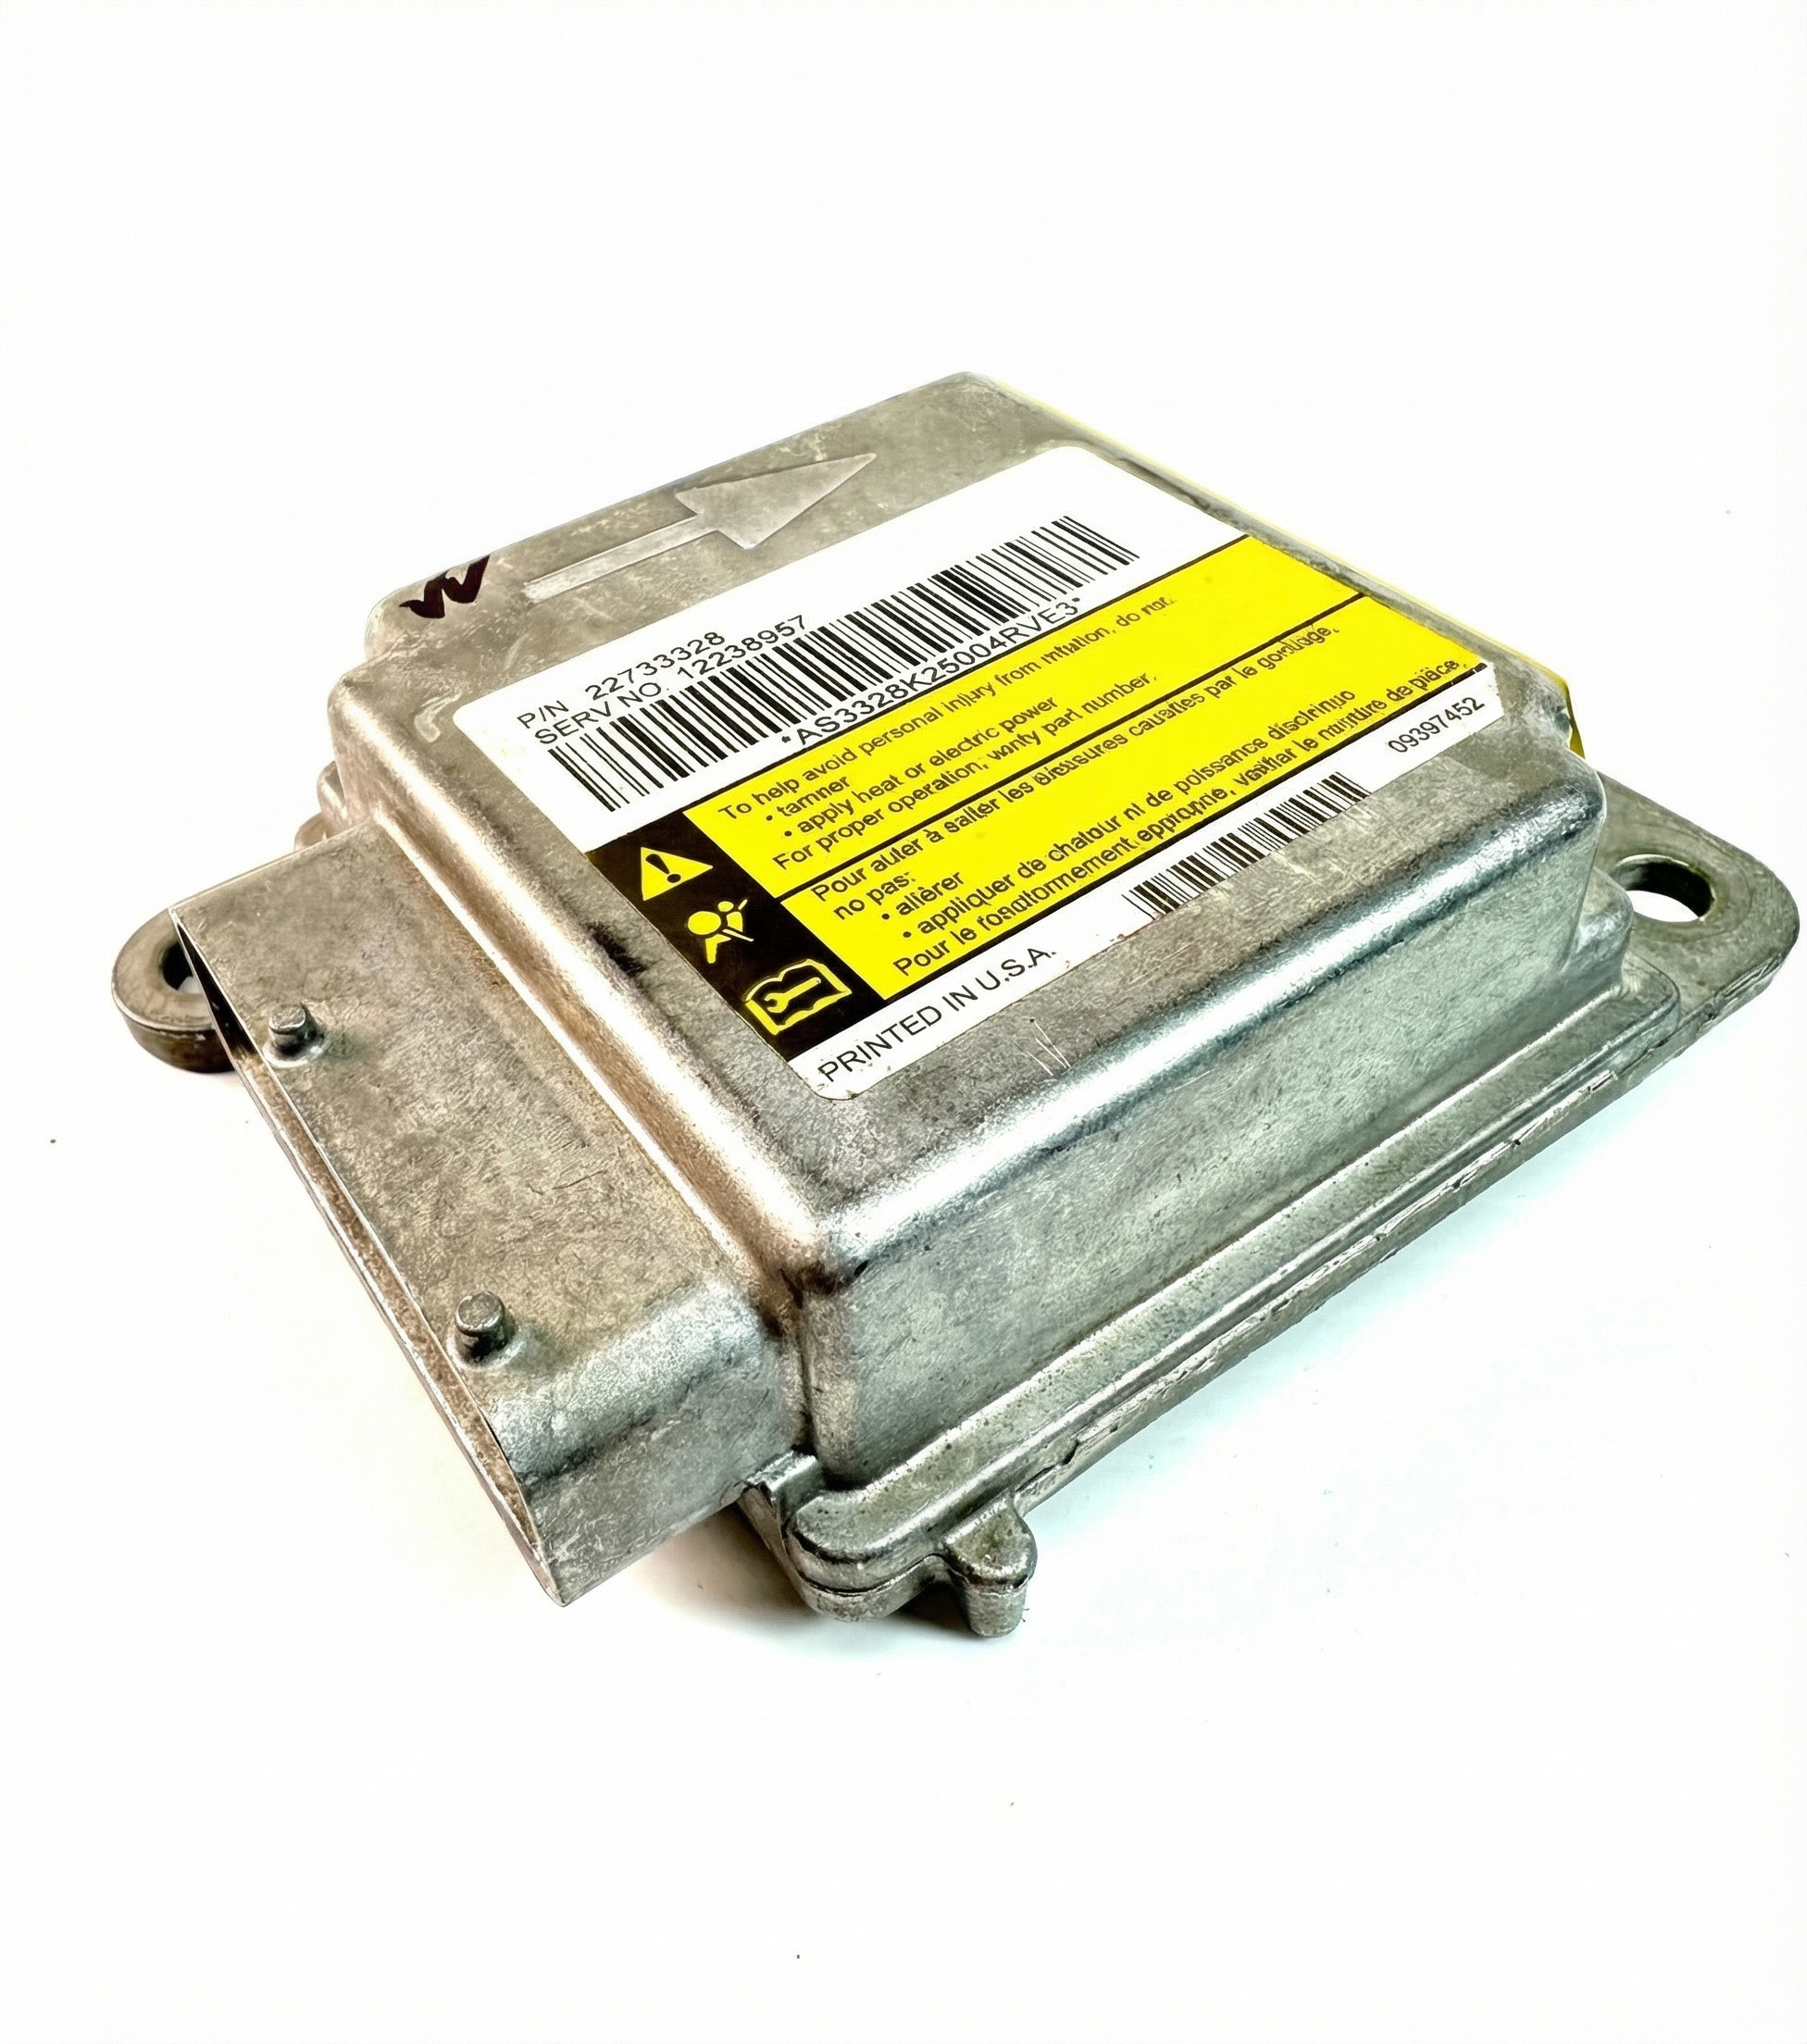
- Failed Body Control Module (BCM): → Shop Body Control Module The BCM acts as a gateway between different network systems. While less common to fail than the EBCM or IPC for this code, a BCM failure can certainly cause a U1000. Diagnosis involves checking for communication with the BCM and verifying its power and ground connections.
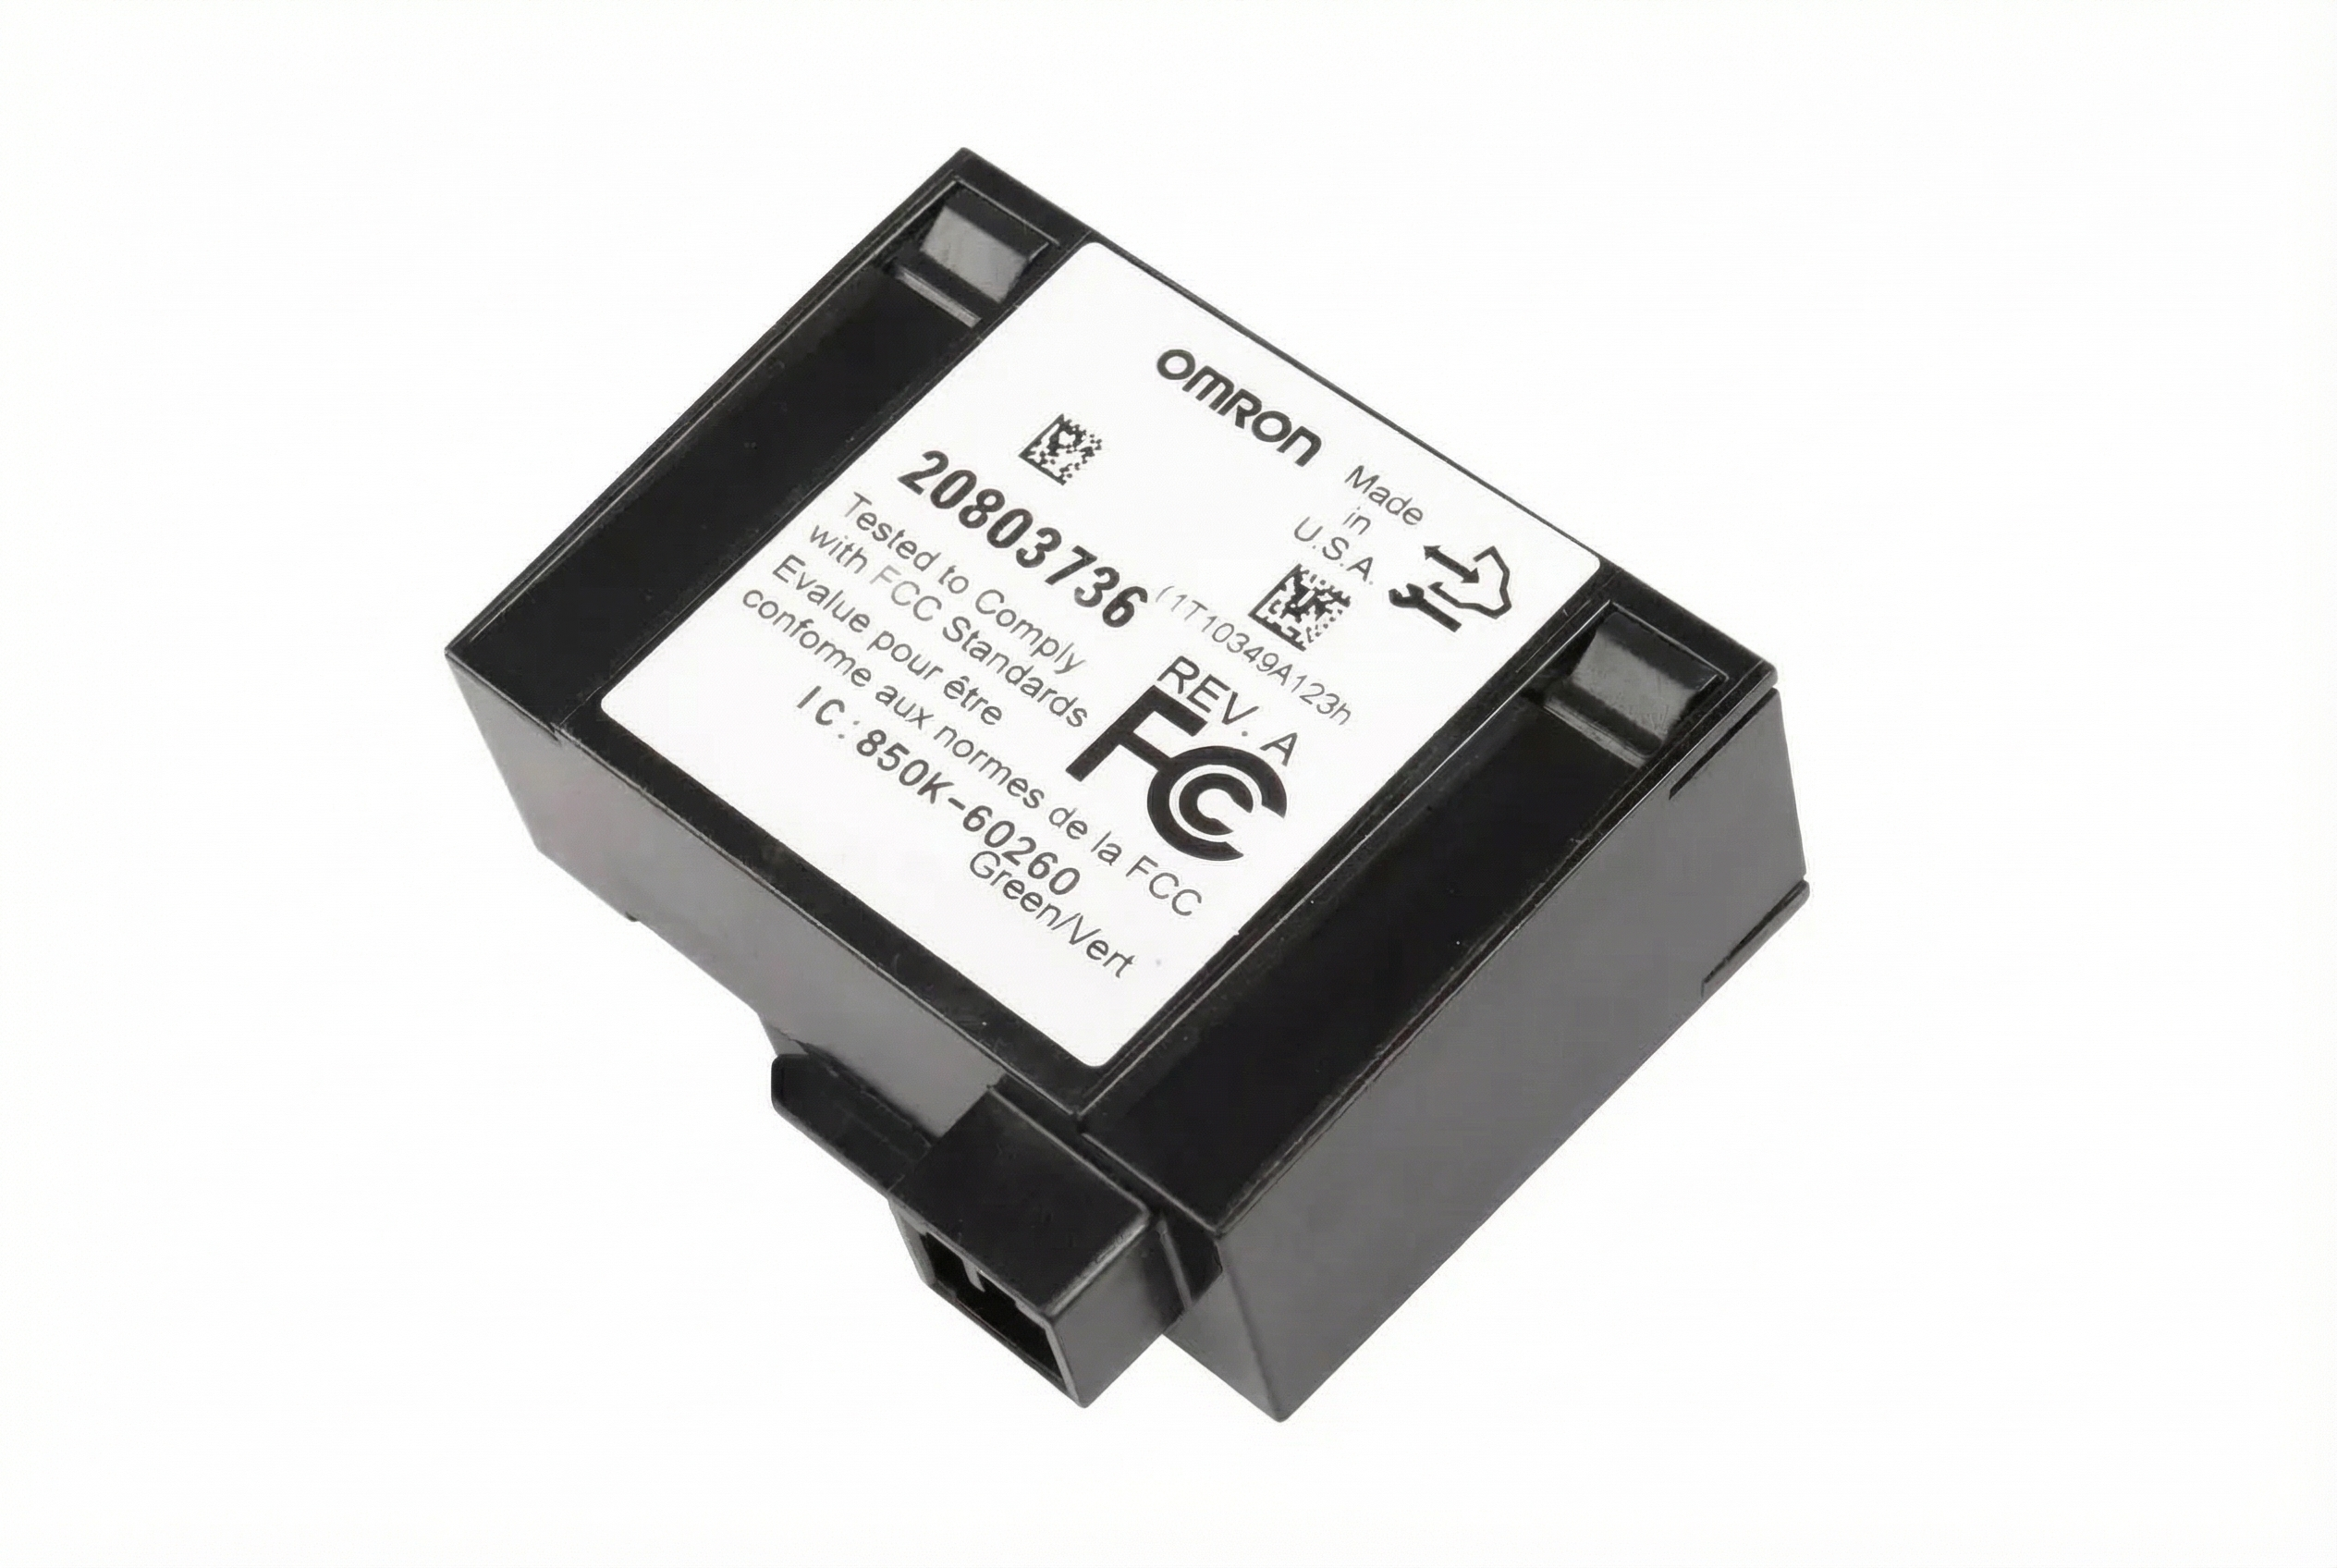
- Failed OnStar Module (VCIM): The Vehicle Communication Interface Module (VCIM) for the OnStar system is also on the data network. While a failure here is more commonly associated with a B1000 code, it can in some cases contribute to general network problems. Given the 2G network it used is defunct, many owners simply unplug the module, which is located in the rear passenger-side cargo area, to eliminate it as a potential source of issues.
Diagnosis Steps
- Connect a professional scan tool capable of performing a network test or 'roll call' of all modules.
- Attempt to communicate with every module on the vehicle (ECM, TCM, BCM, EBCM, IPC, Radio, etc.). Note any modules that do not respond. If codes like U0121 or U0155 are present, they point directly to the suspect module.
- If a specific module (like the EBCM or IPC) does not respond, that is your primary suspect. The most effective test is to disconnect the suspect module's main electrical connector. If communication is restored to all other modules, you have found the faulty component.
- If multiple modules do not respond or the scan tool cannot communicate at all, suspect a network wiring problem. Locate Splice Pack SP205 under the driver's side of the dashboard, near the steering column. It's a black connector where many dark green data wires converge.
- Disconnect the battery. Remove the shorting bar (comb) from the splice pack. This isolates all the data line circuits.
- Inspect the splice pack terminals for any green or white corrosion, often caused by water leaks. Clean as necessary with a terminal cleaner or small brush.
- With the splice pack comb removed, use a multimeter to check the Class 2 data line voltage on each individual pin coming into the splice pack connector. A healthy module should show a fluctuating voltage between 0 and 7 volts. A module that is shorted may read a steady high voltage (like 10-12V) or 0V. The pin with the abnormal reading corresponds to the faulty module or circuit.
- If all circuits at the splice pack test good, check the main grounds. Key grounds for network modules include G201 (behind right front kick panel), G203 (lower center of dash), and G205 (behind left kick panel). Ensure they are clean, tight, and free of corrosion.
Parts You'll Likely Need
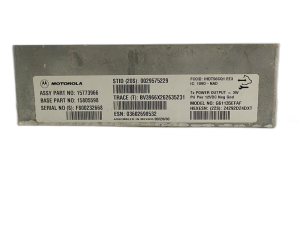
- Electronic Brake Control Module (EBCM)
(OEM #19153229, 15926294, 19121967)— This is a very common failure point on the Torrent/Equinox platform that directly causes a U1000 code by disrupting the network. Internal solder joint failure is the typical root cause.
Trusted brands: ACDelco
OEM price range: $600-$900
Aftermarket price range: $150-$300 (for repair service) - Instrument Panel Cluster (IPC)
(OEM #20824302, 25996415, 15853242)— Another common module to fail. A faulty cluster will cause dead gauges and can bring down the communication network. Repairing the original is preferred to avoid programming.
Trusted brands: ACDelco
OEM price range: $300-$500
Aftermarket price range: $130-$185 (for repair service) - Splice Pack Connector/Terminals — If water intrusion causes corrosion at the data line junction (SP205), the connector or individual terminals may need to be cleaned or replaced. This is a low-cost part but requires pinpointing the corrosion.
OEM price range: $10-$50
Aftermarket price range: $5-$20
Related Codes That Often Appear With This One
- U0121 — Lost Communication With Anti-Lock Brake System (ABS) Control Module. This code specifically points to the EBCM as the module that is not communicating and is a strong indicator that the EBCM is the root cause.
- U0155 — Lost Communication With Instrument Panel Cluster (IPC) Control Module. This code specifically points to the instrument cluster as the source of the communication loss.
- U0100 — Lost Communication with ECM/PCM. This often appears when the entire network is down or if the ECM itself has a power/ground issue.
Technical Service Bulletins (TSBs) & Recalls
- 08-07-30-021H: Covers loss of high-speed GMLAN communications, intermittent no crank, gauge fluctuation, and other related symptoms. It points to potential issues like chafed wiring, corrosion in connectors, or backed-out terminals in the transmission harness connector. While not specific to the Torrent, it describes the exact same failure mode on other GM vehicles of the era.
- TSB Bulletin #PIC3557: This manufacturer service bulletin provides technicians with diagnostics for Class 2 communications. It notes that a U1000 code may not always lead to a final repair and advises that in some specific diagnostic scenarios, technicians should disregard a U1000 code that may be set as current or intermittent.
Platform-Specific Known Issues
- Water leaks from the upper windshield seal or cowl area can drip onto interior wiring and connectors, including the fuse block and splice packs, leading to corrosion and network faults.
Mechanic-Grade Diagnostic Values
- GM Class 2 Serial Data Line Voltage — expected: A fluctuating square wave signal that toggles between 0V and 7V. The bus is considered active at a nominal 7.0 volts and inactive at ground potential.. Failure: A steady voltage near 0V indicates a short to ground. A steady voltage near battery voltage (10V+) indicates a short to power, often caused by an internal module fault. An oscilloscope is the proper tool to view the waveform; a multimeter may not provide usable diagnostic info.
Scan Tool Commands That Help
- GM Tech2: Diagnostic Circuit Check -> Class 2 Message Monitor — This function performs a 'roll call' of all modules on the Class 2 network and displays their status as 'Active' or 'Inactive'. It is the primary method for identifying which specific module has stopped communicating, even if the scan tool cannot establish full communication with the vehicle. This quickly narrows down the source of the U1000 code without having to physically disconnect every module.
- GM Tech2 / Tech2Win with SPS: Service Programming System (SPS) — This function is required after replacing a module like the EBCM or BCM. It downloads the correct software and VIN-specific configuration to the new module. A new EBCM may also require a steering angle sensor calibration via the Tech2 after programming. Failure to program a new module will result in it not functioning and continued U-codes.
Wiring & Ground Locations
- Class 2 Serial Data Wire — Pin 2 on the Data Link Connector (DLC) under the driver's side dashboard. It is typically a Dark Green wire that runs to all Class 2 modules.. This is the main diagnostic access point for the entire network. Technicians test for voltage and signal activity here to determine the overall health of the communication bus before moving to individual modules.
- SP205 (Splice Pack) — Under the driver's side of the dashboard, often near the steering column or left kick panel area. It's a black connector where multiple dark green Class 2 data wires converge into a single point with a removable shorting bar (comb).. This is the most critical diagnostic junction for a network-wide U1000 fault. By removing the shorting bar, a technician can isolate each module's data line and test them individually for shorts or opens without having to access each module directly.
- G201 — Behind the right front kick panel.. This is a primary interior ground point. The Electronic Brake Control Module (EBCM) and other modules rely on this ground. A poor connection here can cause intermittent communication issues.
- G203 — Lower center of the dash, on the I/P fuse block.. This ground serves the Body Control Module (BCM), Data Link Connector (DLC), and Instrument Panel Cluster (IPC). A fault at G203 can cause a wide range of communication and electrical problems, including a U1000 code.
- G205 — Behind the left kick panel.. Another key interior ground point. A loose or corroded G205 can disrupt communication for modules grounded in this area.
- EBCM Connector — On the Electronic Brake Control Module itself, located below the brake master cylinder in the engine bay.. The Class 2 Serial Data wire runs to this connector. Unplugging this connector is the fastest way to confirm if a faulty EBCM is bringing down the entire network. If communication is restored with the EBCM unplugged, the EBCM is the fault.
Real Owner Repair Stories
- YouTube video by Rico L (GM Truck (similar Class 2 system)) — No communication with any module when the vehicle was running, but could communicate in accessory mode. Multiple U-codes stored. Instrument cluster gauges were not working correctly.
❌ Tried (didn't work) Initial scan showed communication codes in many modules, making it hard to pinpoint one.
✅ What actually fixed it The technician located the splice pack and tested the voltage on each module's data line. Pin C was putting out over 10 volts instead of the normal 0-7V fluctuating signal. Schematics showed Pin C led to the EBCM. Unplugging the EBCM restored normal network voltage and communication with all other modules. The internal fault in the EBCM was confirmed as the root cause.
OEM Part Supersession History
15274844, 22723890→19302008, 19302021 (Remanufactured ACDelco/GM Genuine Parts)— Standard part lifecycle updates and transition from new production to remanufactured service parts.
Heads up: These parts are for the 2006 model year. Part numbers can differ based on whether the vehicle is FWD or AWD. Always verify the correct part number for the specific VIN before ordering. All replacements, new or remanufactured, require programming with a GM Tech2 or equivalent tool.Unknown→19153229 (Kit for 2009 model year)— Part update for later model years.
Heads up: This part is listed for the 2009 model year with either the 3.4L or 3.6L engine. Compatibility with earlier years is not guaranteed. VIN verification is critical.
Model Year Variations Within This Range
- 2007: For 2007, an antiskid system and rear disc brakes became standard, which were previously optional or unavailable. This means the EBCM hardware and software may differ from the 2006 base model.
- 2008-2009: The sporty GXP trim was introduced for 2008, featuring a more powerful 3.6L V6 engine, a 6-speed automatic transmission, and hydraulic power steering (instead of electric). These different components mean the PCM, TCM, and EBCM are unique to the GXP and not interchangeable with 3.4L models.
Diagnostic Flowchart
Used vs. New Parts: Buying Guide for This Vehicle
When a used part is the smart pick: A used Instrument Panel Cluster (IPC) is a very sensible choice, as repair services are common and successful. For the Electronic Brake Control Module (EBCM), a used part can be a cost-effective option, but only if you have access to a shop with a GM Tech2 scanner to perform the mandatory VIN reprogramming.
Donor-vehicle mileage cap: roughly under 150000 miles for the part to have meaningful remaining life.
What to inspect on the donor part:
- For an EBCM, check the electrical connector pins for any signs of corrosion or damage.
- For an IPC, inspect the clear plastic lens for deep scratches or hazing. Ensure all gauge needles are present and not physically broken.
- Ask the salvage yard if they can confirm the donor vehicle did not have ABS or electrical warning lights on before it was dismantled.
- Prefer parts from vehicles in dry, non-salt-belt regions to minimize the risk of hidden corrosion.
OEM-only on this vehicle (don't cheap out):
- Electronic Brake Control Module (EBCM): While repair services exist, if buying a replacement unit, sticking with a new or remanufactured GM/ACDelco part is highly recommended due to the critical safety function and programming requirements.
Aftermarket brands forum-validated for this vehicle:
- ACDelco (Gold and Silver lines): These are GM's own aftermarket and remanufactured parts lines and are the most trusted option.
- Instrument Cluster Repair Services: Many online vendors offer repair/rebuilding services for the original cluster, which avoids programming issues. Look for services with long warranties.
Brands owners have reported issues with on this vehicle:
- No-name, off-brand EBCM units from online marketplaces should be avoided. They often have high failure rates and can be impossible to program correctly, leading to more expense and time wasted.
Real Owner Stories
Aggregated from forums and TSBs cited above. Mileages and costs reflect what owners reported in those sources.
2006 Pontiac Torrent
Symptoms: U1000 code appeared with a dead instrument panel right after having a leaky windshield repaired.
What fixed it: The issue was identified as likely being a faulty instrument cluster or water damage to the wiring and/or splice packs caused by the windshield leak.
Source hint: Carjunky Forum - 'u1000 code in 2006 pontiac torrent'
2009 Torrent
Symptoms: The vehicle had a no-crank, no-start condition.
What fixed it: A technician diagnosed a missing ECM case ground. The problem was resolved by adding an external ground wire from the ECM body to the vehicle chassis, which allowed the car to start.
Source hint: YouTube - '2009 Torrent no crank no start' by MAAD Memphis Advanced Auto Diagnostics
Pontiac Torrent
Symptoms: An intermittent no-start condition with U1000 codes stored in multiple modules. Disconnecting the battery would temporarily fix the problem.
What fixed it: These symptoms were described as a classic sign of a module communication fault, where a faulty module floods the network and is temporarily reset by a power cycle.
Source hint: GMTNation - 'No Start, Multiple U1000 codes, Class 2 Serial Communication Problem'
Related OBD-II Codes
Frequently Asked Questions
My Torrent's gauges are dead and the ABS light is on. Is this the common EBCM failure?
I just had my windshield replaced on my 2006 Torrent and now I have a U1000 code. Could these be related?
My mechanic says my instrument cluster is bad. Is it better to repair my original one or buy a new one for my Torrent?
Where is the EBCM located on my Pontiac Torrent?
My 2009 Torrent won't start and is showing a U1000 code. Could it be something simple like a ground wire?
What is Splice Pack SP205 and where can I find it?
Is there a GM Technical Service Bulletin (TSB) that applies to these communication problems?
Helpful Videos


We Have This Part in Stock

The information in this article is provided for general reference and educational purposes only. Vehicle specifications, procedures, and part compatibility can vary by production date, trim level, and region. Always consult your vehicle's factory service manual and verify part numbers before purchasing or performing repairs. Safety-critical components such as airbags, seat belts, and braking systems should be installed by a qualified professional.
- Pontiac Torrent:
- 🧭 Diagnostic Flowchart
- 🎬 Helpful Videos
- 🛍️ Shop This Part
- What's Unique About the 2006-2009 Pontiac Torrent
- Symptoms You May Notice
- Most Likely Causes
- Rare But Worth Checking
- Diagnosis Steps
- Parts You'll Likely Need
- Related Codes That Often Appear With This One
- Technical Service Bulletins (TSBs) & Recalls
- Platform-Specific Known Issues
- Mechanic-Grade Diagnostic Values
- Scan Tool Commands That Help
- Wiring & Ground Locations
- Real Owner Repair Stories
- OEM Part Supersession History
- Model Year Variations Within This Range
- Used vs. New Parts: Buying Guide for This Vehicle
- Real Owner Stories
- 2006 Pontiac Torrent
- 2009 Torrent
- Pontiac Torrent
- Related OBD-II Codes
- Frequently Asked Questions
- 🎟️ Get 5% Off